Organizing K’s Kitchen Pantry
This post may contain affiliate links provided for your convenience. We earn commissions if you shop through the links on this page. I am also an Amazon Associate and earn from qualifying purchases Read my full disclosure policy.
After our success in organizing her spices, my friend, K, asked me to help her organize her pantry. She had recently moved across country to her new house and was still trying to find the best way to set up her kitchen. (See if you can guess where K moved from by the items in her pantry. I’ll tell you at the end.)
I didn’t get before pictures before we jumped right in. Too bad, because we made some big changes.
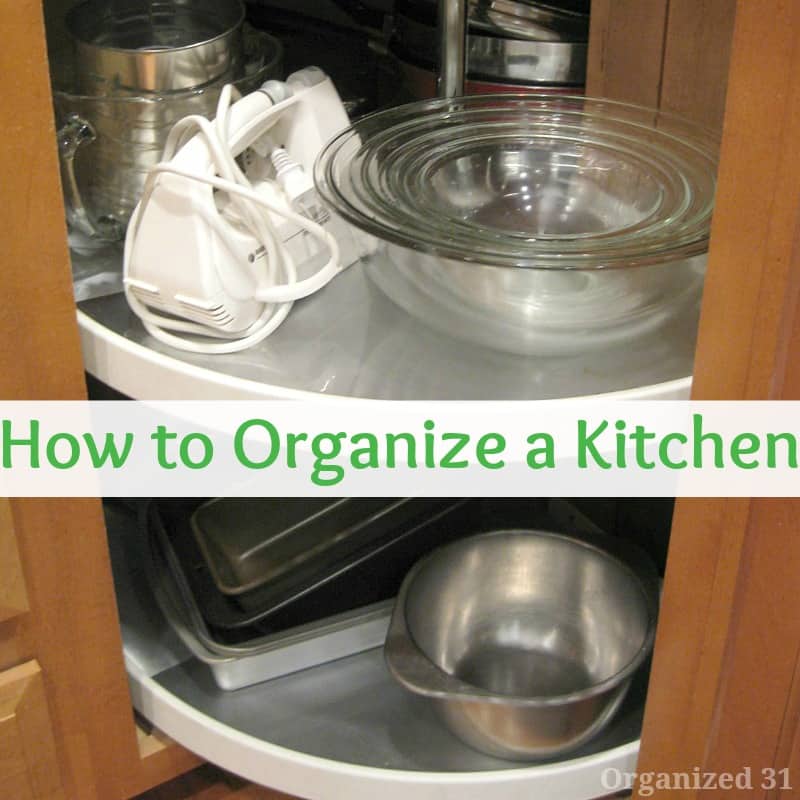
K has a pantry cabinet in her kitchen. We started with that first because it’s the smaller of the two areas we tackled. We pulled everything out and wiped the shelves down. Then we put everything back by category.
We started with the top of the cabinet. We put the more frequently used breakfast items on the lower of the two upper shelves. We borrowed the white tub from another part of the house to use on the very top shelf. It contains packages of noodles and spices. We put labels for each shelf on the inside of the door so that the labels would be visible. Unless K and her family were a family of giants, they’d never be able to see the labels if we put them on the shelf and the front edge of the shelf is too narrow . Inside the door works perfectly for K’s family.


Next we moved to the bottom portion of the pantry cabinet. This portion of the cabinet has 4 shelves.
We put the heaviest items, her canned items, on the bottom shelf. We used boxes from Costco to make temporary slide-out shelves. If K likes this system and configuration, she can add permanent slide-out shelves later.

On the second from the bottom shelf, we put her jars and cans of Spam. These items are also heavy so placed them lower. That way if they fall off the shelf they don’t have as far to fall. K only had one handled basket left to use on this shelf, but is planing on purchasing more handled baskets to make it easier to pull out and reach jars placed farther back on the shelf. K has mobility issues as a result of an accident and finds that these handled baskets helps her more easily access items in the back of the lower cabinet.
On the 3rd from the bottom (2nd from the top) shelf, K we placed types of mixes. K used most of her handled baskets on this shelf because there were so many small boxes and packets to organize. The baskets keep everything neatly contained rather than having it all falling over and jumbling up on the shelf.

On the top shelf, we placed the large bottles of shoyu (soy sauce) and oil. K’s mobility issues make it difficult for her to lift these large heavy bottles up from the bottom shelf. Placing them at this level makes it easiest for her to access them. We also placed all boxes and bags of the category she identifies as starch, which is rice, noodles, grains and such, on this shelf because she access them frequently.
We were able to label this lower level of the pantry by placing labels on the top of the shelves. They are all easily visible as you open the cabinet.
Next we moved on to her pantry closet. We organized a couple of key areas for K.

We placed her baking items on the top shelf. These are items that the family doesn’t access every day so they were perfect candidates for the top shelf. We used Costco boxes again to contain the smaller items. If K finds that this system works well for her she can buy basket to replace these boxes (or she could simply cover these existing boxes with decorative paper). But by using these free Costco boxes, it allows K to try the new system out without investing any money until she knows that it’s working for her.
On the next shelf, we placed all of K’s containers that hold staples. I would usually recommend that she purchase square or rectangular containers to maximize space, but these containers have sentimental value to K so they’re staying.

K was having trouble with keeping her children’s snacks organized. We borrowed tubs from another part of the house and made two bins to hold snacks. This will make it easier for the kids to know right where to find their snacks; no more digging and tumbling everything around when they’re looking for something to eat. It also makes it easier for the kids to know right where to put the snacks back when they’re done; no more just tossing things back in the pantry willy nilly.

Lastly, we placed a final Costco box on the floor to hold the dog and cat treats. Previously the treats were located on 3 different shelves mixed in with other items. By placing this box on the floor, all the family members know where to find the pet treats and where to return them when done.
So, far this system has been working well for K. Once she’s tried it out for a bit, we’ll fine tune it and look at replacing some of the Costco boxes with more permanent solutions.
More Kitchen Organizing Ideas

I’m a mom of 3, a veteran, military spouse. I’ve moved into 20+ homes all around the world. My passion is helping busy people make the space and time for what’s really important to them. Learn more about Organized 31 and me.
You certainly know how to organize things Susan! Well done!
I’d guess K is from Hawaii judging from the spam and rice 🙂 I used some of your techniques in setting up my pantry in our new home! Thanks for even more inspiration!
I think she is from Korea. They love Spam there! Ditto the soy sauce and rice.