DIY Twine Balls
This post may contain affiliate links provided for your convenience. We earn commissions if you shop through the links on this page. I am also an Amazon Associate and earn from qualifying purchases Read my full disclosure policy.
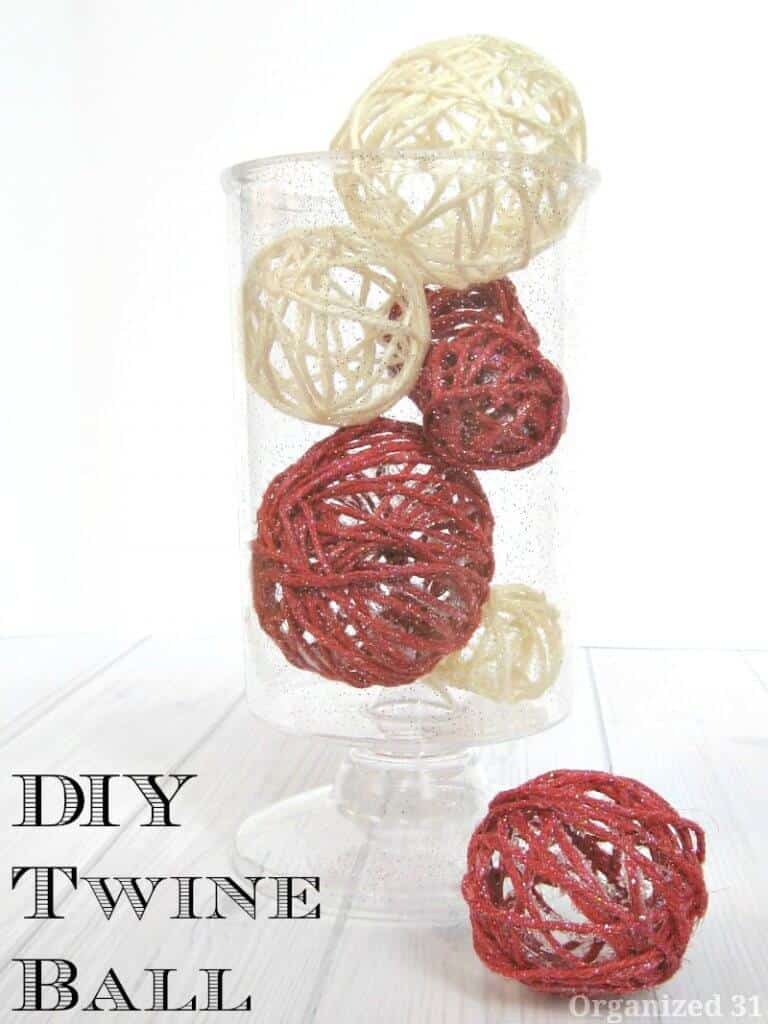
These DIY Twine Balls are so easy to make and add sophisticated, rustic charm. When my oldest baby was home for Christmas she asked if we could craft together (she knows the way to her mama’s heart). One of the projects we created together were to make these easy-to-make twine balls.
I received this great jar with Christmas candy in it. When the candy was gone, I just couldn’t throw the jar away. You know how I love to repurpose (almost) anything.
Fortunately, I stumbled across a glitter twine ball tutorial and knew I wanted to do something similar to fill this jar as a decoration.
DIY Twine Ball
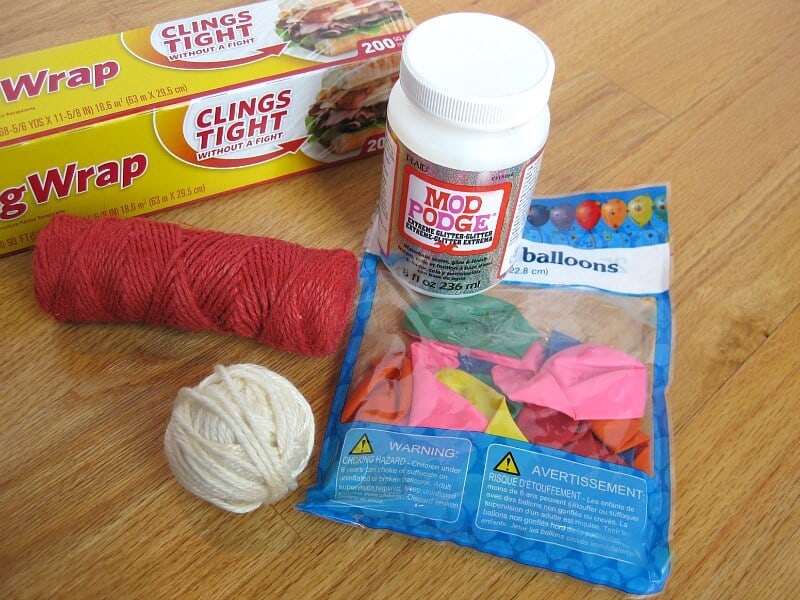
Supplies
- Balloons (round shaped)
- Twine or yarn (twine produces a stronger ball when it’s done and the yarn ball is much more delicate)
- Mod Podge (I used glitter Mod Podge, but you could use matte)
- Plastic wrap
- Scissors
DIY Twine Ball Tutorial
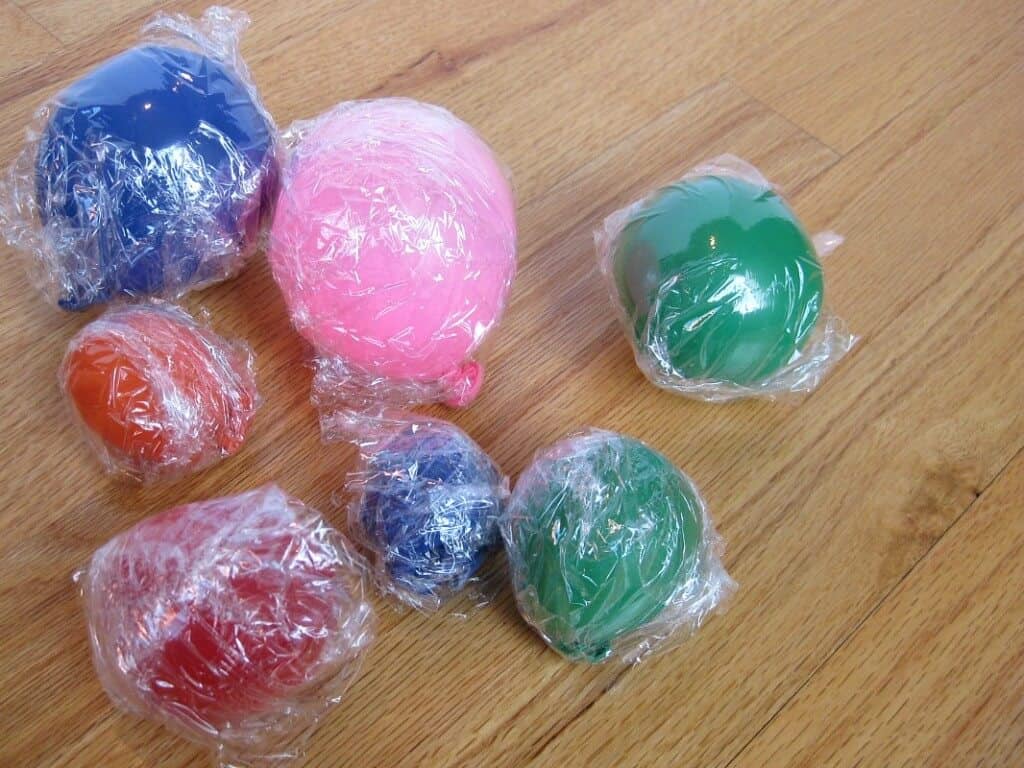
We found that if you stretch the end of the balloon first, the balloon is a more round shape when you blow it up. We also discovered that the barely inflated balloons could be formed into a round shape in the next step. This allows you to make all different sized DIY twine balls.

Wrap the balloons in plastic wrap so that it will be easier to remove the balloon from the twine ball later.
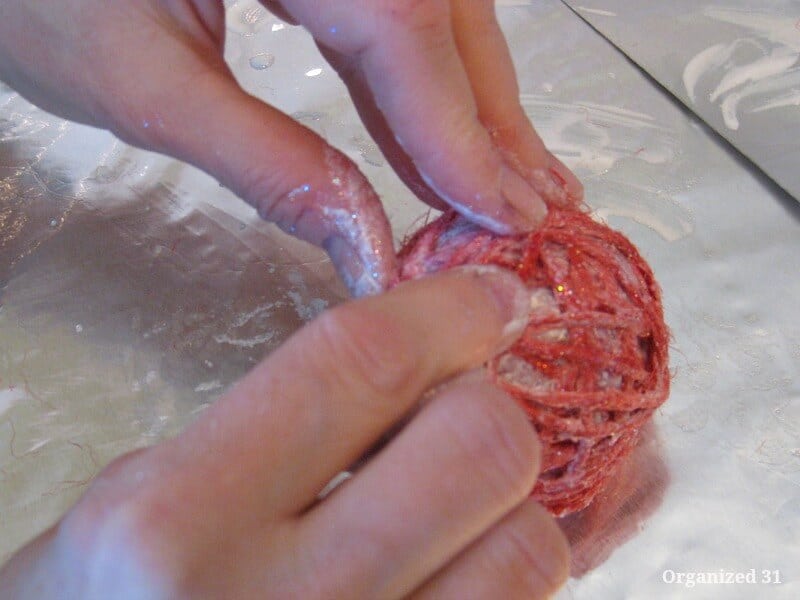
We found it easiest to fill a bowl with Mod Podge, coat our fingers with Mod Podge and then run the twine through our finger to get good coverage. Randomly wrap the twine around the balloon. We just held the starting end in place until a couple of rounds of twine held it in place. Be careful to not pull the twine too tight and squish the balloon, you want to maintain the round shape.
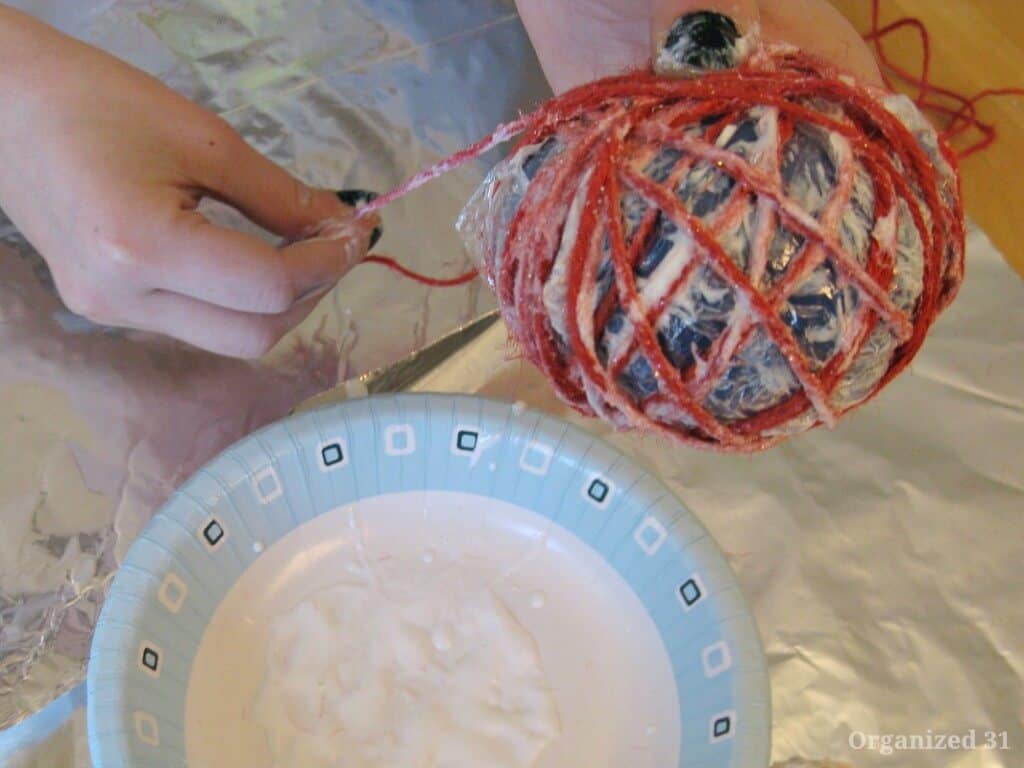
When you’ve wrapped enough twine around the balloon, simply tuck the end of the twine under an early round. You can squish the balloon down a bit to tuck the end under.
Don’t wrap the twine too many times. You want to leave open spaces between the twine. Next time I’ll do fewer rounds with the twine than we did this time.
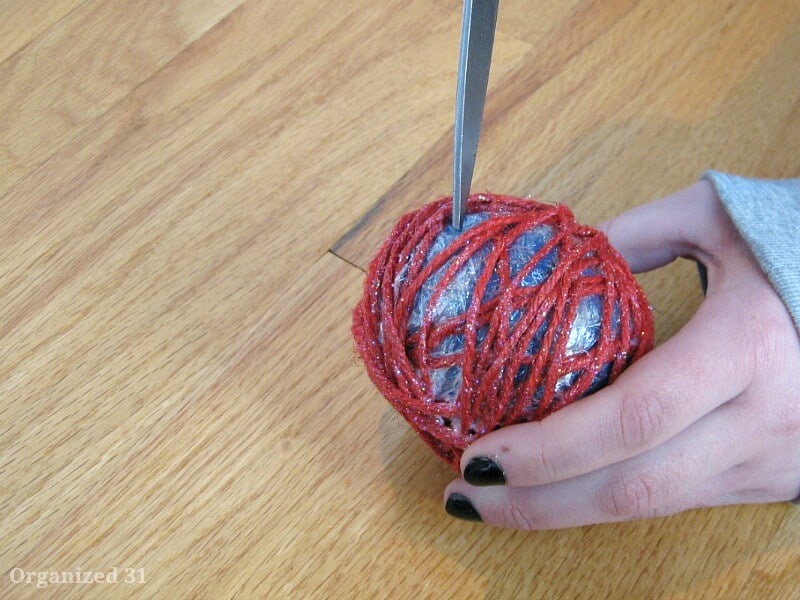
Let the balls dry overnight. The yarn absorbed more Mod Podge and took longer to dry. Once you’re sure that the twine is thoroughly dried, carefully puncture the balloon inside the ball. Gently pull the balloon remnants and plastic wrap out through a hole in the DIY twine ball. You may have to reach through the openings to pull the plastic wrap loose from the inside of the ball. Just work carefully and it will come loose.
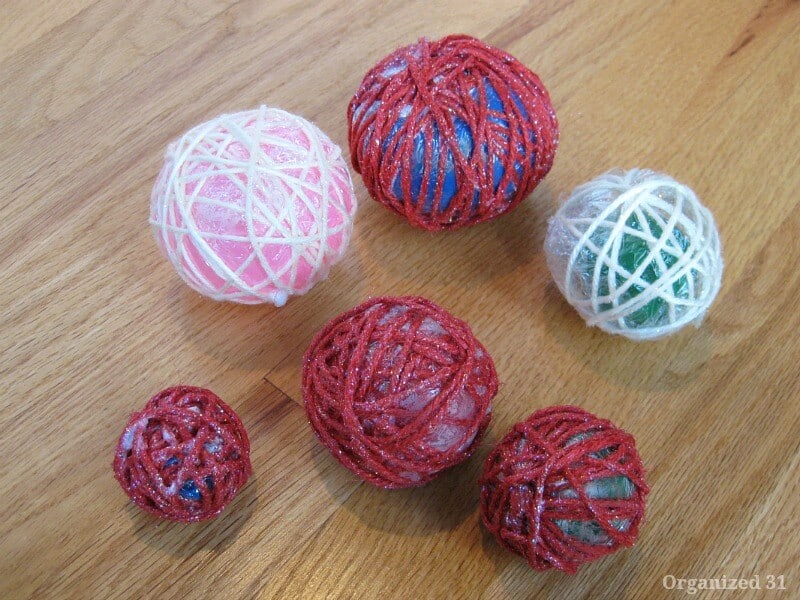
You can see that a couple of the balls are not round. This is where we weren’t as careful when we removed the balloon and plastic wrap (and we were impatient and started before the twine was thoroughly dry).
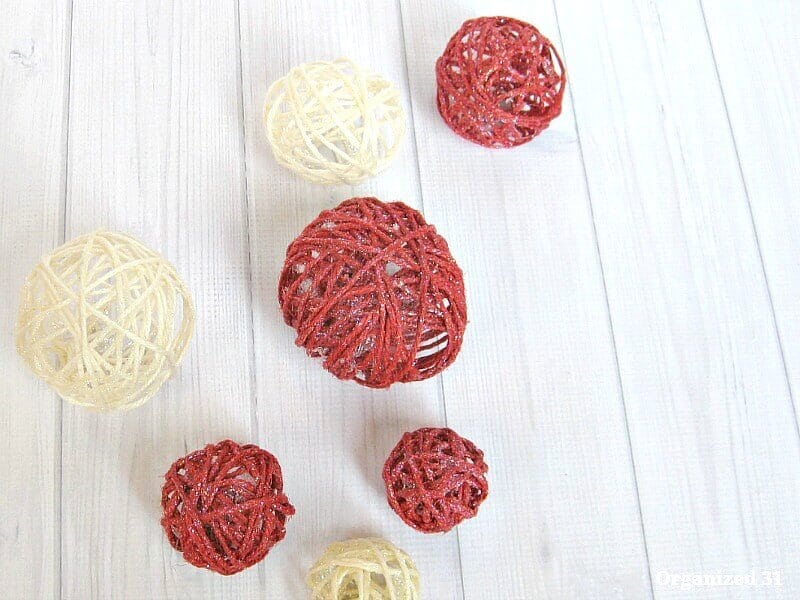
The DIY Twine Balls look great in this plastic jar and make a perfect Valentine’s Day decoration. They’re also perfect for Christmas, 4th of July or really any occasion. I can’t wait to try another round of making a DIY twine ball (or 20). It’s easy enough that you could make them with younger kiddos with some supervision. Be sure to pin for later.

I’m a mom of 3, a veteran, military spouse. I’ve moved into 20+ homes all around the world. My passion is helping busy people make the space and time for what’s really important to them. Learn more about Organized 31 and me.


I’ve been wanting to try this out for quite a while now. You beat me to it. 🙂 Now I have to give it try. It looks nice and messy.
Great minds continue to think alike, Darlene! It is nice and messy and kinda fun.
Lovely! Pinning! Would love it if you would share it at the new A Little Bit of Everything Wednesday Linky Party that I am co-hosting!
Thanks for the invite, Lauren. I’m on my way now.
These are so cute and rustic! I love that they can be customized to the color scheme of the creator! Also, what a great tip to wrap the balloons in plastic wrap first! I always thought it would be difficult to get the balloons out. Thanks for sharing at A Little Bit of Everything link up!
Nice! I’ve seen many craft fails out of twine/yarn balls. I’m glad yours were a success and I like the sparkle!
Thanks, Dianna. I’m not usually a sparkly girl, but I like the sparkle here on these twine balls, too.
I really love these. I am thinking of making some red, white and blue for the 4th of July! Natural would be great for a shabby chic look too! Do these sell blue twine?
I bet they do sell blue twine. Great idea for 4th of July (may have to “copy” you).
These look beautiful. I’ll be making these for the weekend party! Thanks for sharing.
I can’t wait to try this! And most of all, THANK YOU AND YOUR HUBBY FOR YOUR SERVICE.
Thank you so much. And this is such a fun project, I hope you enjoy it as much as I did.
I can’t wait to try this! And most of all, THANK YOU AND YOUR HUBBY FOR YOUR SERVICE.
Once the ball (lantern) is done how do you place and arrange battery operated lights in it? Love this idea. Thank you. Sincerely, Renee’ Carr.
I didn’t use lights with these twine balls, but you could just insert the light bulbs in one of the openings and use a piece of color-coordinated thread to attach the ball. I’d love to see a photo of your completed project, Renee!