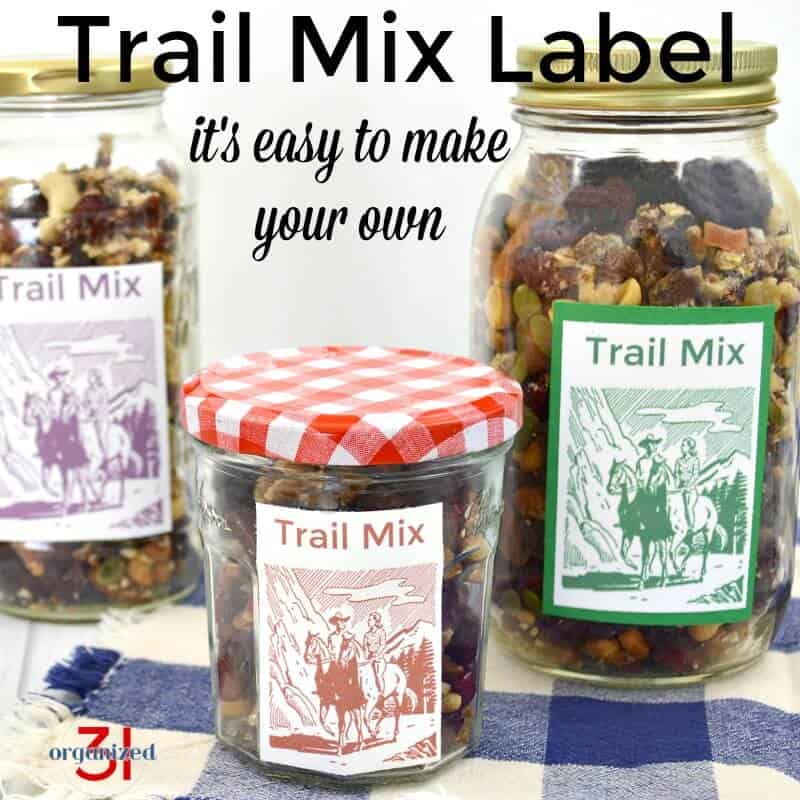
Trail Mix Label – Make Your Own
This post may contain affiliate links provided for your convenience. We earn commissions if you shop through the links on this page. I am also an Amazon Associate and earn from qualifying purchases Read my full disclosure policy.
I’ve been in the organizing and labeling mood lately. When you put in the effort to organize, adding fun color and labels takes your organizing to a whole other level. There are so many different ways to label and I think I’ve tried most of them, but I’ve just figured out how to make my own unique labels. My Trail Mix Label is my first try at a personalized label. And, boy, was it easy to make (and pretty doggone cute, too. If I do say so myself).
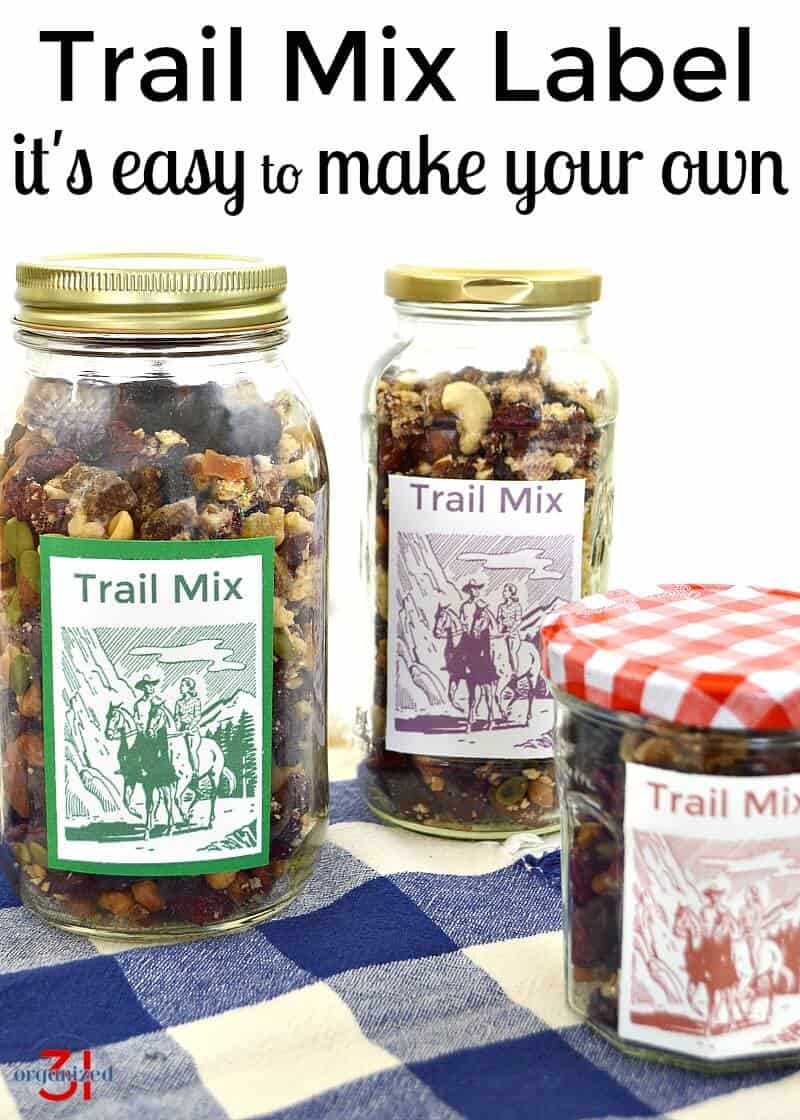
These labels are easy to personalize in different colors and sizes. They’re perfect as a trail mix label for a container in your pantry or as a gift label on a gift jar. I love to give friends and neighbors homemade treats and adding a cute label makes a homemade gift that much more charming.
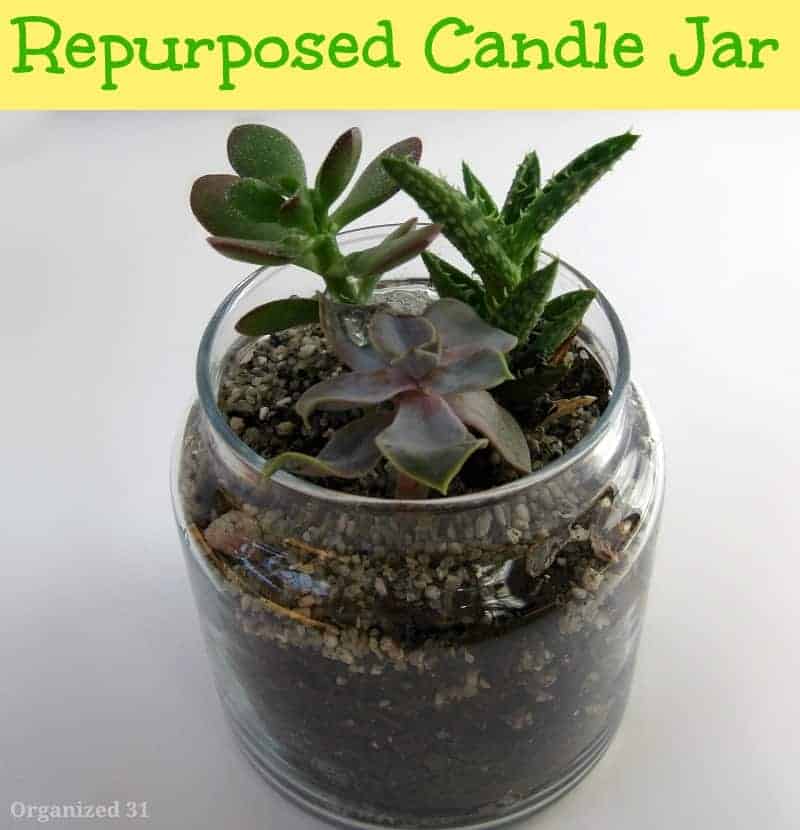
I’ve tried all kinds of pantry storage containers over the years. But the more information we learn about different materials, the more I’ve come back to using glass jars and containers to store food in my kitchen. Glass is food safe, easy to wash and helps with organizing since you can easily see the contents. When I repurpose glass jars for food storage, I only use jars that originally held food items so that I know for sure that the jars are food-safe.
How to Make Your Own Trail Mix Label
Supplies
Glass Jar with an Airtight Lid – You know how much I like to use repurposed glass jars, but you can also purchase Mason jars.
Vegetable Oil – Use it to remove sticky label residue naturally from repurposed jars.
Decoupage Glue for Label – This is my favorite decoupage glue. There’s even dishwasher safe decoupage glue now.
Double Stick Tape for Gift Tag – This is my favorite double stick tape.
Sponge Brush
Card Stock Paper with Your Label – I found my trail riders image at The Graphics Fairy.
Bakers Twine or Ribbon

Download your chosen image and then upload it to your photo editing program. I used PicMonkey, which provides a free version and a premium version that are both easy to use.
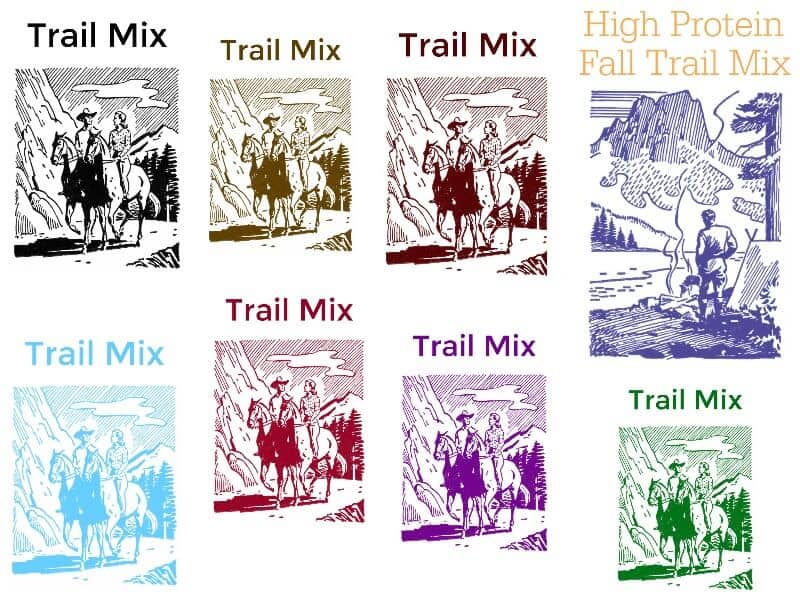
I added “trail mix” in the font I selected and then saved the image in several different colors. You can add the specific name of your favorite trail mix, too.
Once I saved the image with text to my laptop, I then inserted the images that I wanted into a Word document. With the images in a Word document, I could easily size the images to the exact sizes I wanted for my labels and my gift tags.
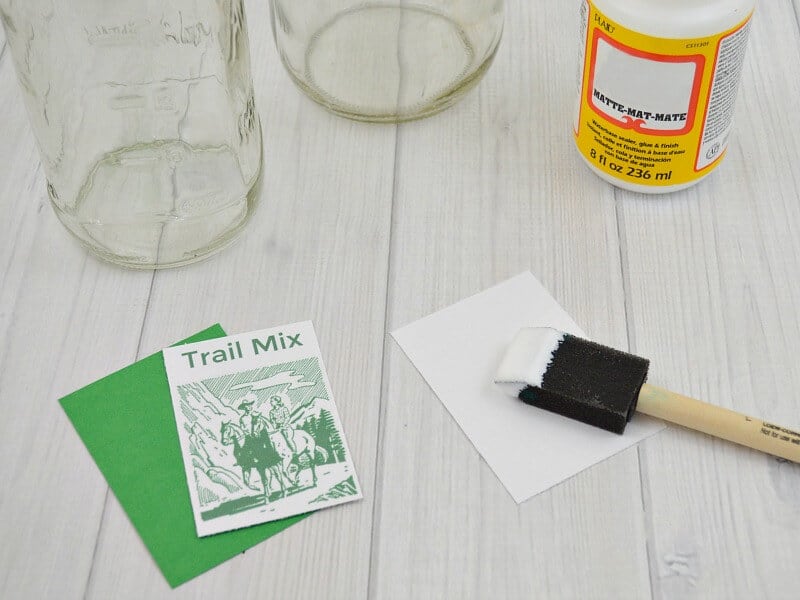
I measured each jar and printed the different colors of labels out to fit each of the different sized jars. I trimmed the labels with a paper cutter and used decoupage glue to attach the labels to the glass jars. If you’d like to be able to lightly wipe the outside of the jar down, be sure to cover the front of the label well with several coats of decoupage glue or use the dishwasher safe decoupage glue to be able to thoroughly wash the jar inside and out. I chose to use regular decoupage glue (since that’s what I already had) and I’ll just be careful when I wash the inside of the jars.
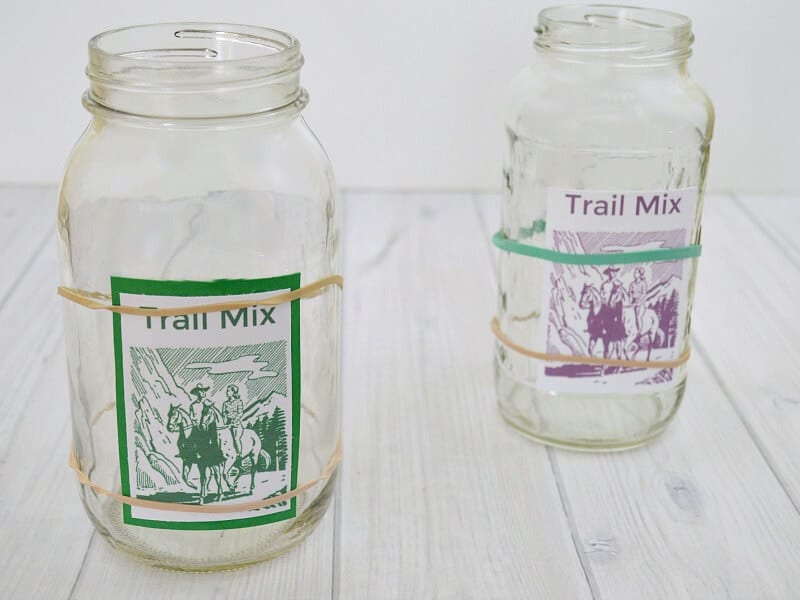
I used rubber bands to hold the labels in place on the curved surfaces of the jars until the glue was dry. It took about 20-30 minutes.
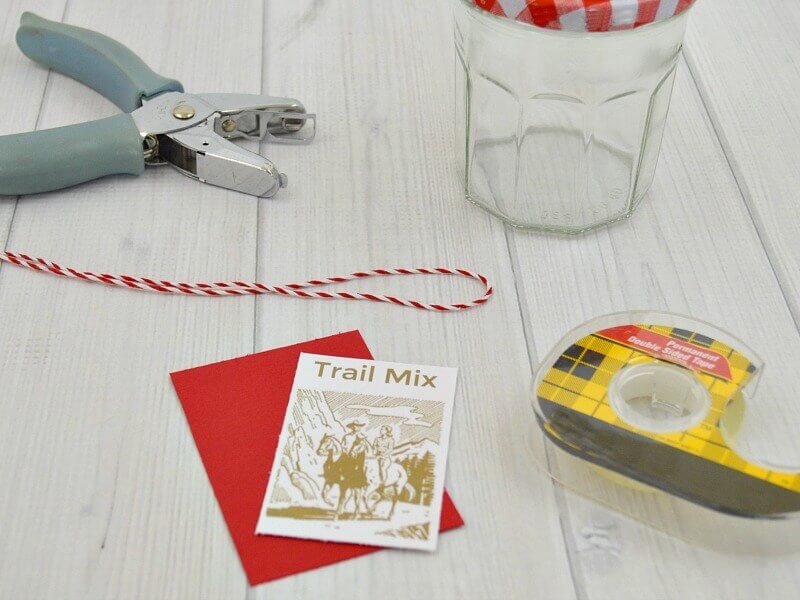
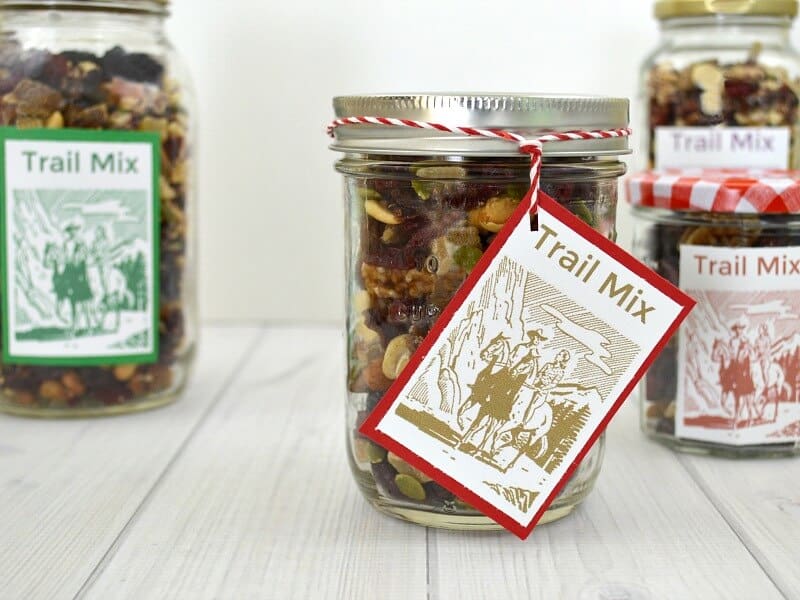
To make the the gift tag trail mix label, I simply used double stick tape to adhere the label to the red backing paper. Then I punched a hole in the tag, added baker’s twine and tied the gift tag to my trail mix filled jar.
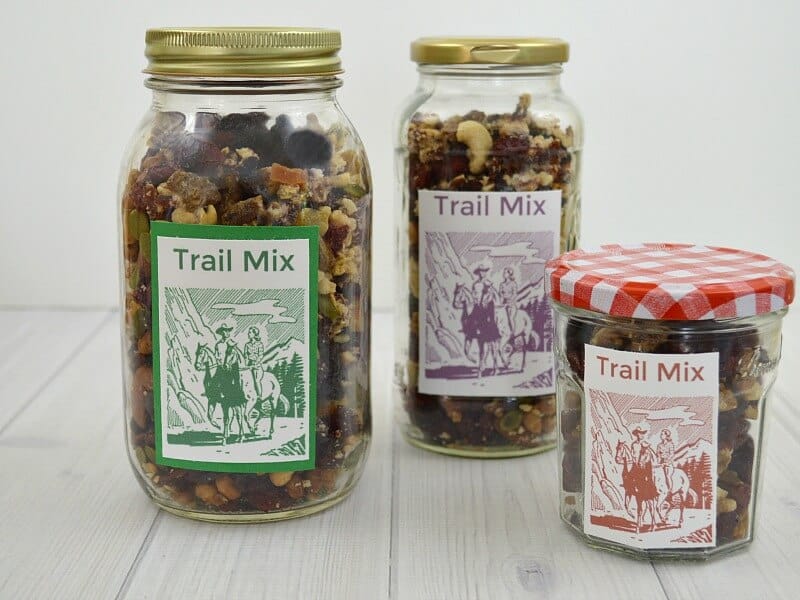
I made different color labels for different family members’ favorite trail mix flavors.
Have you tried making your own personalized labels? This trail mix label is a great one to start with.
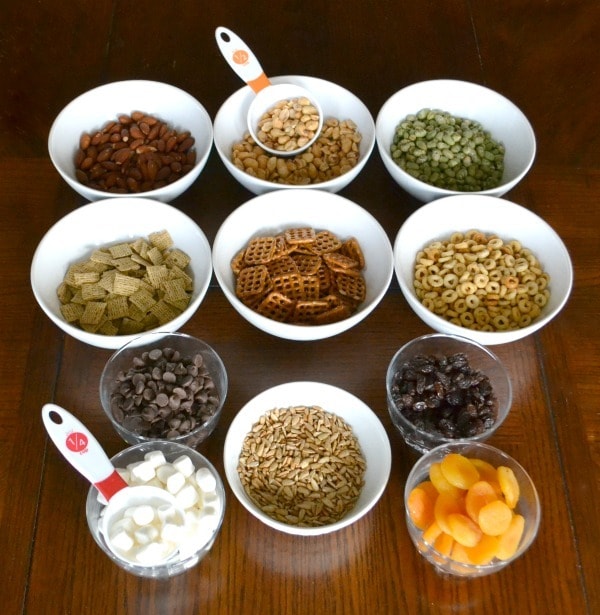
Here are some homemade trail mix recipes:
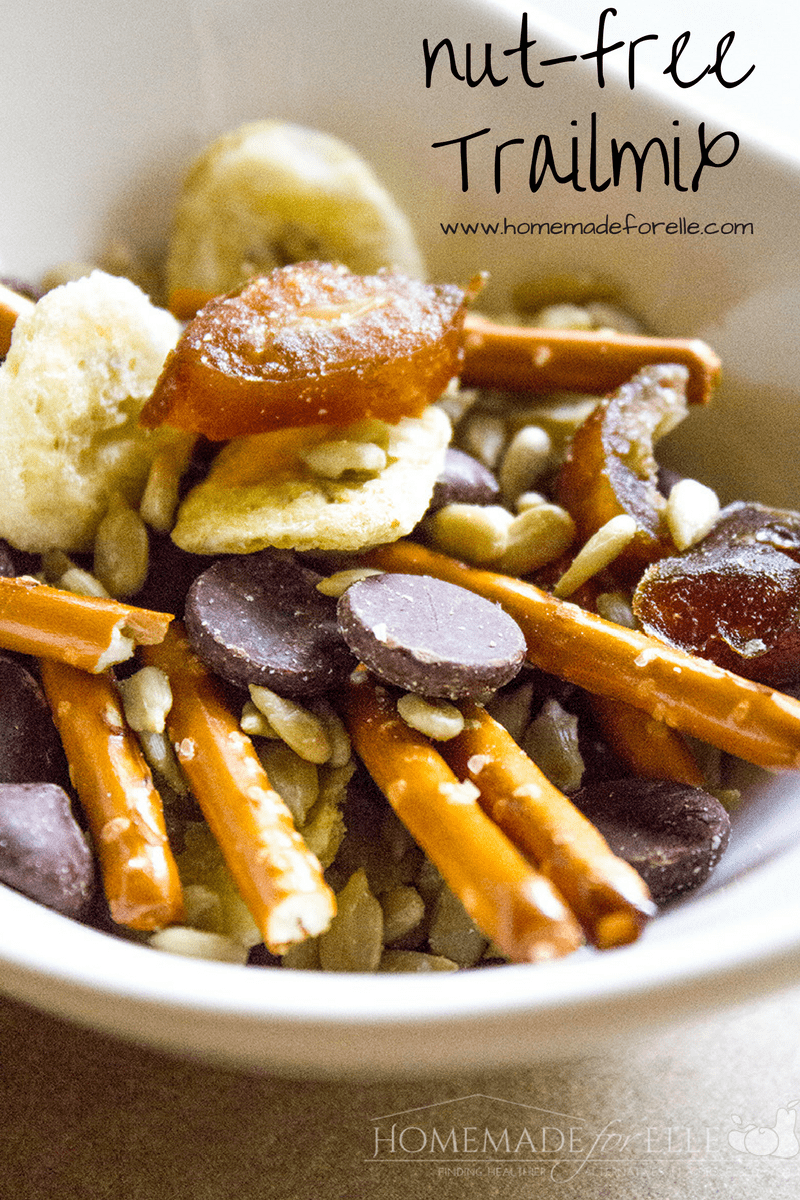
For those of you with nut allergies, my friend, Andrea at Homemade for Elle shares her Nut Free Trail Mix.
My friend, Corinne at Wondermom Wannabe, makes a Trail Mix Buffet that her family always enjoys.

I’m a mom of 3, a veteran, military spouse. I’ve moved into 20+ homes all around the world. My passion is helping busy people make the space and time for what’s really important to them. Learn more about Organized 31 and me.

I love these labels! I need them in my life right now. I think your step by step instructions are so helpful too. At times I am not so crafty! I think my favorite tag is the one with the colored paper behind the label. I can see these for Christmas gifts.
The labels would be adorable on Christmas gifts, Cynthia. Have fun crafting.
I really love these labels! They’re perfect for trail mix, and I love the idea of storing trail mix in mason jars. I will be saving my glass containers and will be making a new batch of trail mix soon!
Thanks for the tip on the vegetable oil too – I haven’t heard that, but will definitely be using that tip!
I love how food safe glass jars are, Andrea, and how they’re free if you use repurposed jars.
I love these labels! I especially love that you’ve done them in different colors since I color code my kids to avoid fighting.
I’ve been wanting to try my hand at making my own labels, thanks for the easy instructions.
Have fun, April. But warning – label making is addictive. 🙂