Easy Repurposed Sweater Mittens
This post may contain affiliate links provided for your convenience. We earn commissions if you shop through the links on this page. I am also an Amazon Associate and earn from qualifying purchases Read my full disclosure policy.


I am not a seamstress. I’m really am not a seamstress. I am a stay-at-home mom with time on my hands, too much time, I guess.
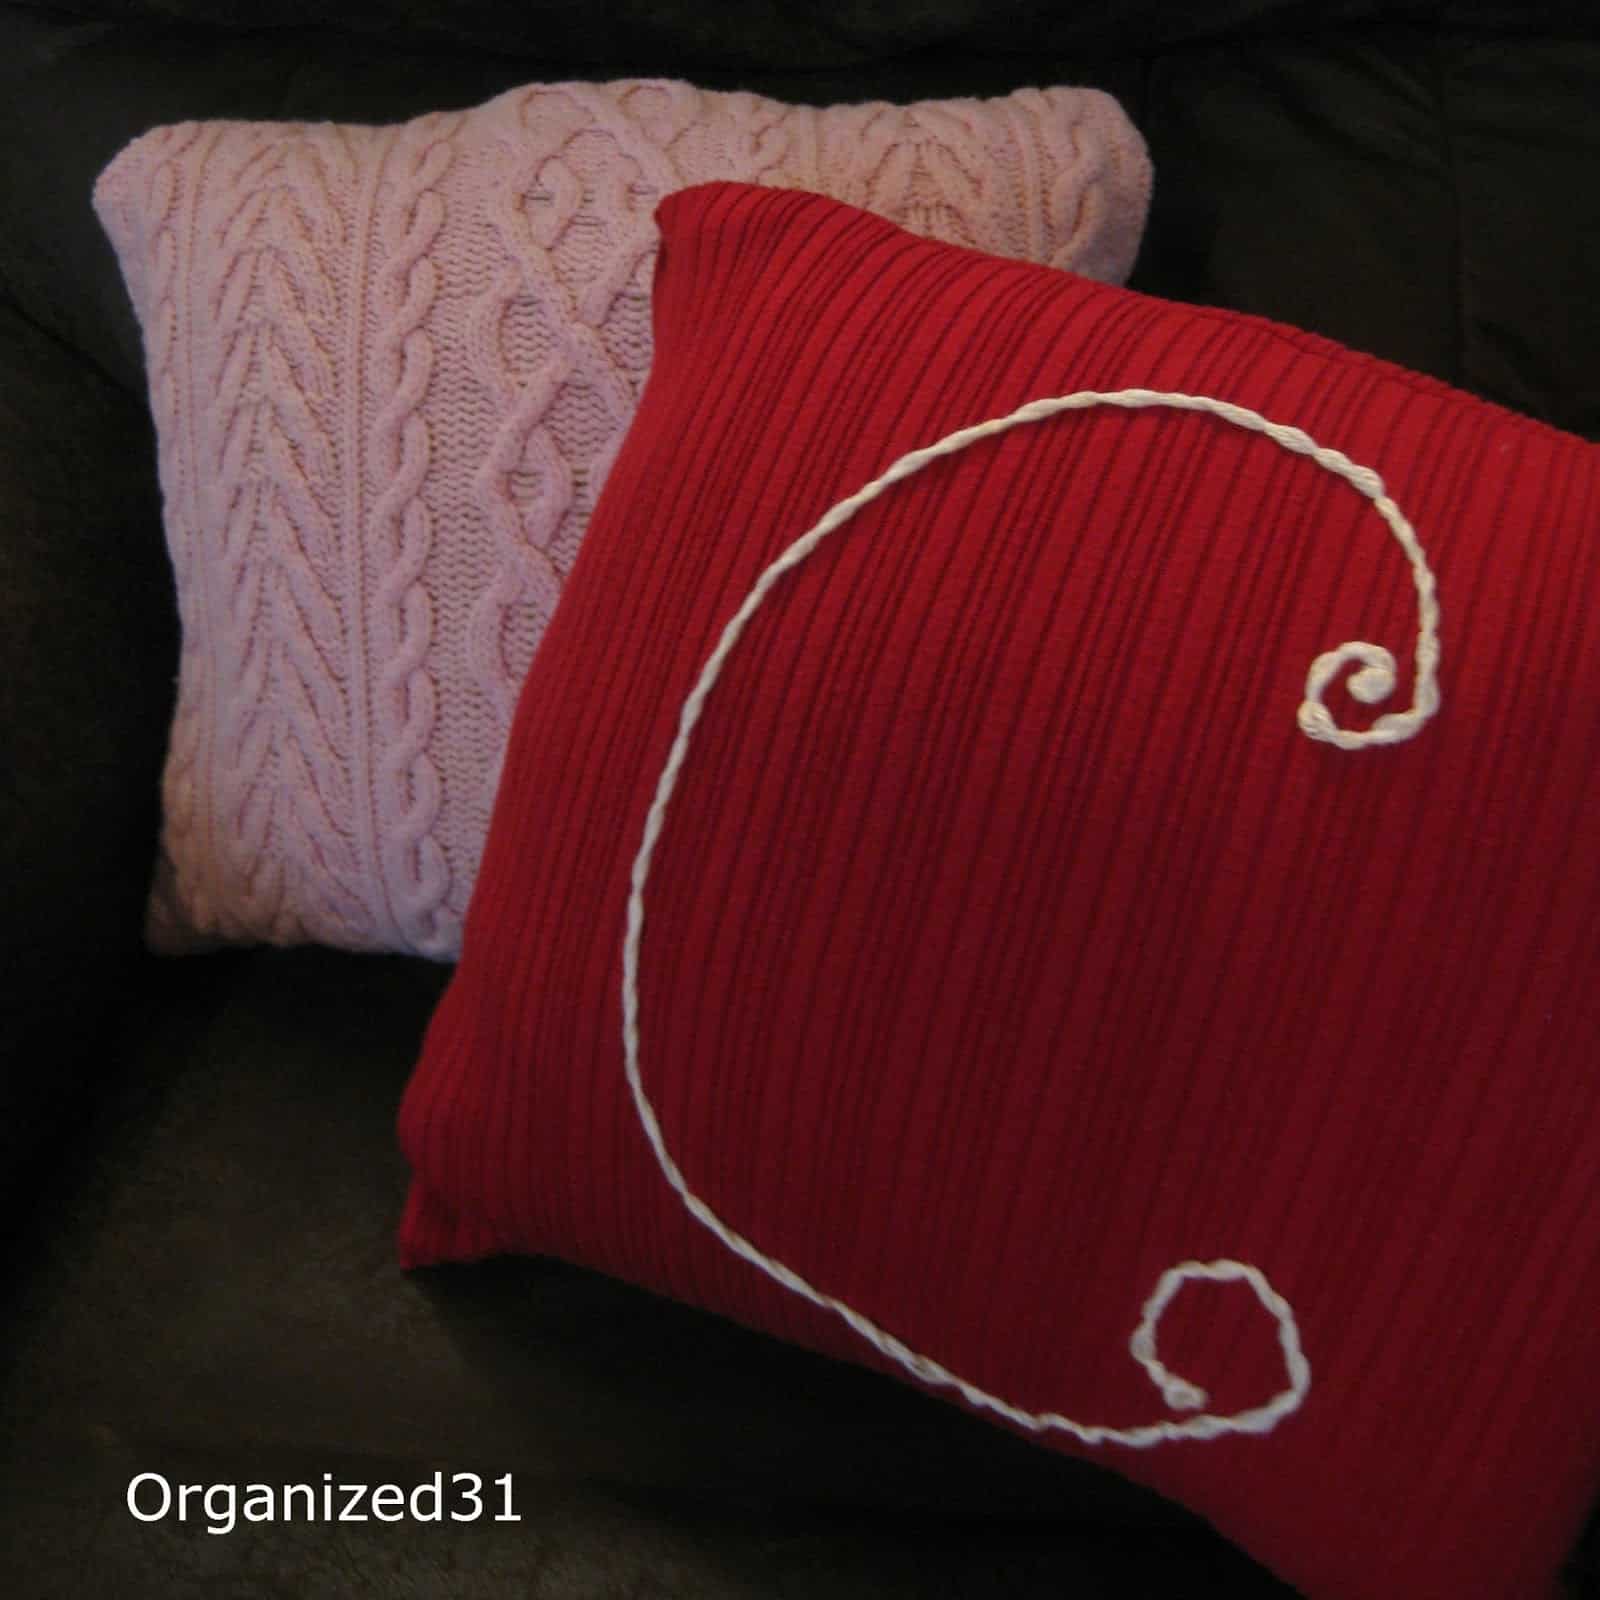
I made this Repurposed Sweater Pillow last week as a gift for a friend.
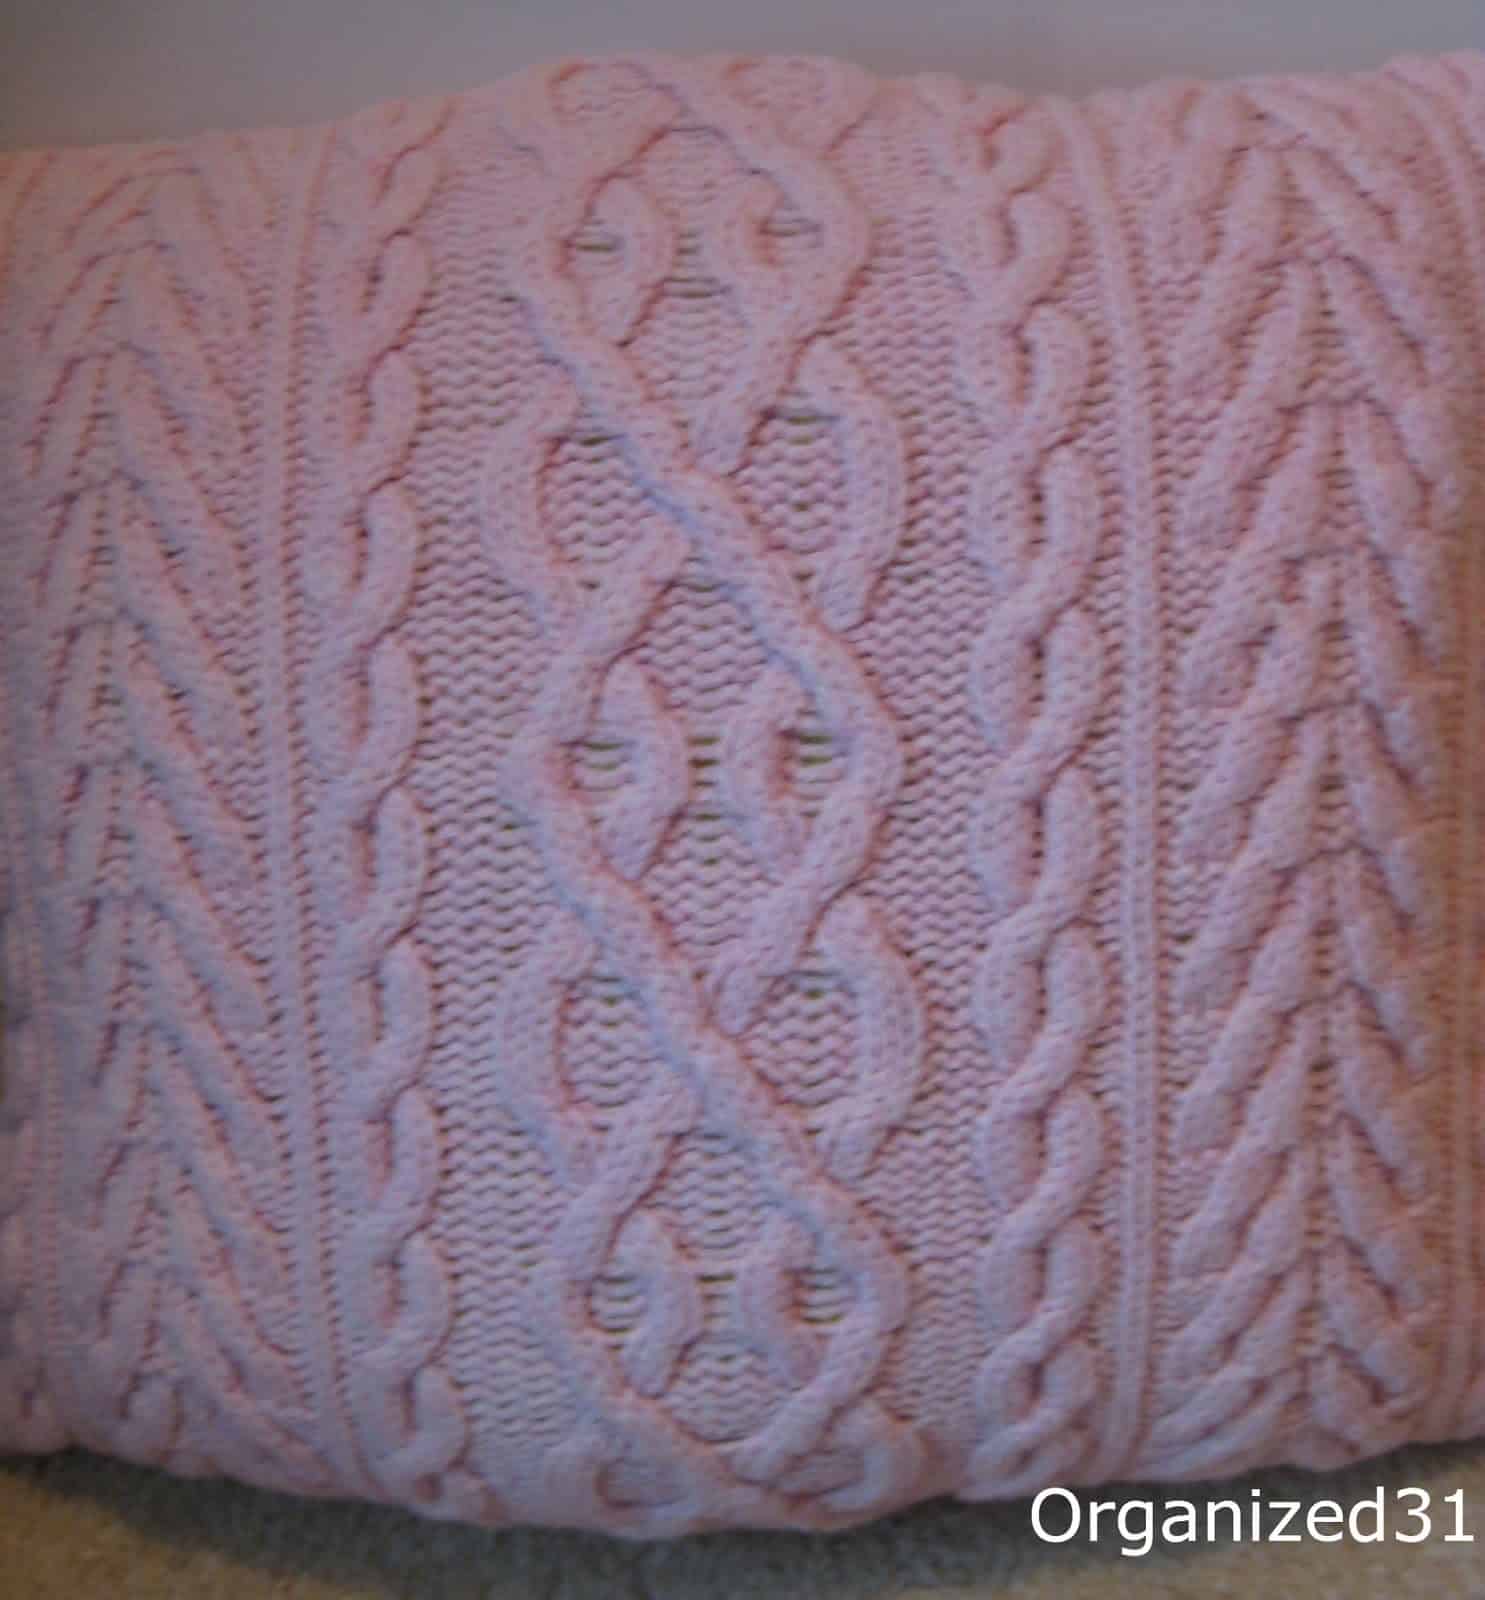
I loved the pink sweater so much that I just couldn’t throw away the sleeves.
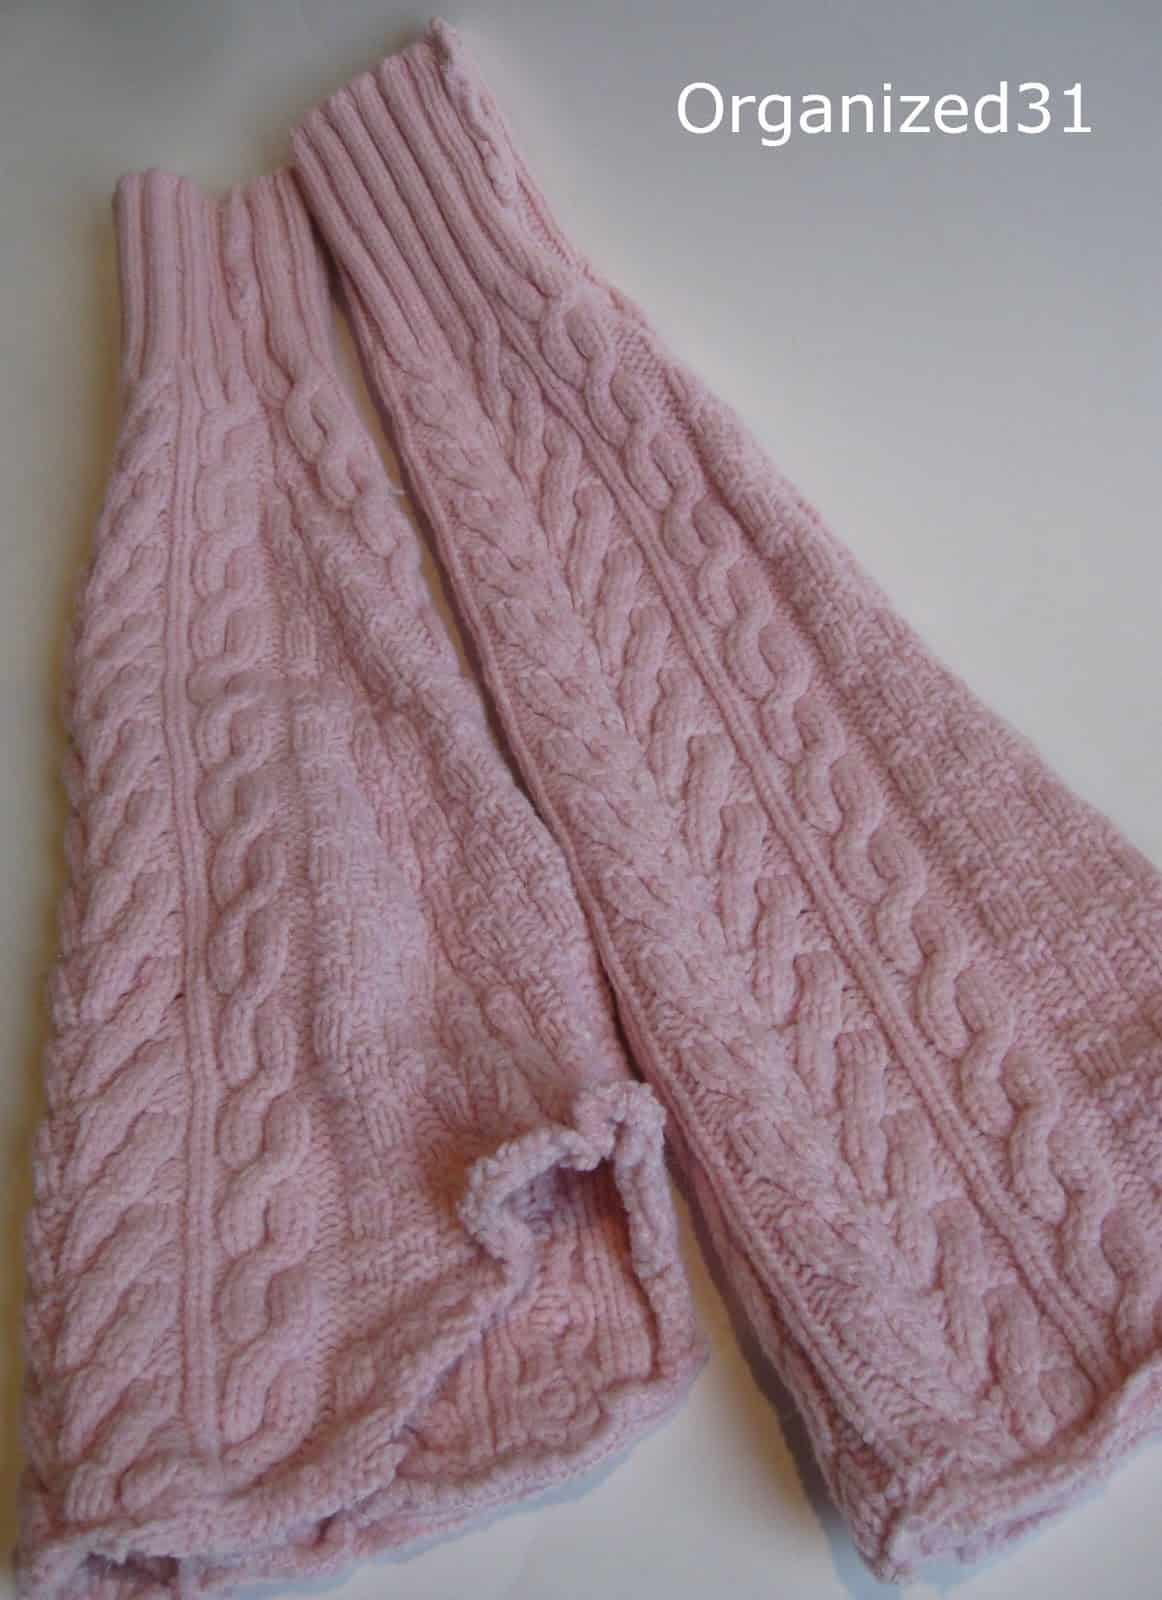
Who knows when you’ll need 2 beautiful pink sweater sleeves. I kept hearing “Hoarder, hoarder, hoarder” whispered over and over again. Luckily, only 4 days later I came up with the perfect use for the sleeves when a friend was in need of mittens and gloves for a move to a cold climate.
I had left the seam on the sleeve when I cut them off the sweater. Since the sweater was made from wool, I washed them with a load of jeans. I didn’t really want to felt them, but I wanted the knit to tighten up some. This seemed to work for me.
I made a pattern for the mittens by drawing around my hand. There’s a great quick video tutorial {here}.
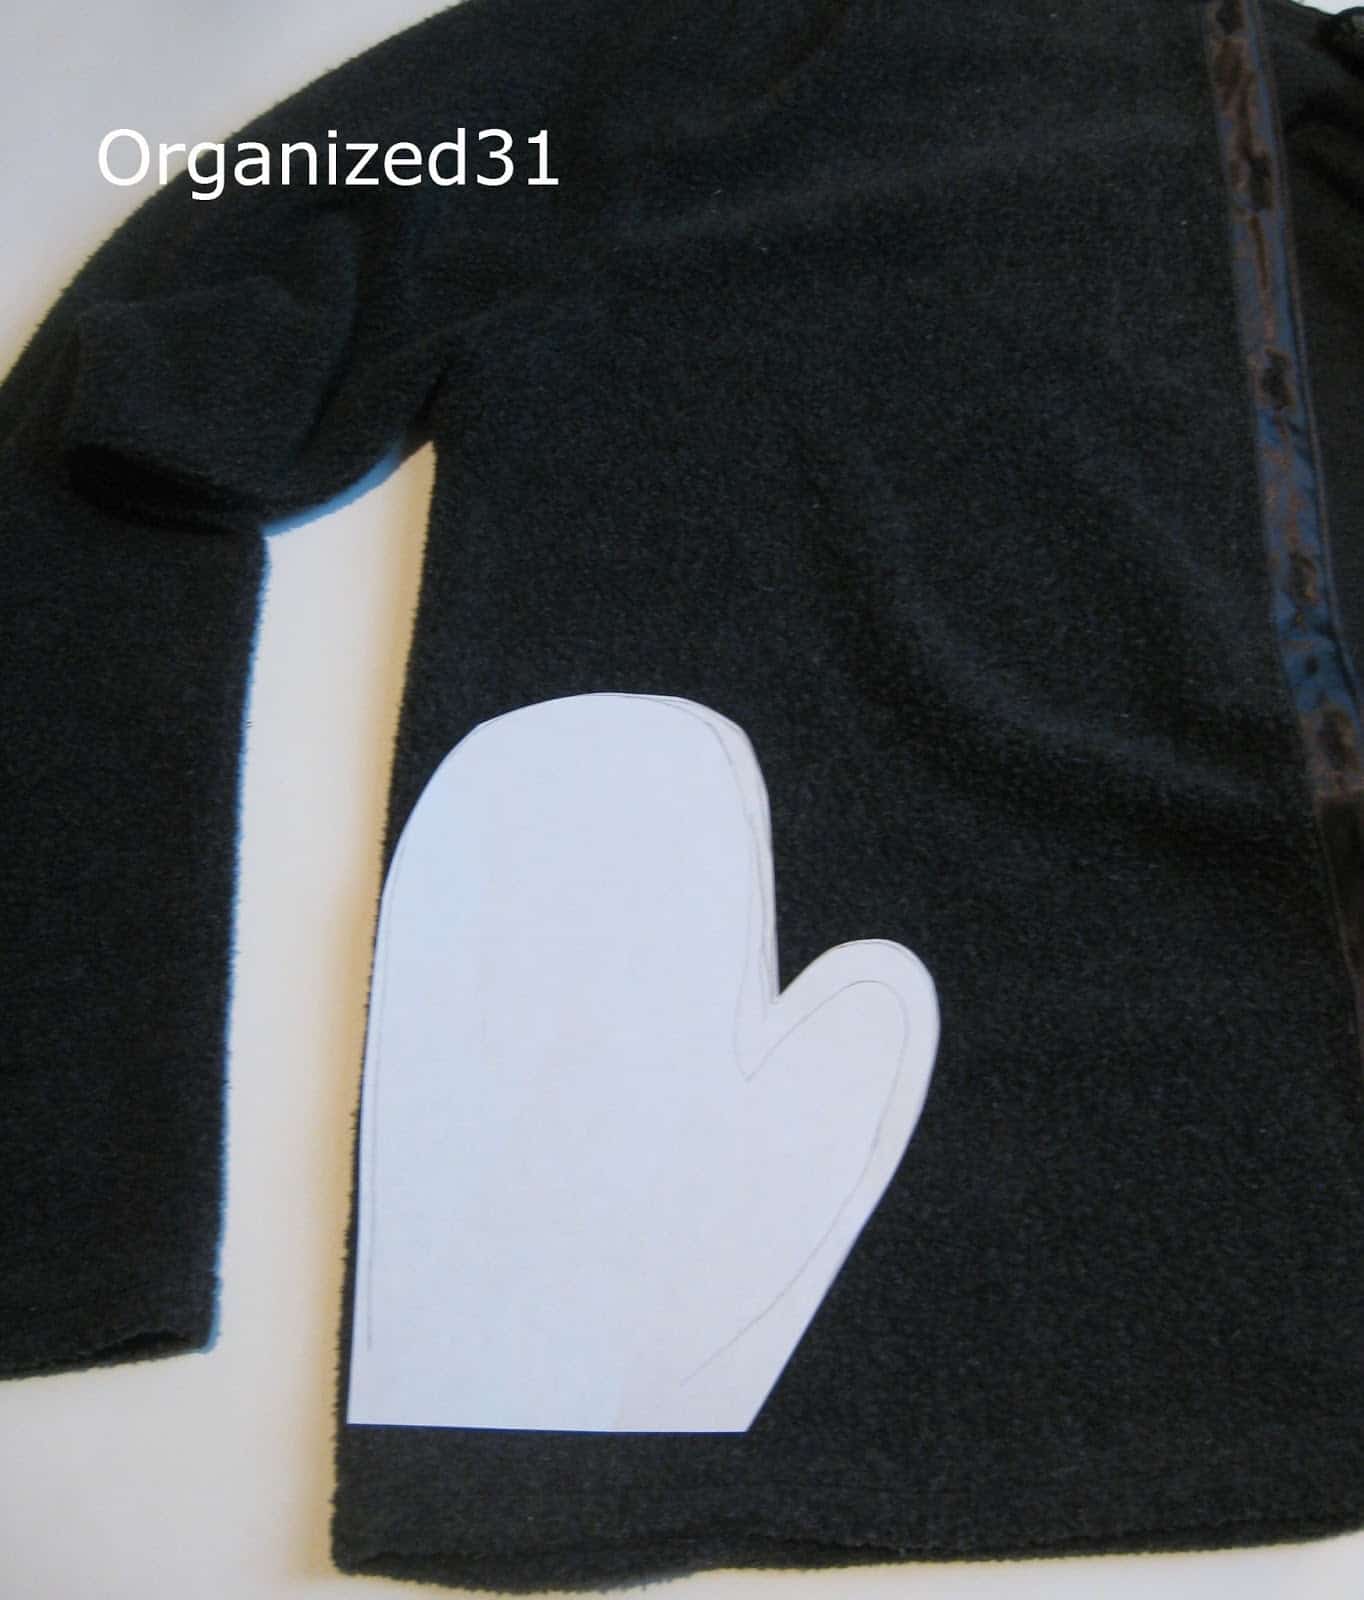
I used a thinner fleecy sweater for my first attempt. I laid the pattern so that the cuff is the bottom hem of the sweater ( = less sewing). I also laid the pattern so that the non-thumb side of the mitten is the side seam of the sweater ( = even less sewing). I told you I’m not a seamstress.
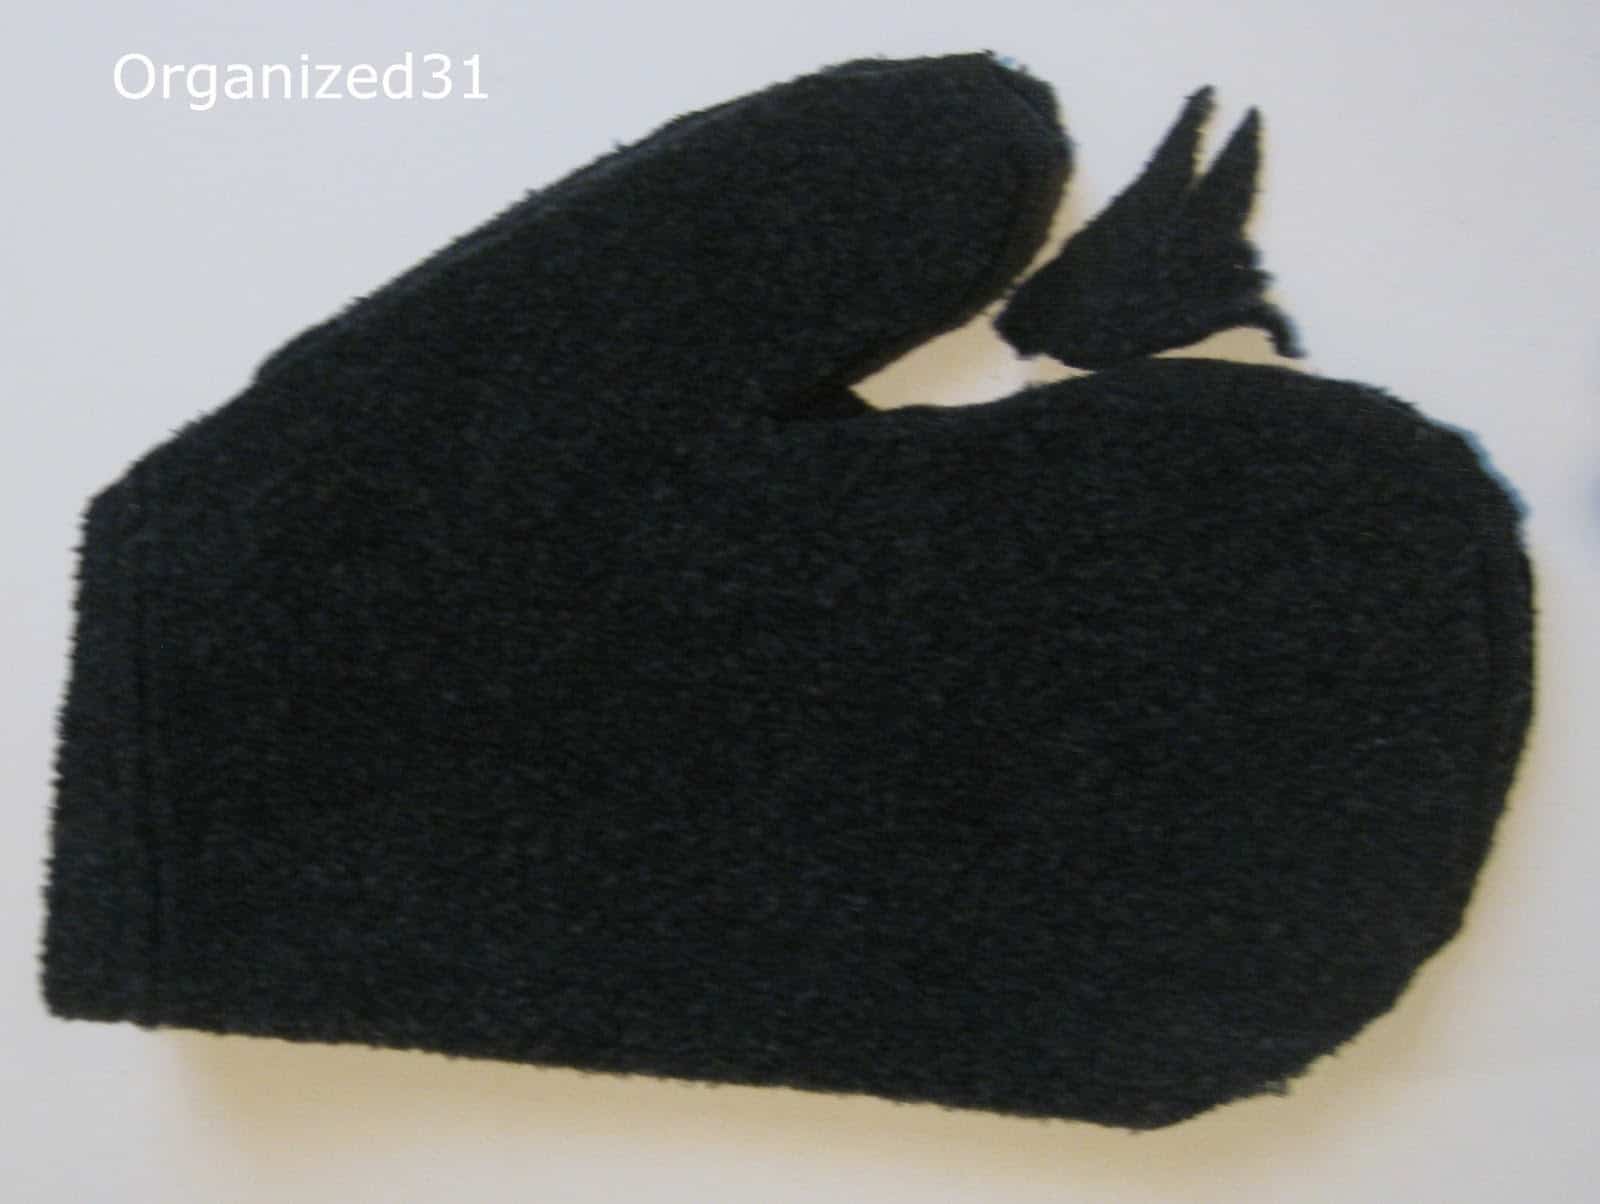
Once I cut both mittens out, I laid them on top of each other and trimmed them to the same size. Even though I used a pattern, the mittens came out slightly different sizes because cutting through two layers of sweater can be tricky around the thumb joint area.
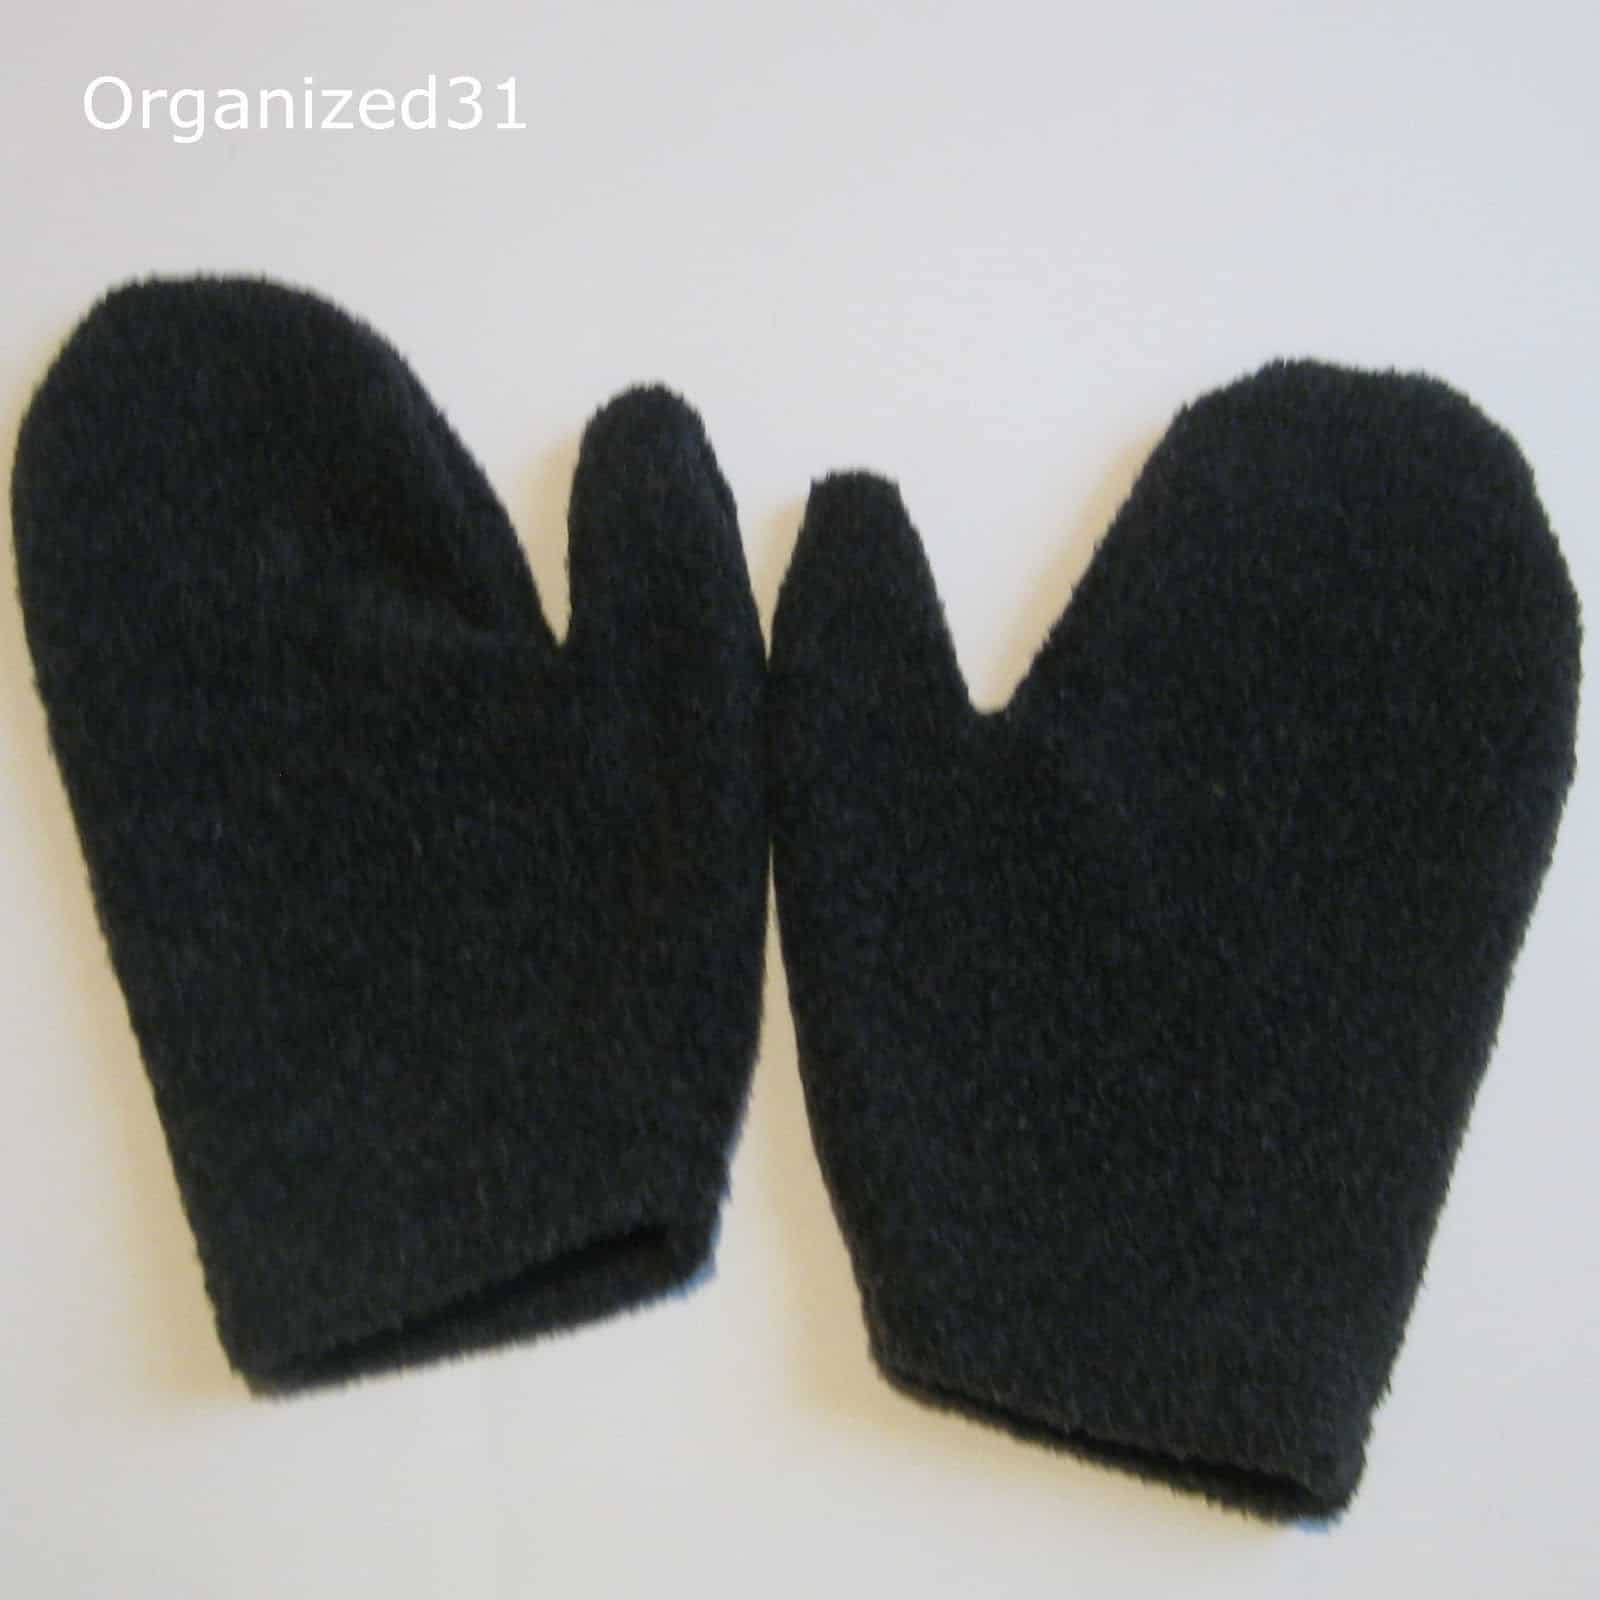
I sewed them up and was so thrilled with the results that I had to make another pair.
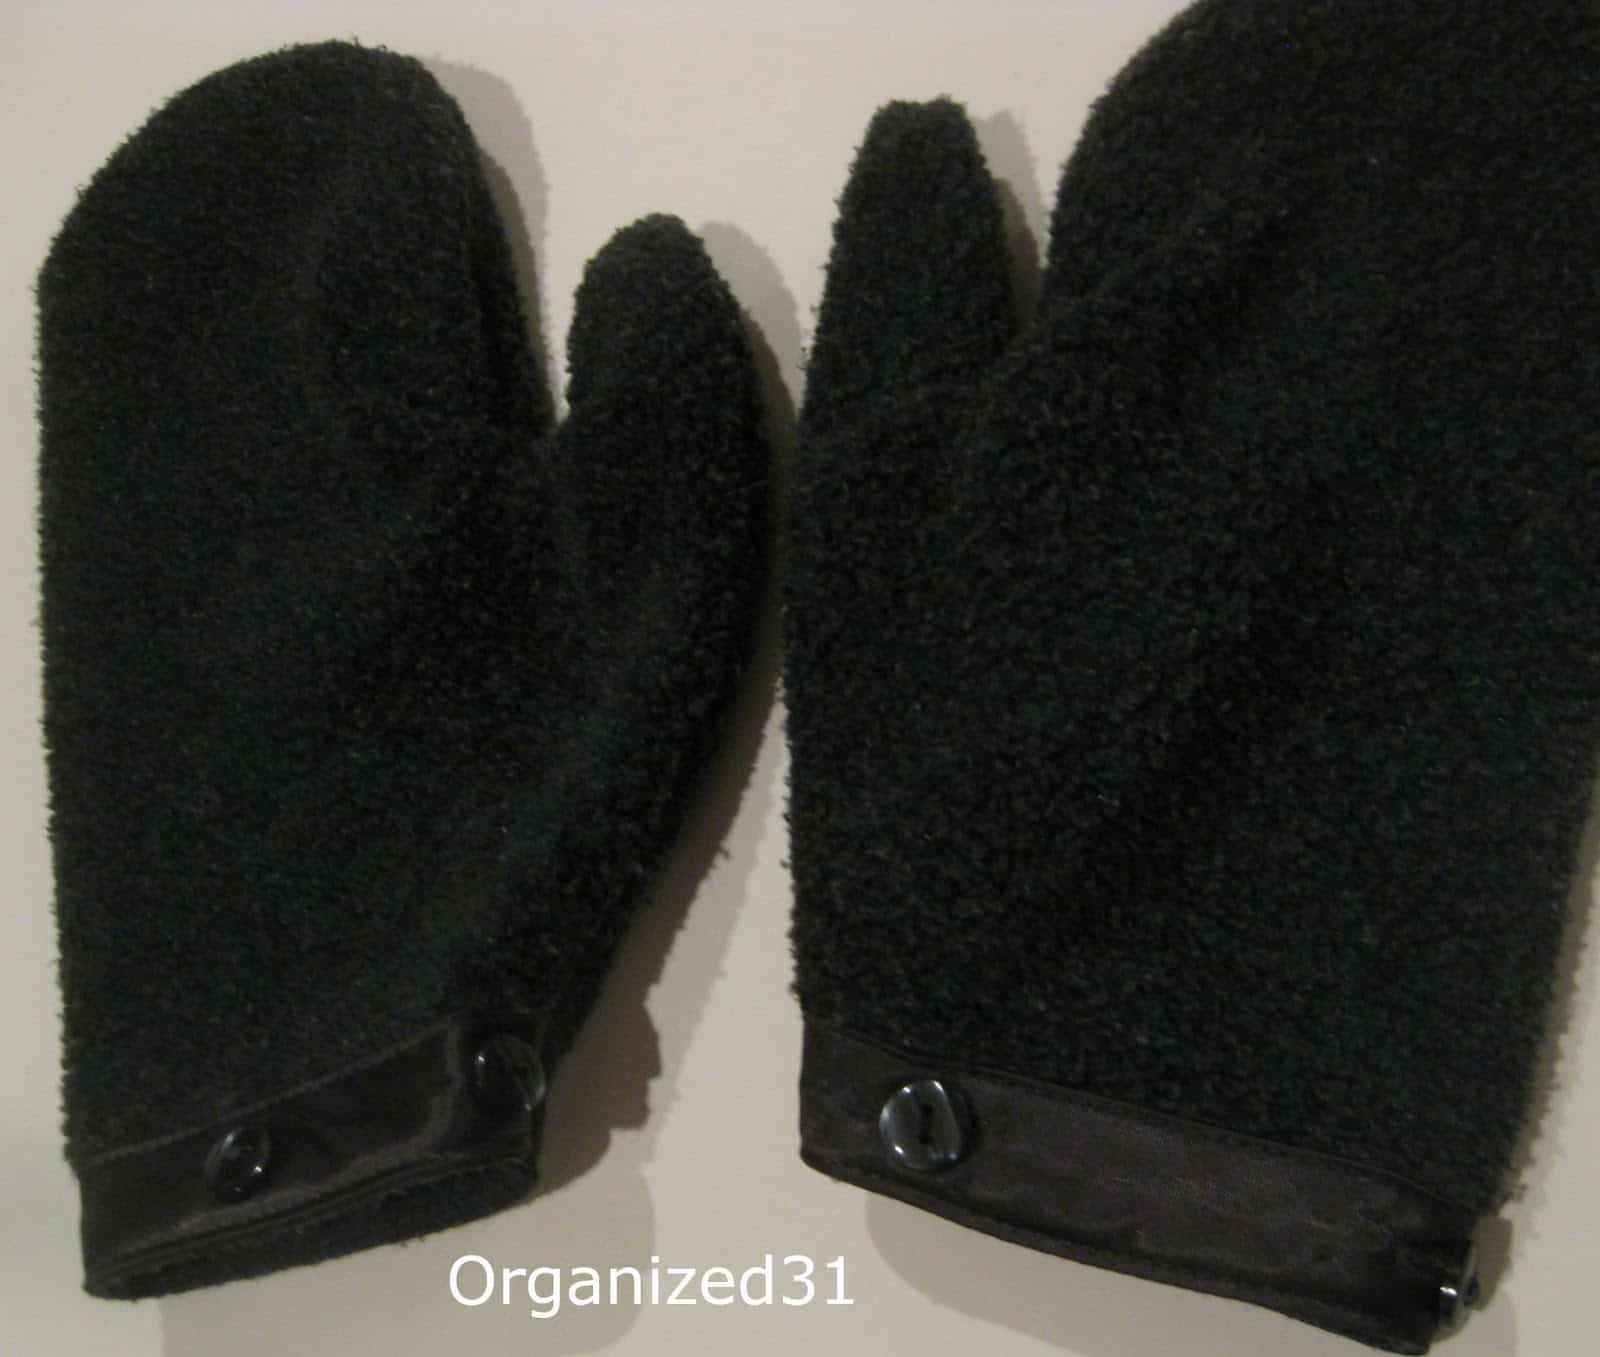
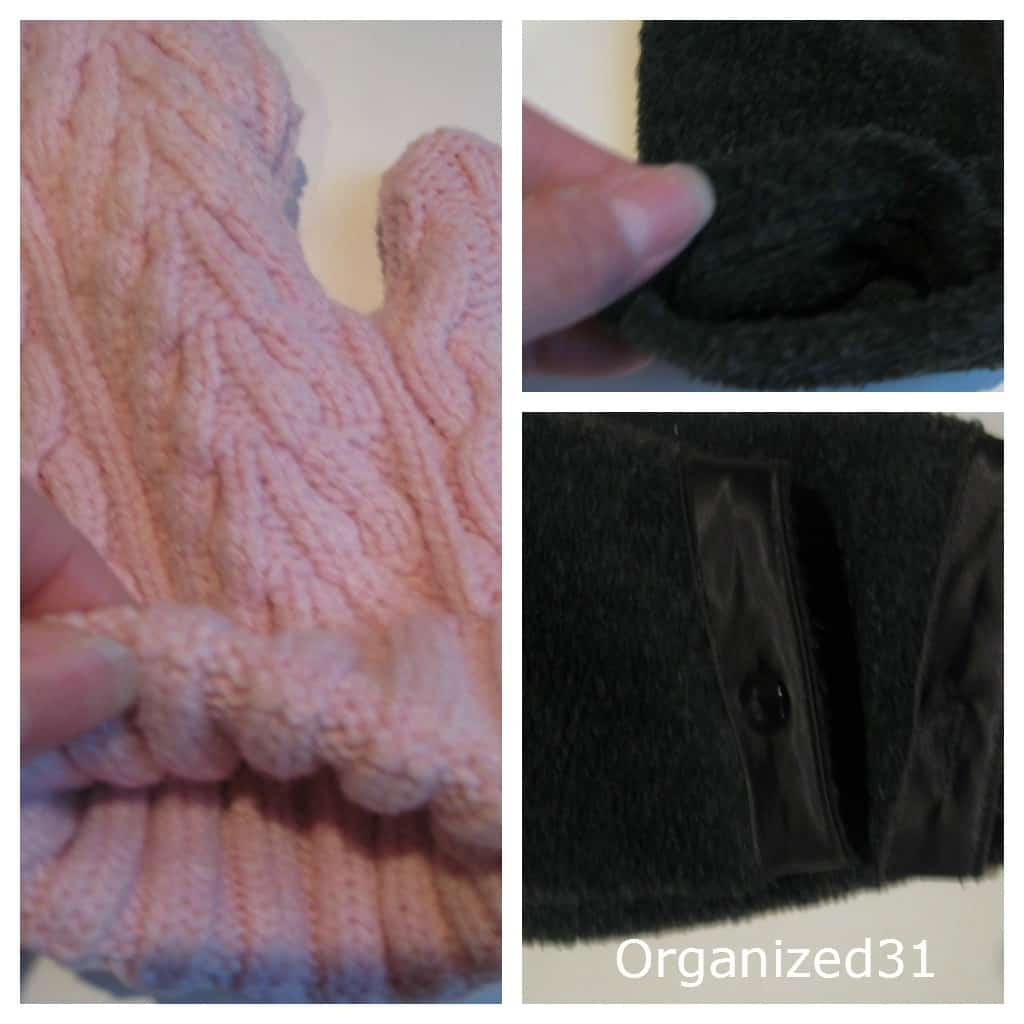
This time I used the binding of the cardigan (where the buttons and button holes are) to make the cuffs ( = less sewing + cute detail). I folded the button side of the cardigan in half and cut my pattern out with the non-thumb side on the fold ( = less sewing). I did the same with the button hole side of the cardigan. I used the extra buttons from the scraps to sew over the button holes so that both mittens match with their button detail. My 17-year old daughter has already appropriated these. Best compliment a mom can get.
By now I’d gained enough confidence to tackle the pink sweater, my original inspiration. I was so excited, I forgot to take pictures. But I laid the pattern on the sleeve so that the cuff of the sweater would be the cuff of the mitten. And I continued my lazy ingenious step of laying the non-thumb side of the pattern on the seam of the sleeve (again, = less sewing).
I’m so happy with the way these turned out that I’m not sure I’m going to give them away.
They’re very easy to make and I made all three six of these mittens in less than an hour. And that was with a non-seamstress learning curve. If you’re like me, and really don’t sew much, the only two things you need to know are:
1. Use the cuff of the sweater for the cuff of your mitten.
And,
2. Lay your pattern so the non-thumb side is on a seam or fold.
Have fun. I’m off to thrift some more sweaters, patterned sweaters this time. I still need to make another pair for that friend of mine ’cause the pink ones are staying with me.
Update:
These pillows started the mitten project.
And I made these gift bags from the sleeves of the red pillow sweater.
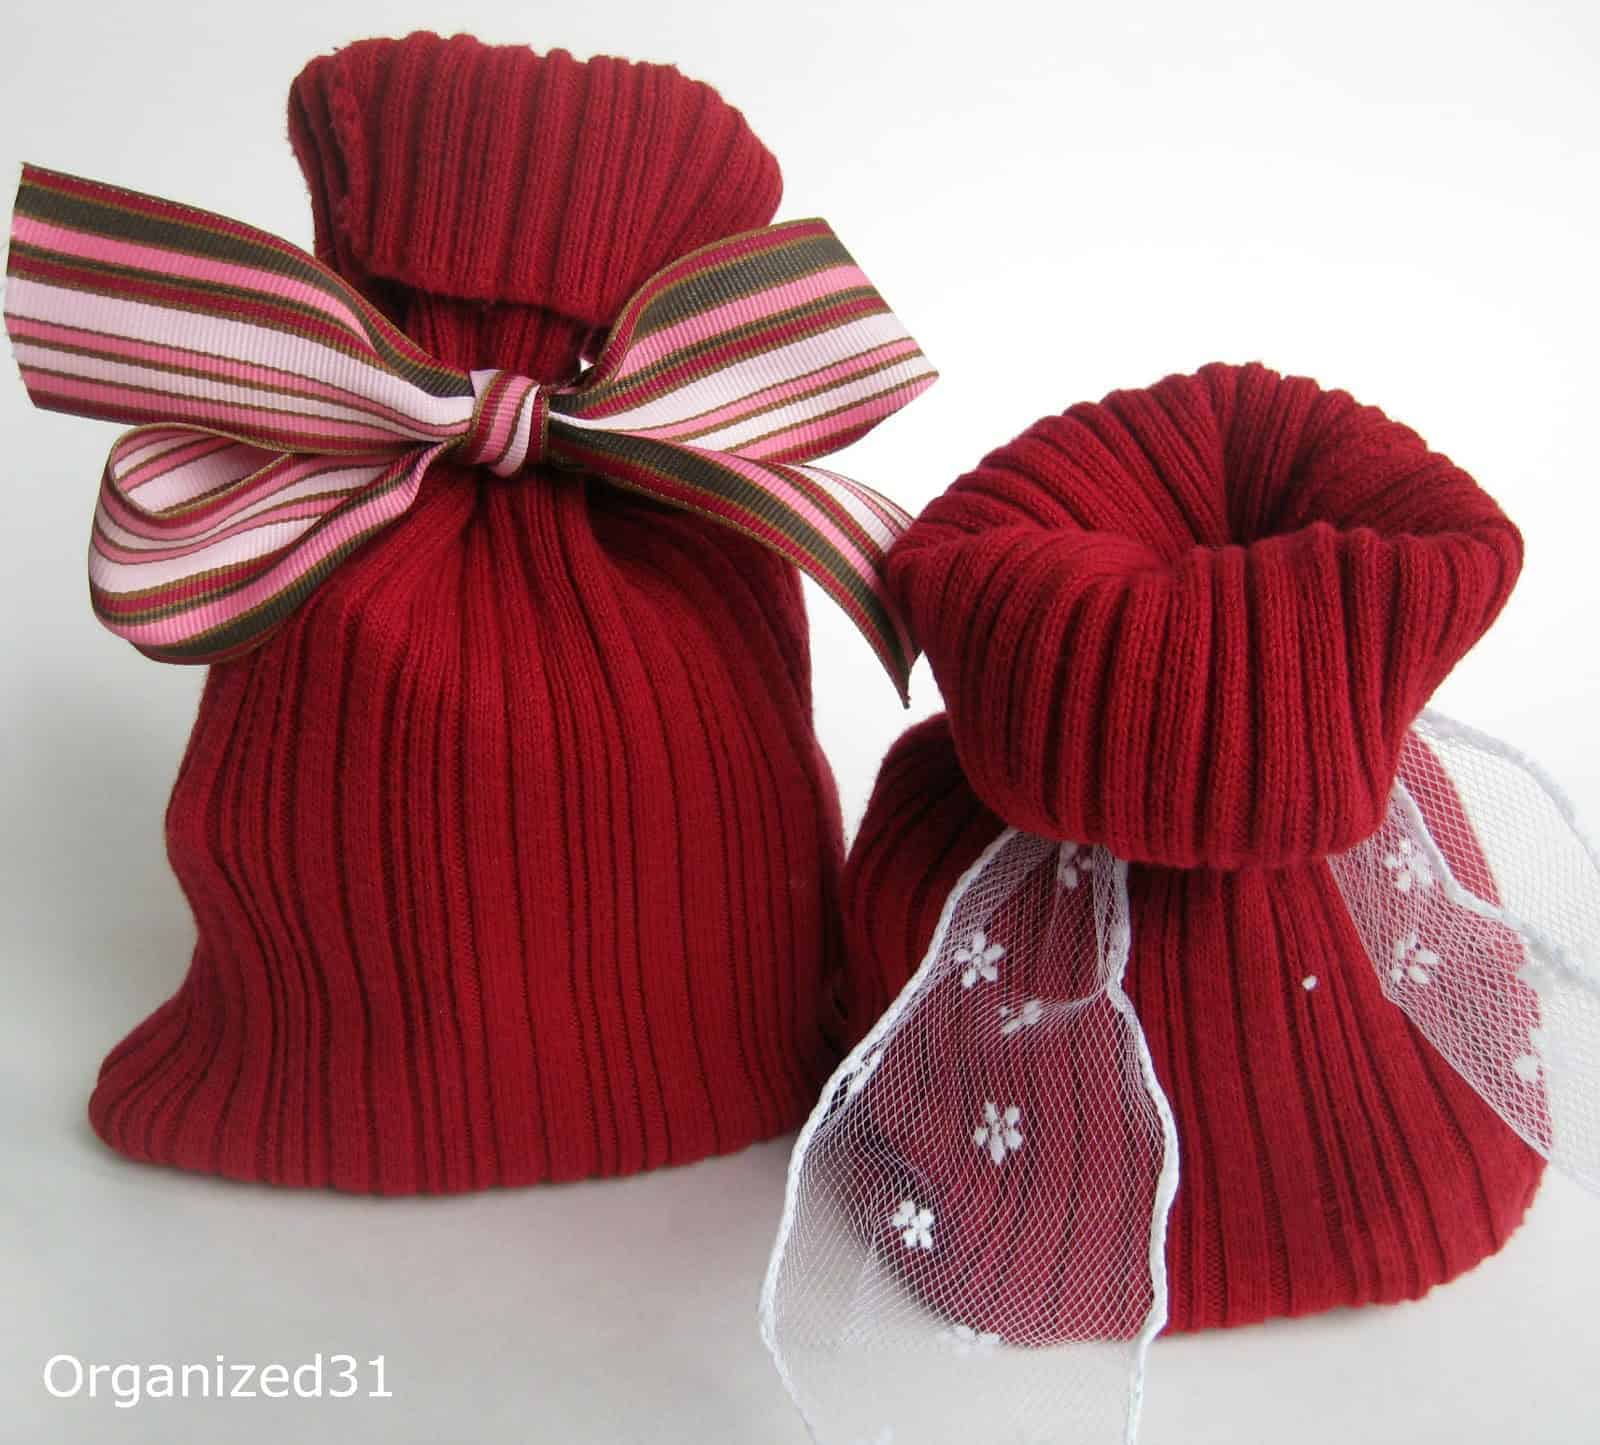 |
| Sweater Sleeve Gift Bags |

I’m a mom of 3, a veteran, military spouse. I’ve moved into 20+ homes all around the world. My passion is helping busy people make the space and time for what’s really important to them. Learn more about Organized 31 and me.
I love your mittens and your pillow.Debi and Charly
Absolutely love the cable knit ones!!
Good for you! They are beautiful! Thank you for sharing it at the LINKY party
Such a great idea! Thanks so much for sharing at Wednesday’s Adorned From Above Blog Hop 36. Debi and Charly @ Adorned From AboveMarci @ Stone Cottage AdventuresNichi @ The Mandatory Mooch
These are super cute. Pinned:)https://www.etsy.com/listing/120412156/valentine-chalk-board-paint-heart-cup
Cool idea! I like refashioning items. 🙂
Very creative idea! Great project. Thanks for linking up to Talkin’ About Thursday –
Brilliant and lovely 🙂 Thanks so much for linking up!
Very clever project! Love it!Thanks so much for sharing the great tutorial! Would love to have you visit me sometime.
Have a fabulous week!
Hugs from Portugal,
How clever!! Great instructions too. Thank you so much for sharing at FunDay Monday. Sylvia
What a great idea! I have a few sweaters I love that I may or may not have outgrown (ahem…) that would be great for this. Your instructions are excellent. Thank you for posting this.
Hi Susan, I have a surprise for you here:
I have a wool scarf that shrunk might have to try this with the scarf! Thanks for linking up @ DearCreatives.com Hope your having a great week!!
Great job! and hey, sometimes being a hoarder is a good thing! And in my case it always is, until spring cleaning time! Thanks for sharing on Craft Schooling Sunday!
Great ideas! I would love to have you join me as I kick off my brand new Creative HomeAcre Hop today at
Super cute! Thank you for sharing this at the Make it Pretty Monday party at The Dedicated House. Hope to see your prettiness again on Monday. Toodles, Kathryn @TheDedicatedHouse
I LOVE those mittens!! -Marci @ Stone Cottage Adventures
Wow – really love the pink mittens!
They are beautiful.I really like your mittens and your pillow case.Thanks for sharing .
Awesome pics you sharing thanks