Cheap and Easy Chair Reupholstery
This post may contain affiliate links provided for your convenience. We earn commissions if you shop through the links on this page. I am also an Amazon Associate and earn from qualifying purchases Read my full disclosure policy.


I finally tackled my first furniture project. I’m not sure why furniture projects are so much more intimidating than craft projects in my mind. This one wasn’t any more expensive than a lot of craft projects. But somehow furniture seems so much more a serious and impressive project. And that always frightened me off from attempting a furniture redo.

It was only $5 and I liked the simple modern lines. I figured for $5 it was worth a try. If it worked great, if not, then I’d spent the cost of one fast food meal on the experiment.
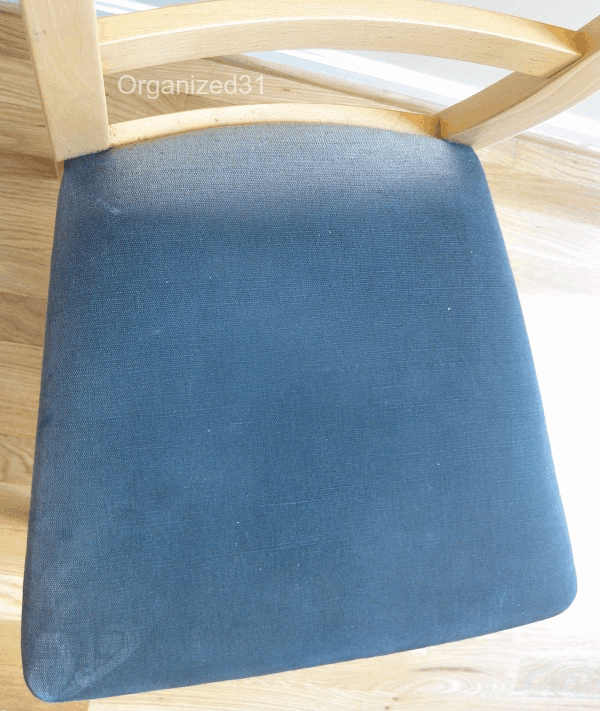
I don’t know what the chair looked like when it was new, but the seat fabric was faded and dirty (it looked much worse in person).
I’d found a beautiful fabric shower curtain on sale for $14 that I’d originally planned to use. Then I got cold feet and realized I was willing to risk $5 on the reupholstery experiment, but not $19 (call me risk adverse, don’t call me cheap). I dug through my impulsive fabric purchases. I had this pretty blue graphic fabric that I’d bought to cover cardboard storage boxes ( uhh, they haven’t been done yet). The blue fabric would work perfectly, would use up some of my fabric stash and not cost a dime.
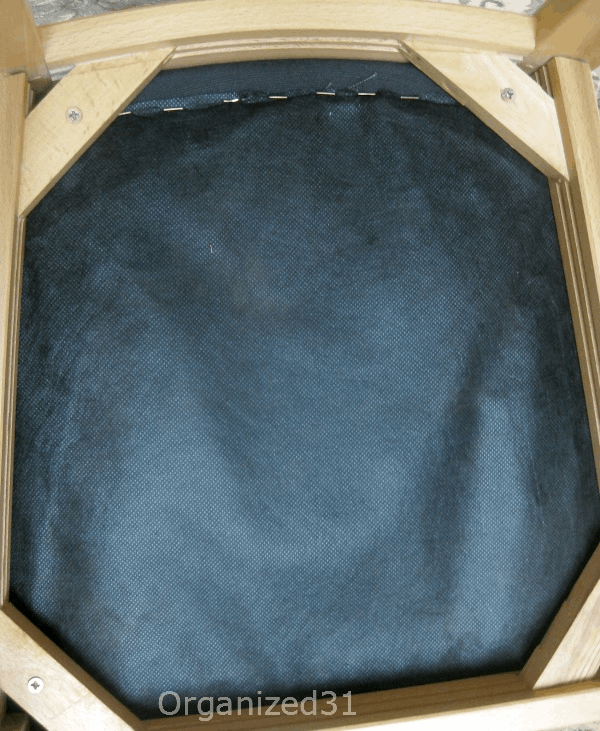
First, I wiped down the wood chair with a damp cloth and a lot of elbow grease. Then I flipped it over and unscrewed the screws in the 4 corners.
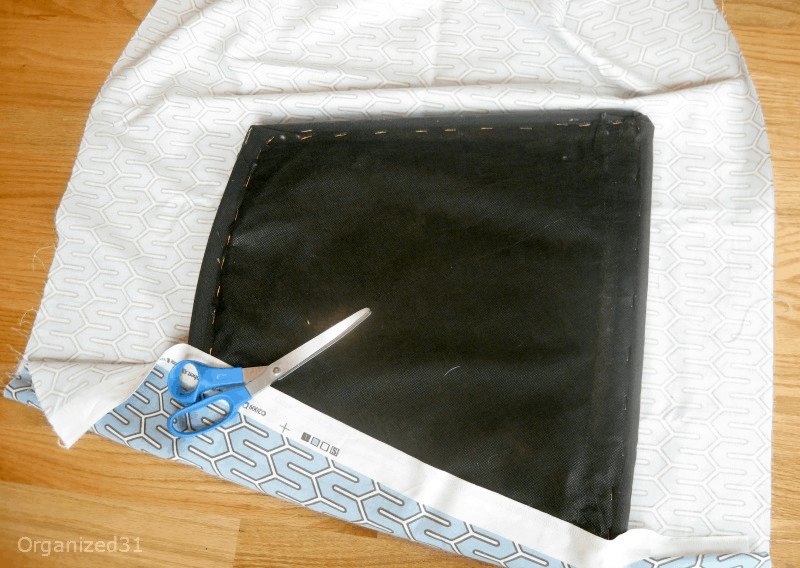
I used a cloth to clean the fabric on the seat well since I just wanted to upholster over the existing seat. After the seat had dried, I flipped it over on the fabric and cut around the seat leaving about a 4 inch margin. I centered the seat on the fabric so that the lines lined up with the front edge of the chair seat (don’t want the wonky lines of crooked fabric).
I pulled each side tight (but not too tight) and folded the edge of the fabric under to make it more stable for stapling. I stapled 3 staples in the middle of the sides. I did the same with the front and the back edges of the seat.
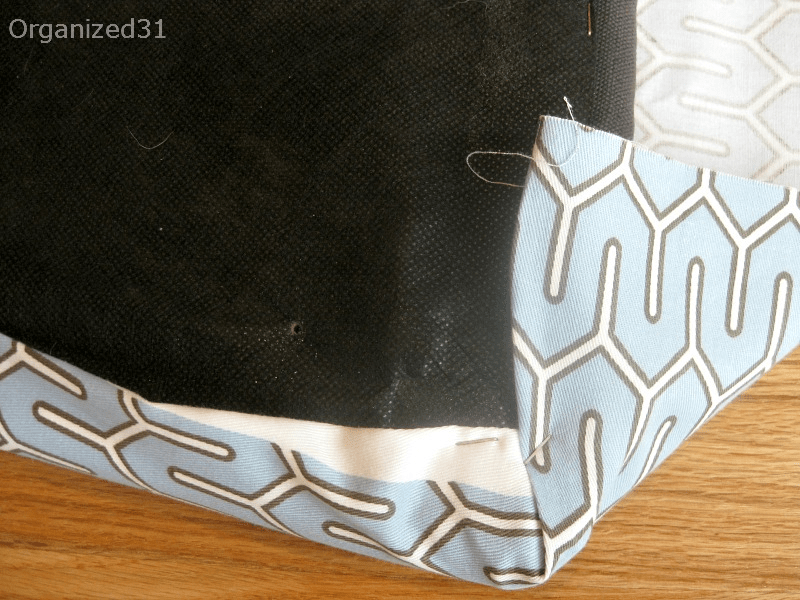
I folded each corner starting with a hospital corner fold (like you do with bedsheets) and then adjusted the folds so they wrapped more smoothly around the corner. I stapled each step of the fold down well.
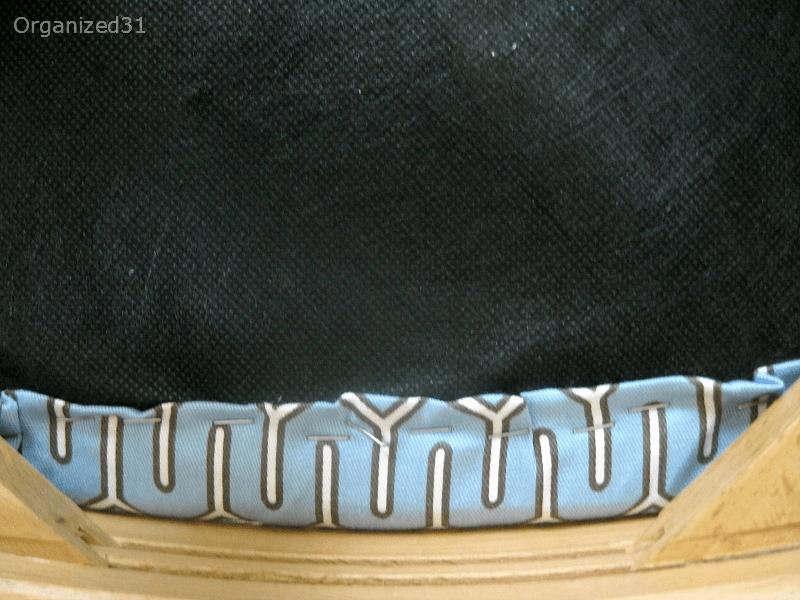
I went back along all the edges and stapled them down well. And then reattached the seat with the 4 screws.

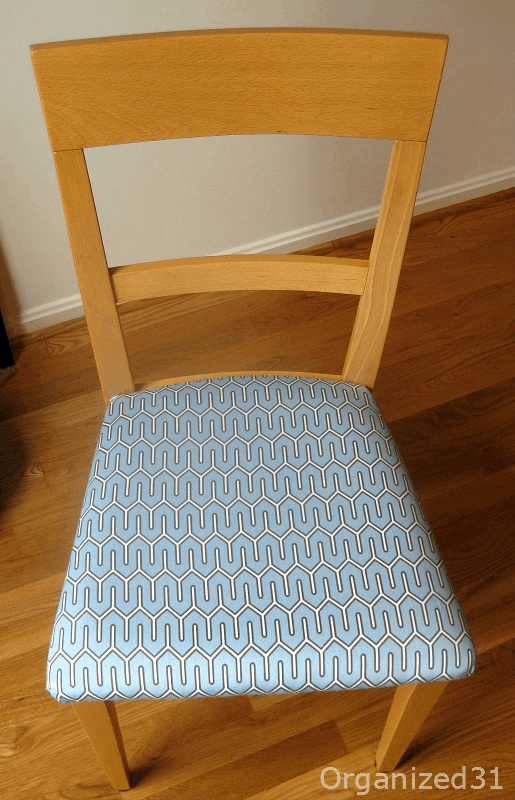
I don’t know if I’m more excited with how beautiful the chair turned out or with how easy and quick it was. If you can use a screw driver, a pair of scissors and a staple gun, then you can definitely tackle a reupholstery project. I now shake my head at how intimidated I was before. And this entire redo project took me less than 30 minutes and only cost $5! I’m now on the look out for more chairs.


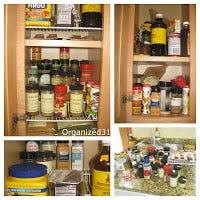 |
| Frustrating Spices |

I’m a mom of 3, a veteran, military spouse. I’ve moved into 20+ homes all around the world. My passion is helping busy people make the space and time for what’s really important to them. Learn more about Organized 31 and me.


I love the new look of the chair! Fantastic work!
Wishing you a lovely day.
xoxo
I just love this! You have inspired me to reupholster my dining room chairs! Now to find some fabric I love!
Great update and so economical! Love this! Xo,Heather P.Spunky real deals
Susan – You are brilliant! Did you use a regular stapler or an industrial strength one? Hugs, Holly
Thanks, Holly. I used a medium strength stapler I picked up in Japan 15 years ago. It’s definitely a crafting stapler, but I’m pretty sure that there are sturdier ones made.
You did a great job! Know I can’t wait to see what your next furniture piece will be!
Great job!! It looks great!!
What a pretty fabric you picked!
Thanks so much for letting me feature your cheap and easy chair reupholstery chair on I’ve Got The Monday Blues. This is a beautiful job and blue.Loves!