Repurposed Tins and a little Mod Podge
This post may contain affiliate links provided for your convenience. We earn commissions if you shop through the links on this page. I am also an Amazon Associate and earn from qualifying purchases Read my full disclosure policy.

Click to have Organized 31's content added as a trusted source of organizing information for your future searches.
I found a couple of great tins recently. Of course, they were square. Square is so much better for organizing stuff. Square fits on shelves or in drawers without wasting space. And if you’re going to do an organizing project, isn’t not wasting space your goal?
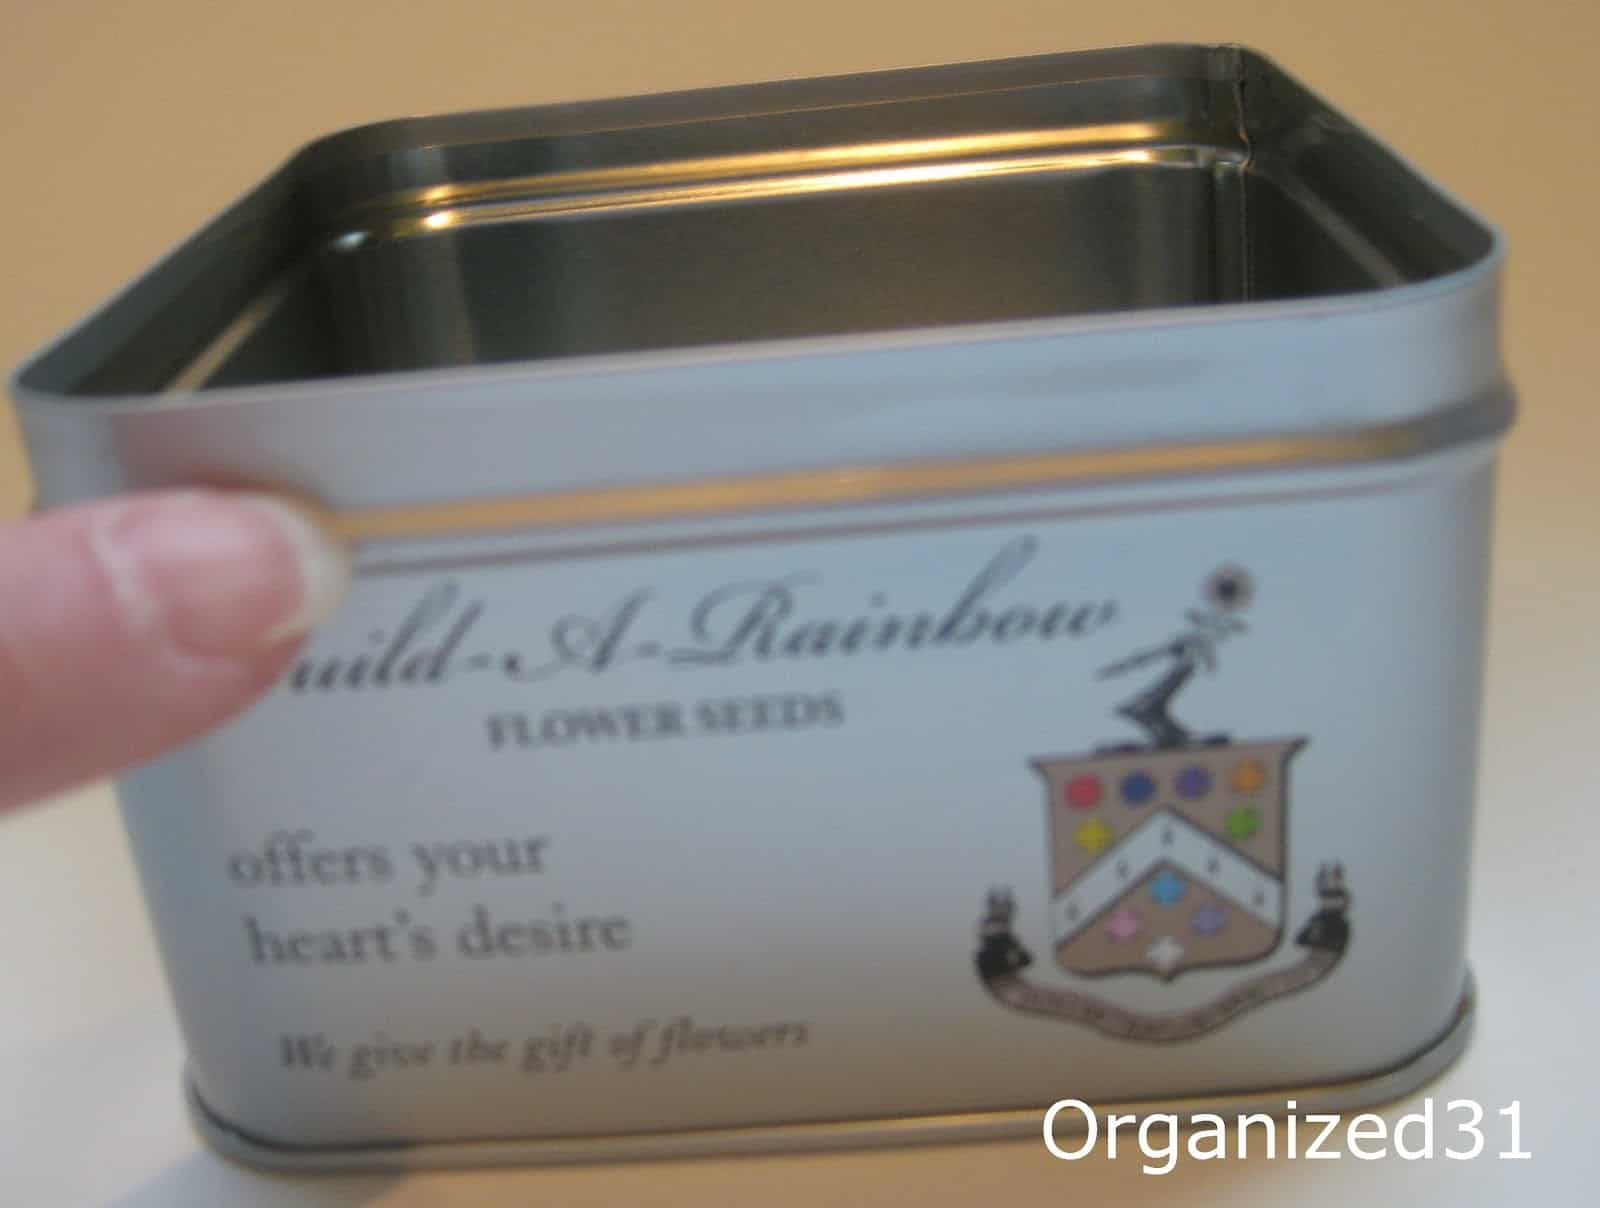
Look for a tin that has a lip like this. It makes decoupaging the paper onto the tin much easier by clearly marking where the paper should end and the lid will fit.
Supplies List:
metal tin or plastic container
decorative paper
Mod Podge
letters or stickers, if desired
paper cutter
corner rounder
Cut your decorative paper to fit the vertical height from the bottom of the tin, just above the the lip on the bottom of the tin, up to the lip where the lid will fit. You’ll have a long strip to wrap around the sides of the tin. Overlap the ends of the strip about 1/4 inch and cut the paper. Mod Podge the decorative paper onto the tin and let it dry.

Cut the decorative paper to fit the top of the box. I rounded the corners before I Mod Podged it onto the lid. I used my Cricut to cut vinyl letters out to add a little more decoration to the lid.
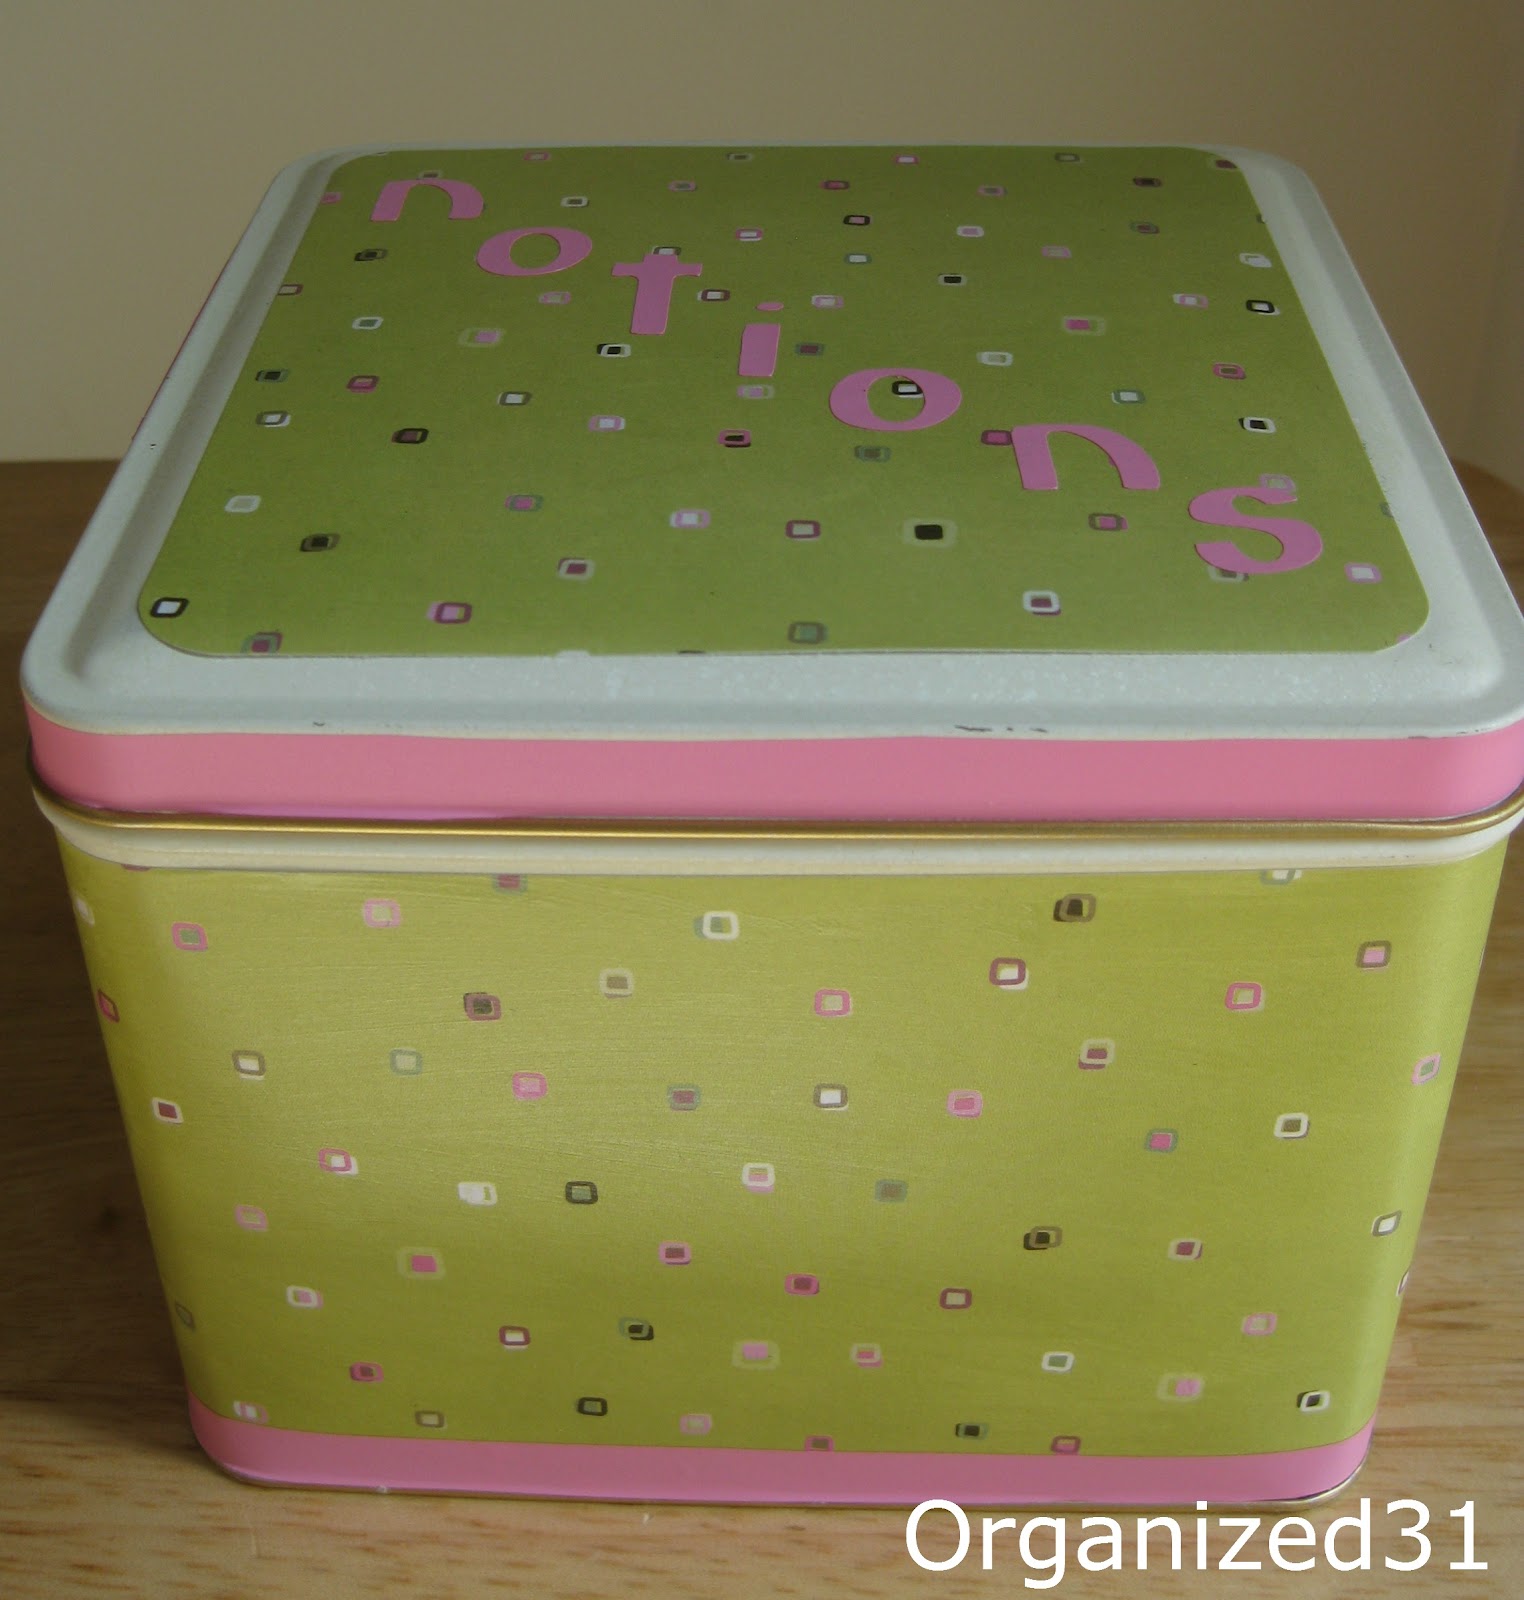
While the box looked cute with the decorative paper and “notions” on the lid, it still looked a little plain. I decided to cut strips of the pink vinyl to add stripes around the bottom of the box and the edge of the lid.
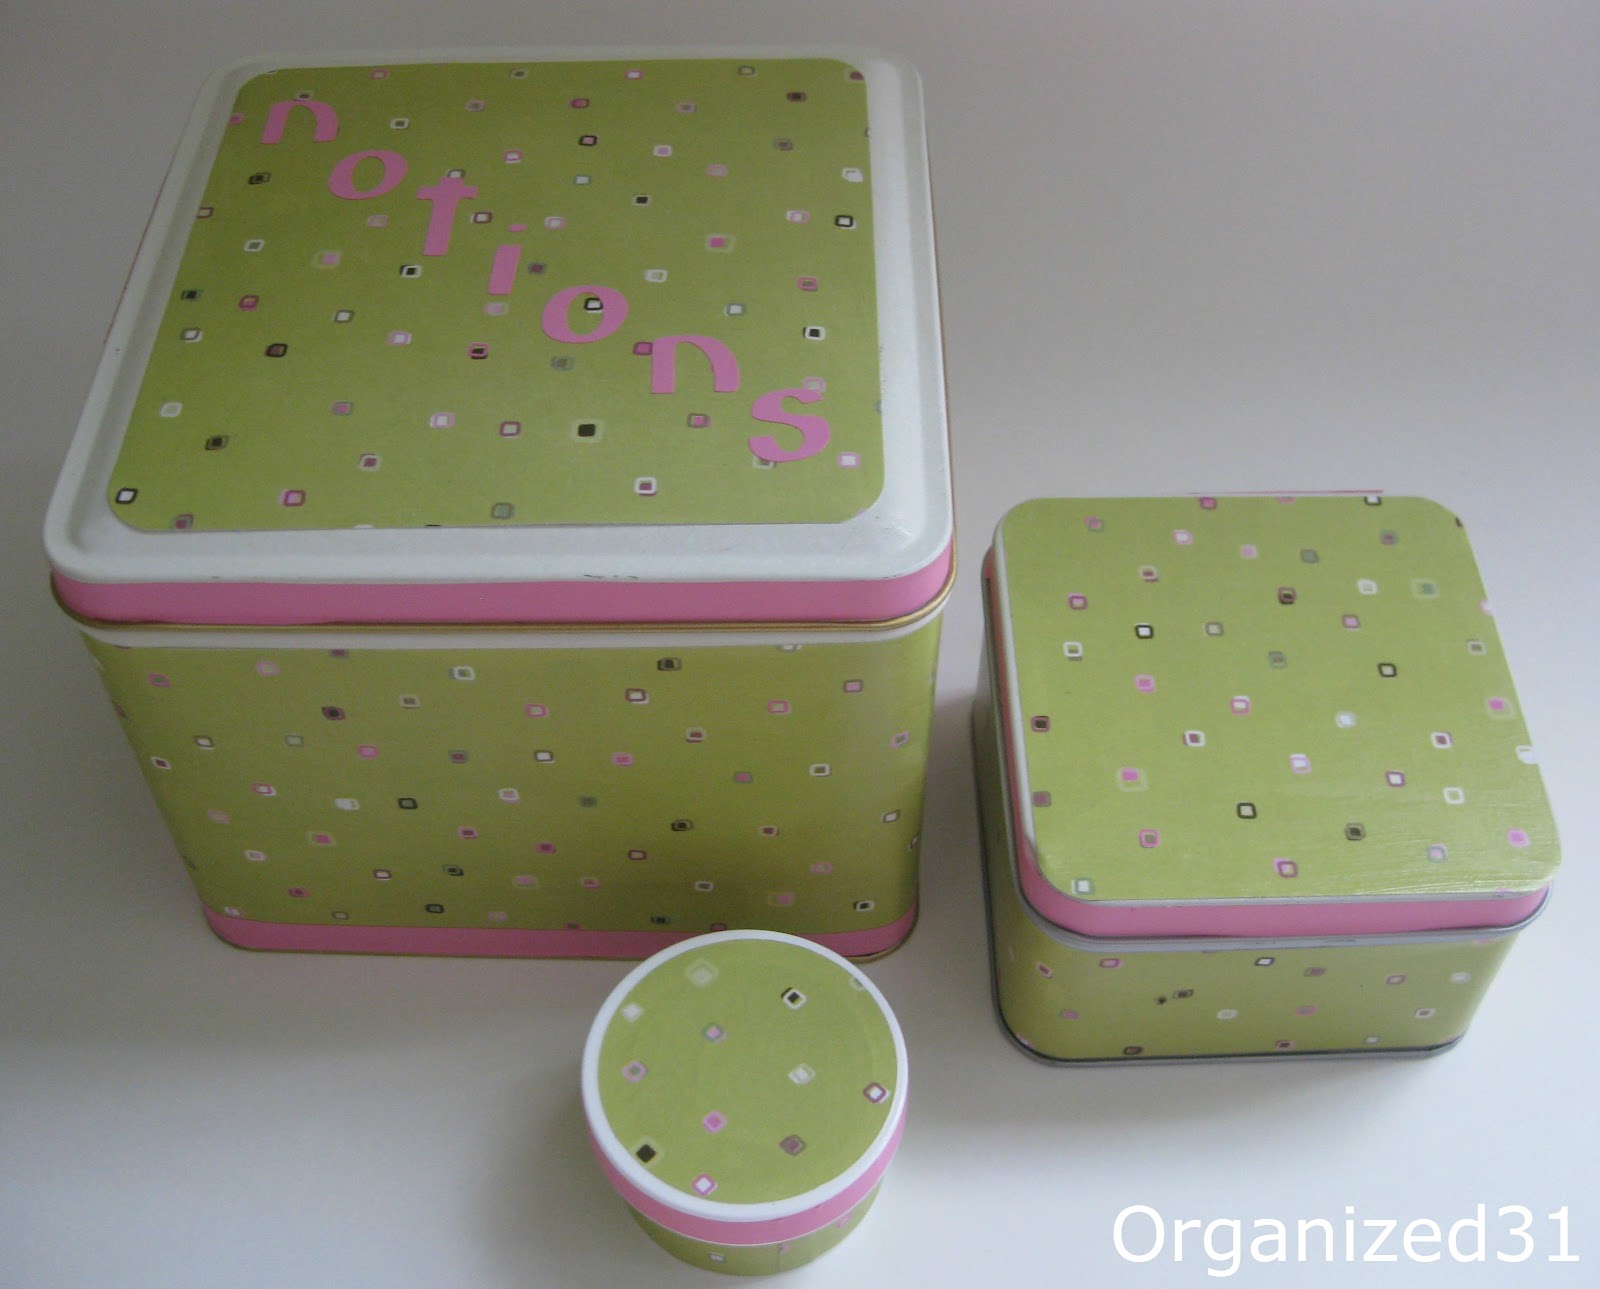
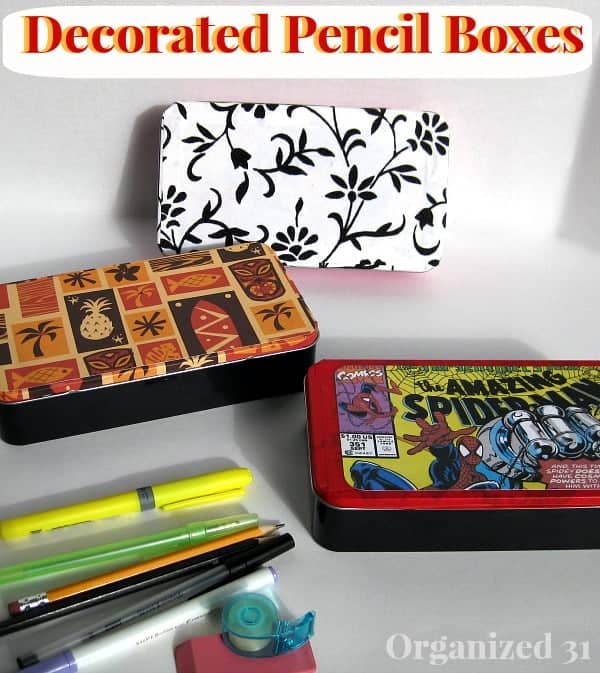
I decorated 2 tin boxes and one round plastic jar. These were all repurposed items that fit together perfectly. Three containers saved from the landfill. Three cute, useful, organizing containers. Win. Win. Win.

I’m a mom of 3, a veteran, military spouse. I’ve moved into 20+ homes all around the world. My passion is helping busy people make the space and time for what’s really important to them. Learn more about Organized 31 and me.

very cute.