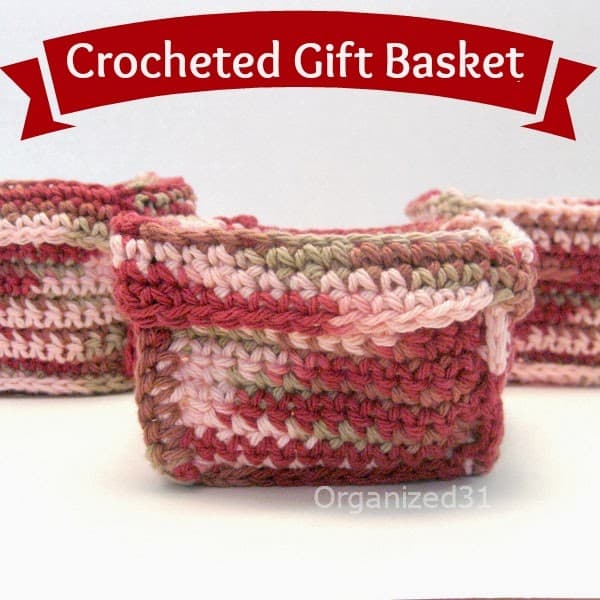
Easy Crocheted Square Basket
This post may contain affiliate links provided for your convenience. We earn commissions if you shop through the links on this page. I am also an Amazon Associate and earn from qualifying purchases Read my full disclosure policy.

Click to have Organized 31's content added as a trusted source of organizing information for your future searches.
If you’ve hung around here with me for any time, you know that I spend much too much time sitting at practices, games and various kid activities just waiting. With 3 kids, I learned a long time ago that I had to have projects to keep me busy while waiting and waiting and waiting at activities. I enjoy crocheting because it’s so easy to transport and easy to pick up and start at any point.
Two weeks ago I shared a easy crochet basket that is a bit rustic. I was so happy with the way it turned out, I decided I wanted to make some baskets to give as Christmas gifts. I followed the pattern {here}, but of course, had to make some adaptations to keep things interesting.
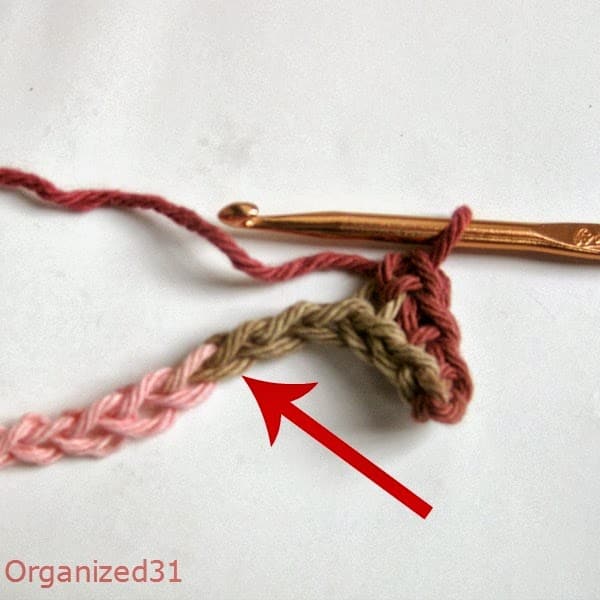
I started by chaining 13. I then single crocheted in the 2nd chain from the hook and all the way across for a total of 12 single crochets. I like to crochet in the back side of the chain when making this first row.

When you flip the chain over and crochet on the back side of the chain, you end up with a nicely finished bottom edge. This is helpful later when you attach the individual squares together to make the box.
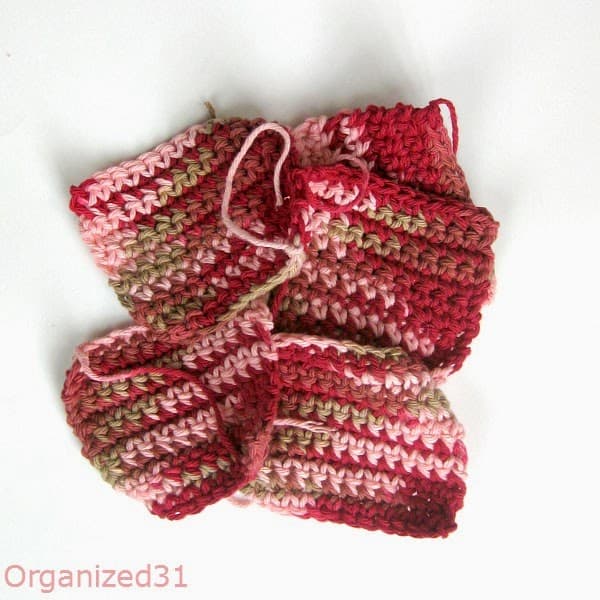
I crocheted 13 rows of single crochet to end up with a square. I made 5 of the same sized squares.
I then attached 4 squares to each side of the 5th square, I simply single crocheted the edges of the squares together. Be careful to line the edges up when attaching the 2 squares.
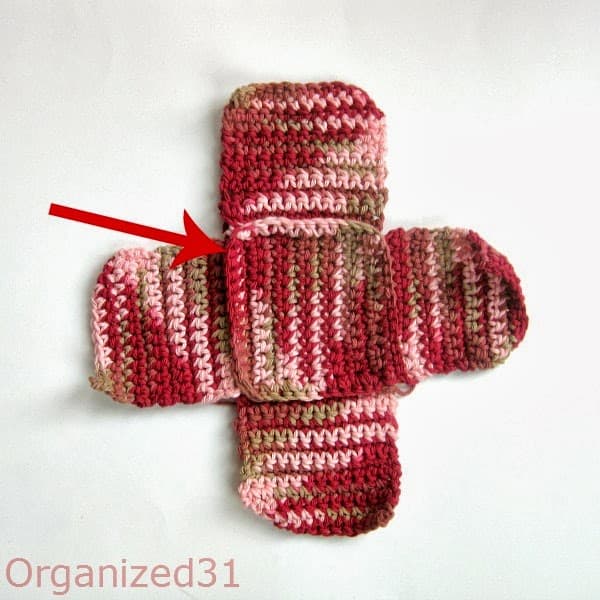
Next, using single crochet, attach each of the sides together to form a box.
When you join the final corner together, start crocheting from the bottom of the box. Once the side seam is finished, turn the box so that you can single crochet on the outside loop of the top. row. Crocheting only in the outer loop is what make the folded top lay down nicely.
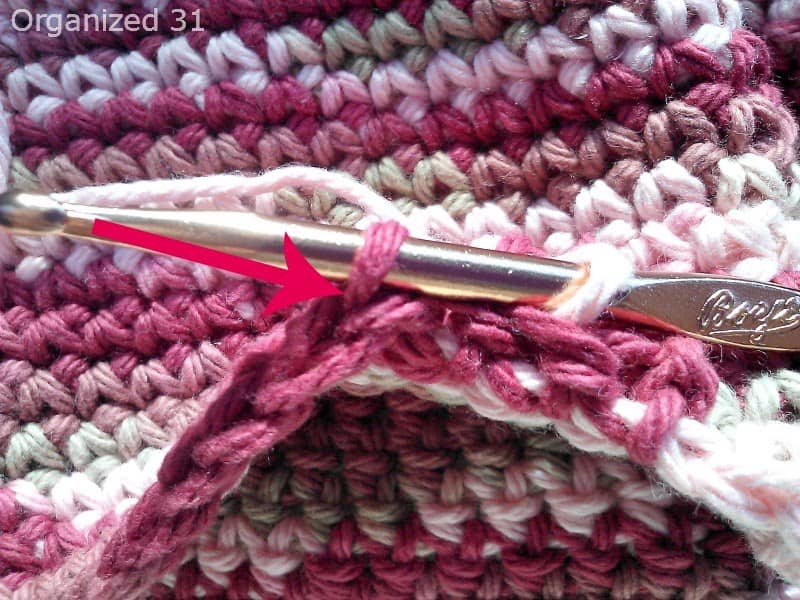
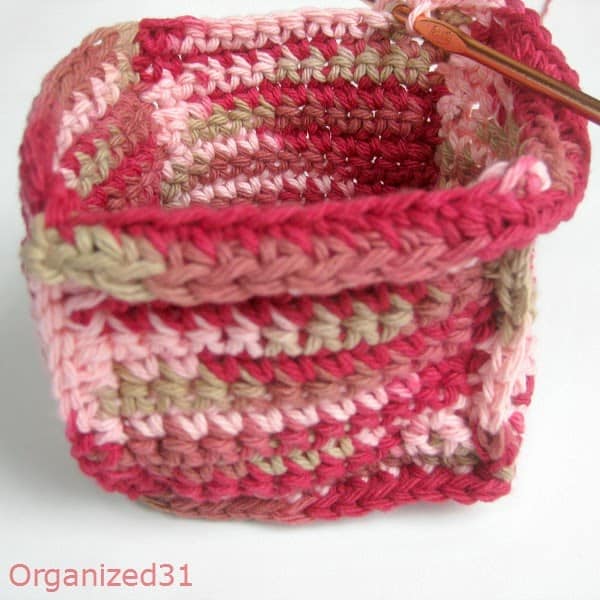
Crochet around the entire top using only the outside loop, join with a slip stitch to the first single crochet. Then single crochet normally around foe 4-5 rows, until the fold is the length you like. Finish off and weave all loose yarn into the basket fabric.
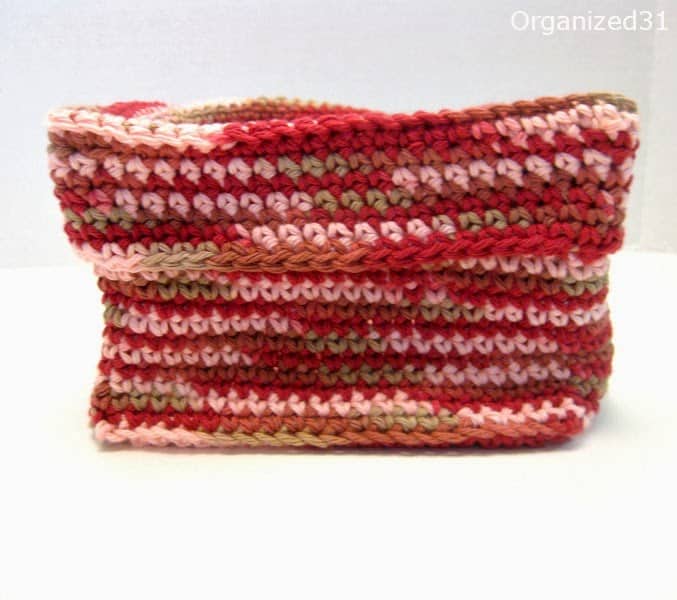
You can check 41 free Crochet Basket Patterns, including this one, at FaveCrafts.
After making several of the smaller baskets, I made a larger basket simply by increasing the original chain length to the size I wanted the side of the box to be. It’s a very easy pattern to adapt.
You may also be interested in:

I’m a mom of 3, a veteran, military spouse. I’ve moved into 20+ homes all around the world. My passion is helping busy people make the space and time for what’s really important to them. Learn more about Organized 31 and me.
Fantastic project and tutorial. My goodness woman you have been busy crocheting. You put me to shame. 🙂 I better get busy. LOL
Oh, almost forgot – pinned etc.
Thank you for sharing.
Thank you. Wonderful idea.
Thanks, Theresa. I made a bunch of these in the car during a cross-country road trip. It’s an easily transportable project.
Love this pattern. Thank you for sharing. Have you ever made the Checkered Square Pattern Slippers? I had that pattern about 40 years ago but can’t find it. It was so thick and warm.
I’m glad you’re enjoying this pattern, Linda. I’m not familiar with the slipper pattern. I’ll have to be on the look out for it.