Start Bullet Journaling for $1
This post may contain affiliate links provided for your convenience. We earn commissions if you shop through the links on this page. I am also an Amazon Associate and earn from qualifying purchases Read my full disclosure policy.

Have you thought about giving a bullet journaling a try but were concerned about the cost of supplies? You don’t have to go with premium supplies to get the benefits of a bullet journal. Since designing a bullet journal is uniquely personal, I’d recommend that you start with simple supplies while you figure out how to make your bullet journal work for you and if you even like it. You can start bullet journaling for about $1 and have it work just as effectively as more expensive versions.
The best thing about a bullet journal is that you design it specifically for your personal needs and preferences. Your specific needs or preferences can encompass:
- Color and Design
- Interior Layout
- Size
- Number of Pages
- Type of Journal Cover
- Artistic Design
- Cost
I find that the act of writing helps me to brainstorm and problem solve better than typing into an app. I also find that writing a task down helps me remember it much more than typing it out.
I’m a big fan of the bullet journal and I’m sure that you will be, too. But I’m also the practical mother of three college educations, so I don’t want you to invest too much until you know you’re committed to bullet journaling. Lucky for you, you can start bullet journaling for right around a dollar. And I promise, your $1 bullet journal will be just as functional as a fancy, expensive one. It’s a great place to start learning about how you prefer to bullet journal.
I’m a minimalist when it comes to my bullet journal style I don’t do much embellishment or artistic spreads (you can see more at my Bullet Journal Ideas for the Minimalist). If you lean towards the more artistic side, then you should certainly embellish your bullet journal and go for it. You can check on Pinterest or Instagram for more elaborate bullet journal inspiration.
Start Bullet Journaling for $1
Supplies
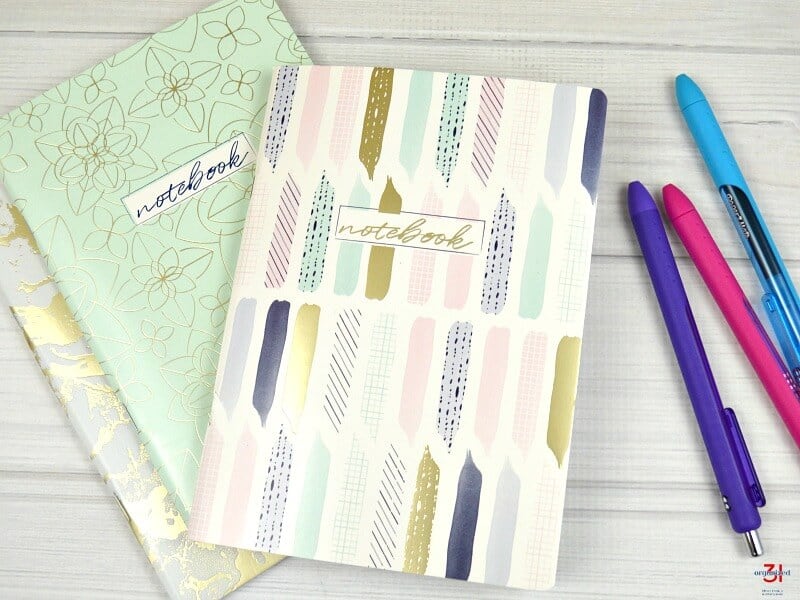
Notebook/Journal – I found a pack of three notebooks for $3 at my local discount store (and they’re so pretty, too). Ideally, you’d like to find a journal with dot grid lines or lines, but these notebooks have blank pages and they certainly work fine.
Pen or Marker – All you really need is one pen and it doesn’t have to be a fancy pen. But I confess that bullet journaling is much more fun with a nice pen. You can find pens that write nicely for around a dollar each. But before you go out and purchase a new pen, look around your house. I bet you have a couple of nice pens or markers in your junk drawer or craft supplies. Use those first for this starter bullet journal.
Washi Tape (optional) – Washi tape is an easy and colorful way to decorate your pages. It’s also a great way to tab or bookmark certain pages to make them easy to find.
Highlighters (optional) – Many bullet journalers use highlighters to embellish pages and to code and manage tasks and items.
Elastic Band or Paper Clips (optional) – Use to bookmark and better manage your bullet journal.
Ruler (optional) – Makes it easier to keep lines straight and neat.
Colored Pencils (optional) – Used to embellish and decorate your journal.
I’ve shared the basics of the bullet journal structure/layout in Bullet Journal – What Is It? But before I go into how to set up a bullet journal, let me explain the drawbacks of using an inexpensive notebook:
- The quality of the paper is not at the luxurious level of more expensive journals.
- The journal won’t be as sturdy and so won’t hold up as well to day-to-day use.
- The pages are made of thinner paper so you’ll have ghosting (where you can see the hint of what’s written on the other side of the page) and ink bleeding (where the ink actually bleeds through to the other side of the page). This makes reading your text more difficult.
- Because the pages are thinner and you’ll be dealing with ghosting and bleeding, you’ll find it best to only use one side of the journal. I use the pages on the right side of the journal and then keep the backside of the page as back up note and doodling space. But this means you’re only using half of the total number of pages.
Even with those limitations, I think that an inexpensive notebook is the best choice when you start bullet journaling. I use an inexpensive notebook as my bullet journal at times and in certain situations.
Now, let me show you the basics of how to set up a starter bullet journal.
1. Index – The first page is the Index of my bullet journal. I start by numbering every page in the journal. I then list those page numbers on my Index page with space next to the page number to write the topic of each page.
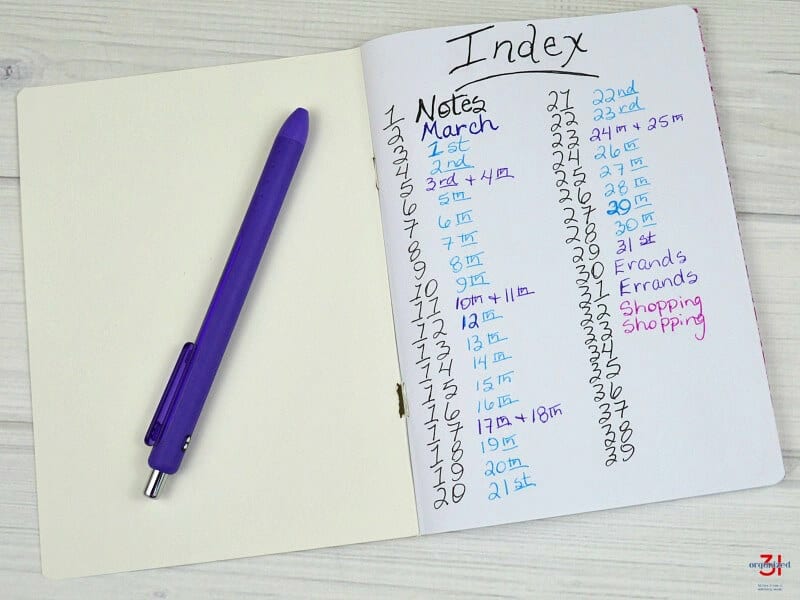
You’ll notice in later photos that I only numbered the right-hand side pages of my journal. I do that since I’m only using the right-hand side pages due to the thin paper quality in this inexpensive notebook.
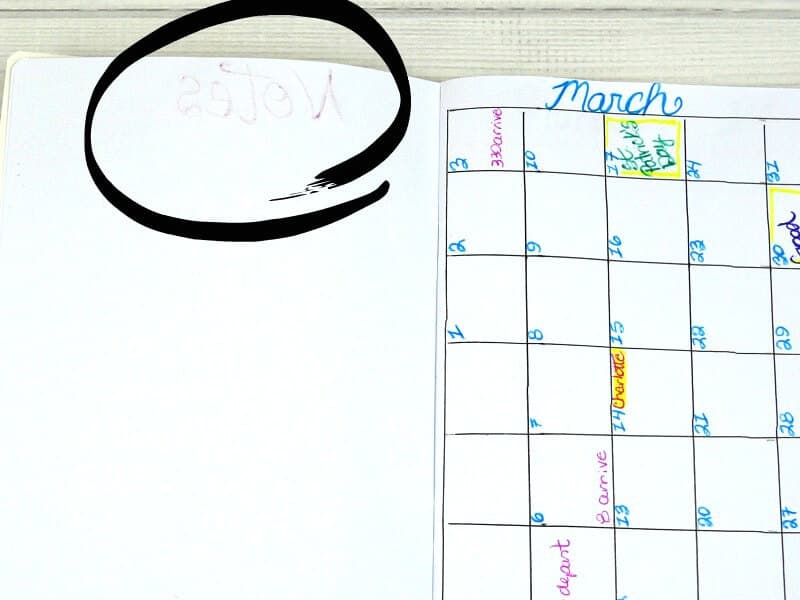
2. Monthly Spread – Create a monthly calendar. This is where you will record your monthly events and appointments.
I created my monthly spread on just the right-hand side page rather than on two pages.
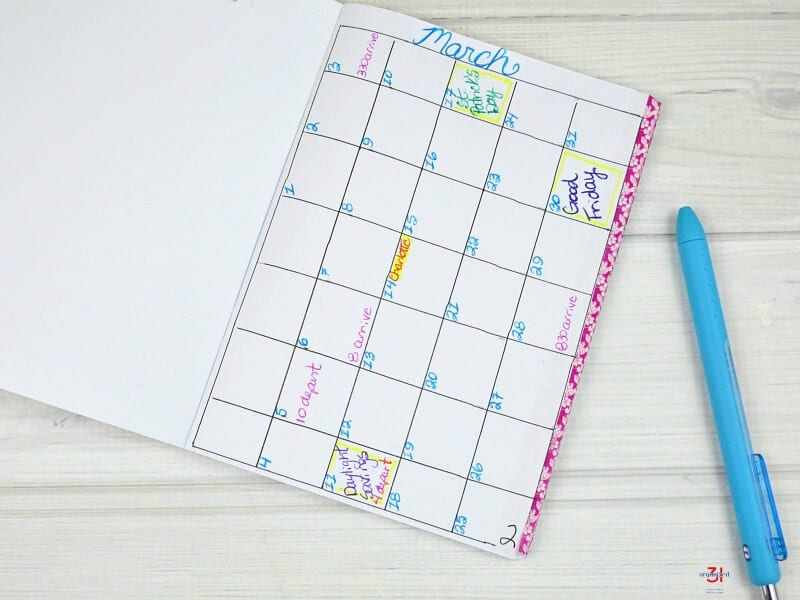
You’ll see that I added washi tape to the side of the page to mark it and make it easy to find (and make it pretty, too).
Many bullet journalists use a Weekly Spread. I don’t use one because the space is to small to be useful for me and I find it redundant with the monthly and daily spreads. But you may want to consider trying a weekly spread to see if it works for you.
3. Daily Spread – This is where you’ll track daily appointments and tasks. I placed each week day on it’s own page and then placed the weekend days together on one page.

I ran washi tape only on the weekend pages so that I can easily find where each new week starts. Of course, I can also use the Index and page numbers to find the page with the exact date I’m looking for.
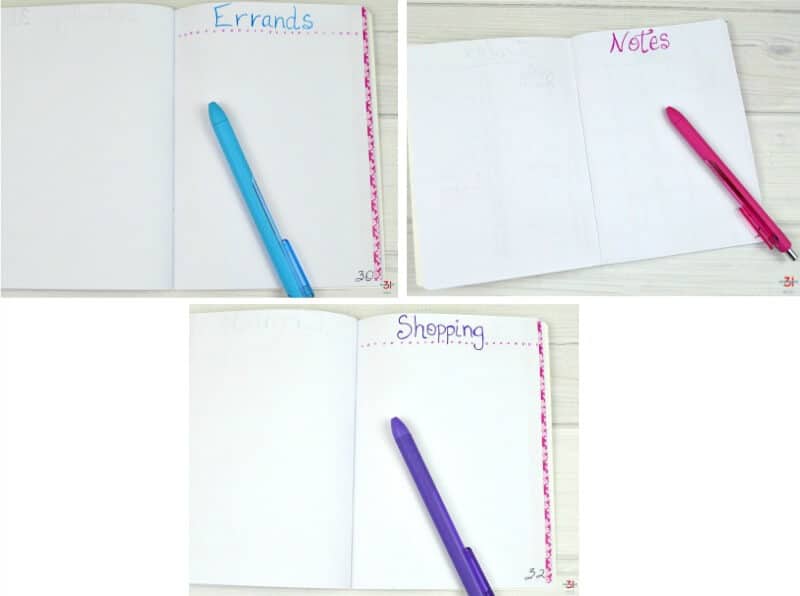
4. Collections – These are your unique pages that you create to meet your specific needs. These are lists of tasks or items that you want to track. I added only three collections in this starting bullet journal:
- Errands – This allows me to plan errands that I need to accomplish and allows me to group the errands together to be more efficient.
- Notes – I listen best when I can write. I use this area most often when I’m on a non-social phone call.
- Shopping – I have a family of five and invariably they tell me they need something from the store at the most inconvenient times. This Shopping page is perfect to help me keep a list of everything that pops into my head or someone asks for. I use this page in conjunction with my Errands page to plan my shopping trips.
Some Collections you may want to consider adding to your bullet journal:
- Budget
- Meal Planning
- Exercise
- Business Expenses
- Project Planner and Tracker
- Child’s Milestones
- Mood Tracker
- Cleaning Schedule
- Gift Ideas & Planner
- Reading Log
- Pet Care Tracker
This is where you make your bullet journal all yours. Add collections that will meet your needs. They should make your life more organized so that you can focus on task accomplishment and memory keeping.
For more information check out Bullet Journals – What You Need to Know.
You really can start bullet journaling for right around $1. What are you waiting for?
For more simple and powerful productivity tips, hacks and printables, see the table below. You can scroll though the table and look for ideas or search for specific ideas with the magnifying glass in the upper right-hand corner (on desktop). Click on the topic and then click through the specific article.

I’m a mom of 3, a veteran, military spouse. I’ve moved into 20+ homes all around the world. My passion is helping busy people make the space and time for what’s really important to them. Learn more about Organized 31 and me.


I really like the idea of the washi tape to help you find things in your journal. I need to start doing that with the notebooks I have for blogging. It would make it easier to find things.
What a great post. The Internet and Instagram are full of these beautiful bullet journals, but when you step back and look at them, they are created using very high end materials with very artistic skills.
As I understand it, the original intent of a bullet journal wasn’t supposed to be so complicated.
I’m a simple and busy woman. I would love to have one of those fancy, expensive and beautifully artistic bullet journals, but… life gets in the way. I do find that my simple, minimalist bullet journal works perfectly for me.