Champagne & Wine Corks Craft
This post may contain affiliate links provided for your convenience. We earn commissions if you shop through the links on this page. I am also an Amazon Associate and earn from qualifying purchases Read my full disclosure policy.
I was looking through my local recycling Facebook group last week and saw that someone was giving away a bag of wine corks. I quickly snapped them up. Since it’s the Christmas season, I knew immediately that I wanted to make these wine cork Christmas trees. Let me just stress, I did not drink all this wine. Some nice lady in my neighborhood did. Really. She’s the same lady that I got the recycled computer disks that I used to make a DIY Computer Diskette Pencil Cup, so I assume she has a variety of interests (in case you had created an image of her in your mind). Fortunately, she passed along enough recycled corks for me to make several of these champagne and wine corks craft Christmas trees. They’re easy to make and cost virtually nothing , especially if you have a nice wine drinking lady in your neighborhood recycling group.
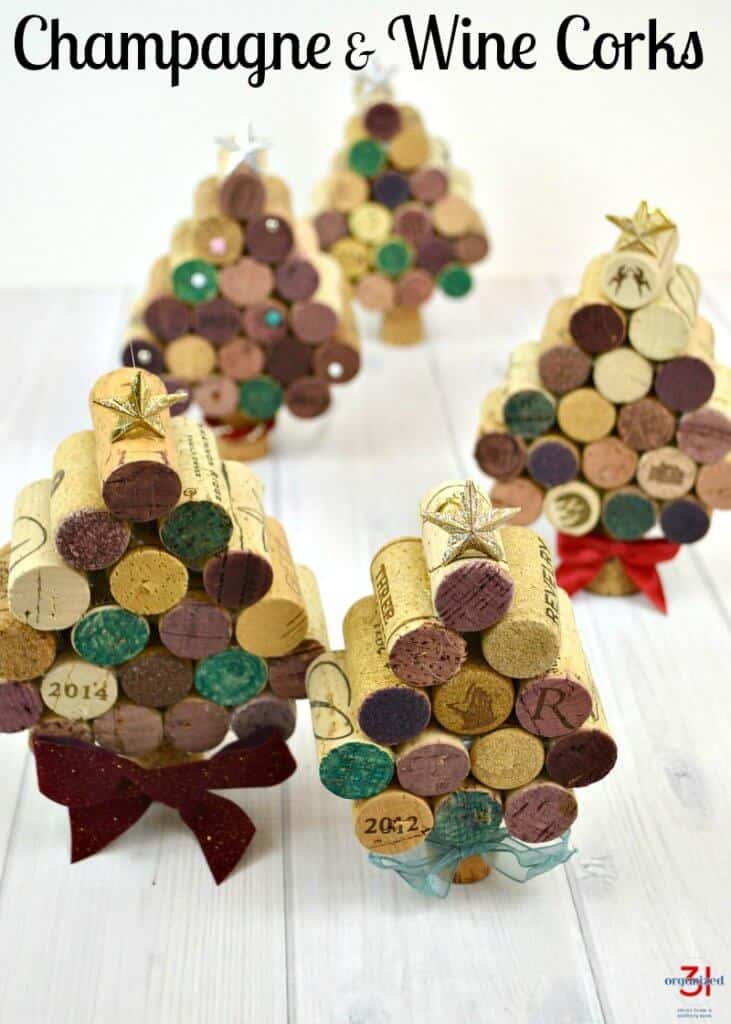
I love the texture and rustic, yet sophisticated look of these wine cork Christmas trees. You can make them as either table or mantle decorations or as Christmas tree ornaments. You can also vary the size of the trees by using more or fewer wine corks.
Champagne and Wine Corks Craft
Supplies & Equipment
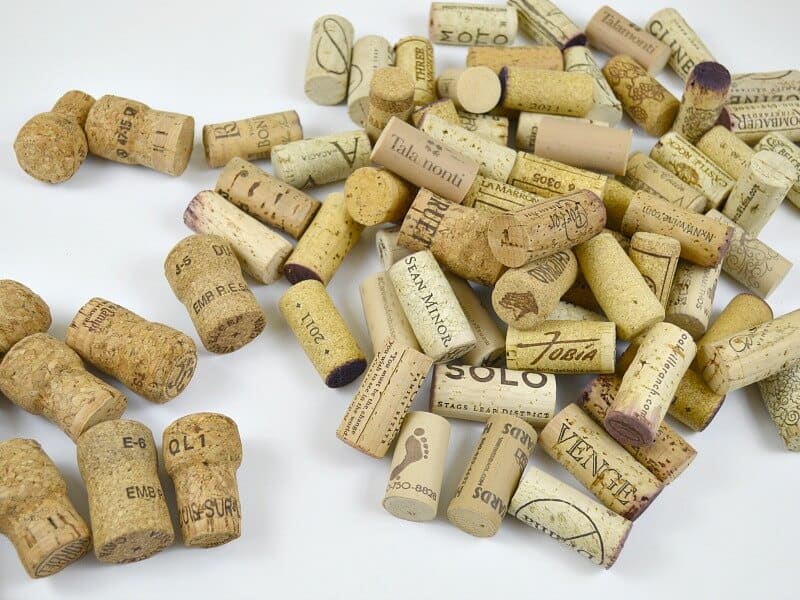
- Wine and Champagne Corks – I prefer the natural looking corks, not the synthetic ones. Look for corks that are naturally stained by wine. I found mine on a freecycle site (or you could throw a big party). You’ll need 19 corks for the larger tree and 13 for the smaller tree., plus one champagne cork per tree.
- Hot Glue Gun or Strong Glue – I used a hot glue gun, but it tended to squish out and I had to use a toothpick to remove unsightly globs of glue. Next time, I’m going to try a strong permanent glue.
- Marker or Stamp Pad – Use a permanent marker or ink stamp pad to color ends of some of the corks if you’d like.
- Embellishments – I used small star ornaments and scrapbooking brads.
- Ribbon – This is the perfect craft for using up scraps of ribbon.
- Cutting Board & Knife
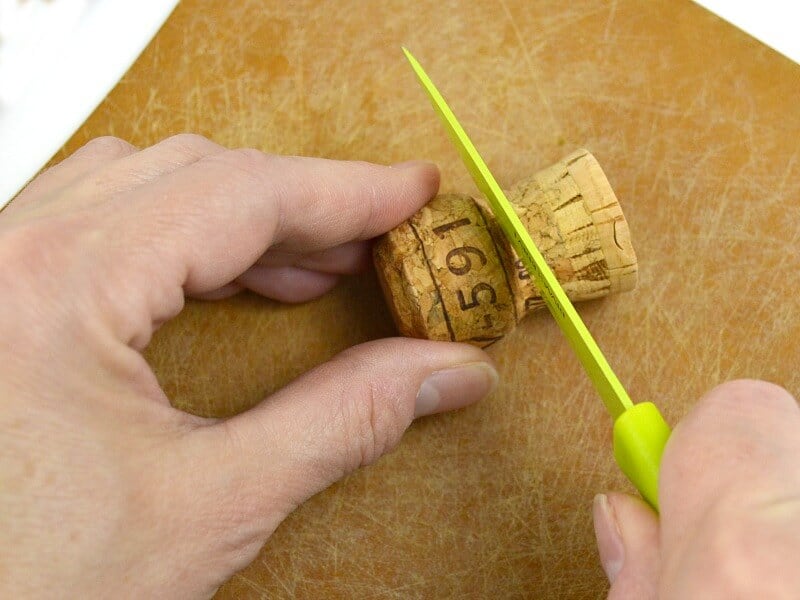
Carefully cut a champagne cork in half to create the trunk of the tree. I used more of a pressing motion than a cutting motion and that worked well.
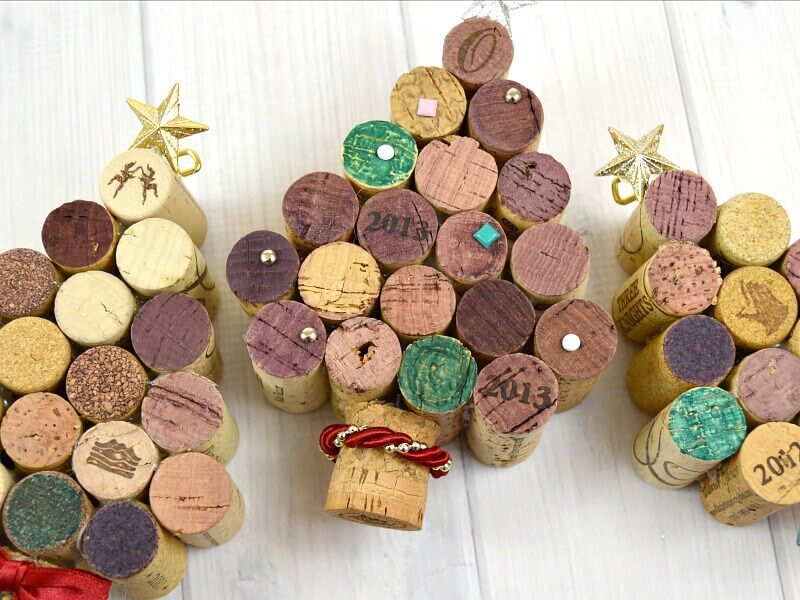
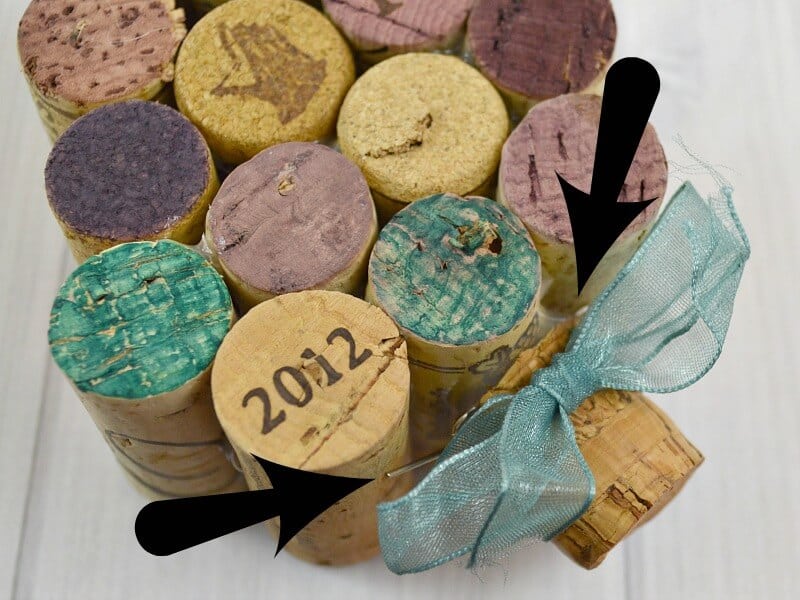
Plan out the cork pattern before you begin gluing the corks together. If you don’t have enough variety in the colors of the ends corks, use a permanent marker or stamp ink pad to color the end of a couple of the corks. When planning your pattern, also consider the designs on the sides and on the end of the corks.
Glue the corks together starting with the widest row. Hold corks in place until the glue sets. build each row of the tree, carefully checking the alignment of corks after each addition. Wait until the glue is completely dried before adding the trunk.
The trunk will need added support on the smaller tree because it doesn’t balance well on just one center cork. I added an opened paper clip when I glued the two together to provide a platform to balance the tree.
Add a toothpick to the top cork to provide a place to glue the star. Gently push the toothpick into the cork until it’s stable. Carefully snap the toothpick off so that there’s enough length to provide support for the star.
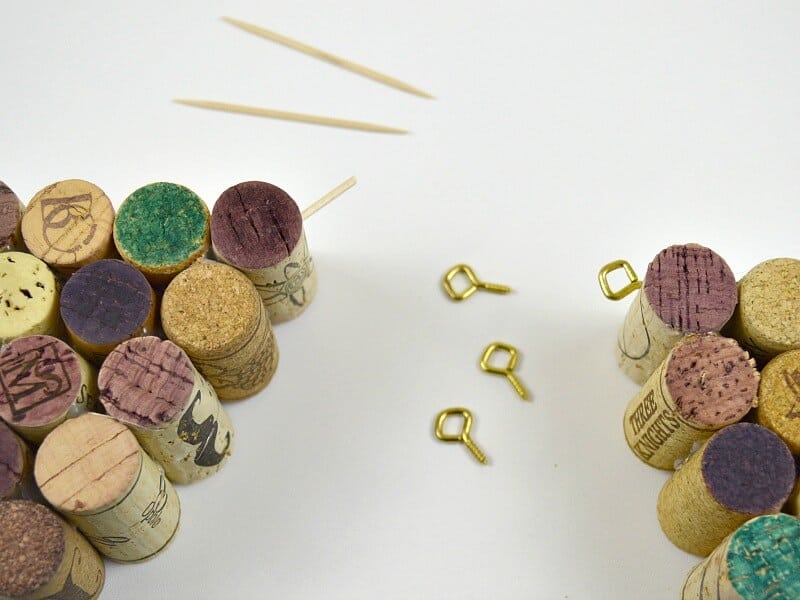
To make the tree into an ornament, add a small eye screw. Gently screw it into the the top cork.
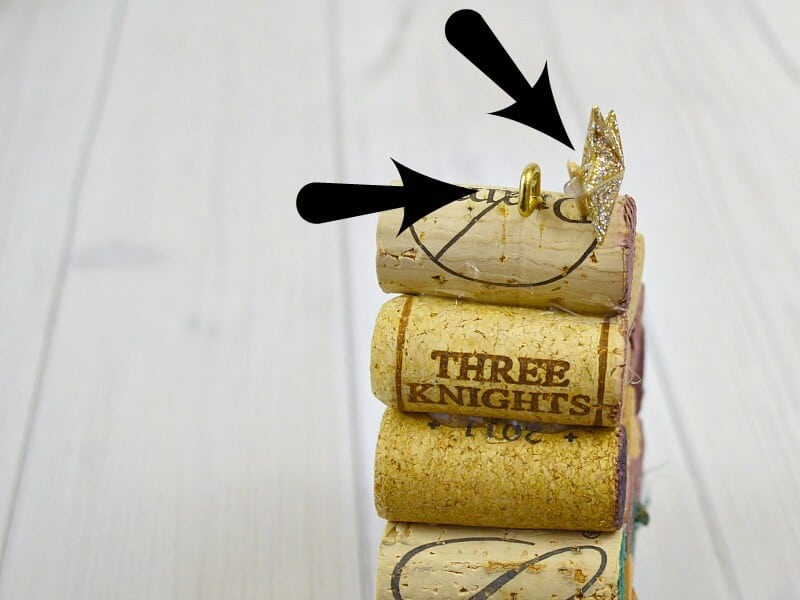
Place the eye screw close to the center of the cork so the ornament will hang straight. Place the toothpick close to the front of the cork to support the star.
You can further embellish the wine cork tree with scrapbooking brads or sequins. Simple press the brads into the corks and use glue to attach sequins. I think I prefer the simple, unembellished trees the best.
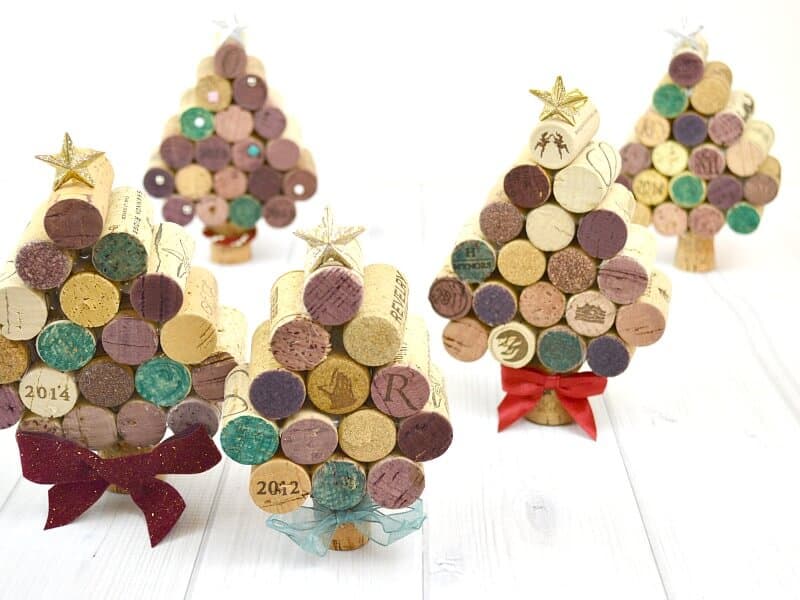
Aren’t these wine cork Christmas trees adorable? Or to quote a friend, “Stinkin’ adorable.”
You can make one of these champagne and wine corks craft Christmas trees in about 15 minutes plus drying time. It’s easy enough that you could make these wine cork crafts with older children. I’m charmed by the rustic and sophisticated look of these wine cork Christmas trees. I can see myself making an entire forest of them.
If you’ve now got wine cork crafts on the brain, check out this charming American Flag Wine Cork Upcycle Craft by my friend, Holly at Pink Fortitude.
See all my most festive Christmas ideas, printables and recipes in the table below. You can scroll though the table and look for ideas or search for specific ideas with the magnifying glass in the upper right-hand corner (on desktop). Click on the topic and then click through the specific article.

I’m a mom of 3, a veteran, military spouse. I’ve moved into 20+ homes all around the world. My passion is helping busy people make the space and time for what’s really important to them. Learn more about Organized 31 and me.


This is such a creative thought. I like the idea.
I gave some to my mother-in-law and she is still raving about them. They’re fun and easy to make, Sandy, which is the only crafts I do.
I adore this! I have a Wine Wednesday group… so we have a lot of corks… and I’ve been trying to think of a fun thing to gift the ladies this year and coasters were too much work but this looks easy as pie! Thanks for the idea!
Wine Wednesday sounds like fun! This would be the perfect craft for you all to do. You can create tree ornaments or tabletop decorations in this tree style. With basic hot glue skills (read – not burning yourself), these really are easy to make. Have fun crafting, Sara.