DIY Decorative Matchbox from Recycled Christmas Cards
This post may contain affiliate links provided for your convenience. We earn commissions if you shop through the links on this page. I am also an Amazon Associate and earn from qualifying purchases Read my full disclosure policy.

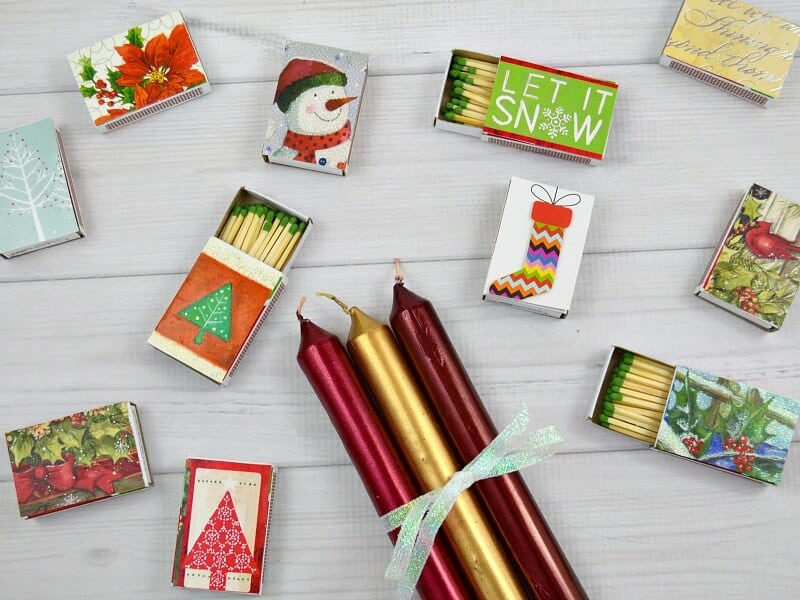
Last year my friend, J., gave me a decorative matchbox that she had made herself. It was decorated for Christmas and so adorable. I had to stop and admire that charming little box every time I walked by the table where I had displayed it. I’m telling you, it was simply delightful. These DIY decorative matchboxes make a charming gift by alone, combined with Christmas candles and are perfect party favors. It’s a frugal craft that is easy enough for beginner crafters.

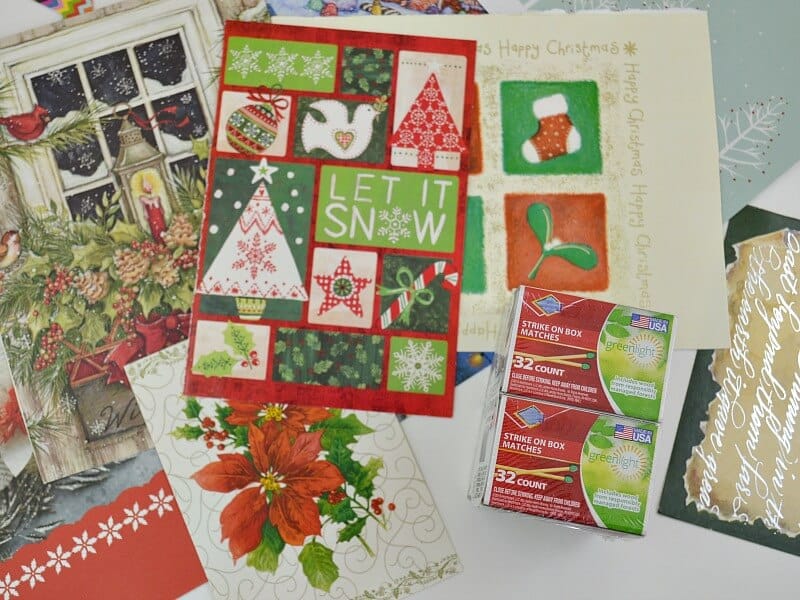
I have collected Christmas cards to use in crafts for years. My friends and family are great about saving their Christmas cards and passing them on to me. There are so many beautiful and cute card images to inspire all types of crafts. It always makes me happy to craft with recycled items, saving the landfill and money.
I’ve used recycled Christmas cards to make:
DIY Decorative Matchbox
These are so easy to make. The hardest part is choosing which cards you want to use. If these DIY decorative matchboxes weren’t so unbelievably adorable, I’d be embarrassed about how easy they are to make. Instead, I’m just grinning a happy, proud smile every single time I look at these decorated matchboxes.
Supplies
- Several Christmas cards
- Decoupage Glue
- Matchbox
- Paper Cutter or Scissors
Tips for Choosing Cards and Image
- Look for cards with rectangular shaped images.
- Look for smaller portions of larger images that will look nice.
- Look for images on the inside or back of the card.
- Look for two coordinating images for the front and back of the matchbox.

Choose images and mark the dimensions of your matchbox on the card.

Cut the images to be 1/6 inch smaller than the measurements of your matchbox. Making the image a bit smaller prevents an edge of the card from hanging off the side of the box (which will bug you every time you pick up the matchbox and detract from how charming it is).

Remember you’ll need two images for each matchbox.
Use decoupage glue to adhere the images to both sides of the matchbox. Let the glue dry well for about 30 minutes.
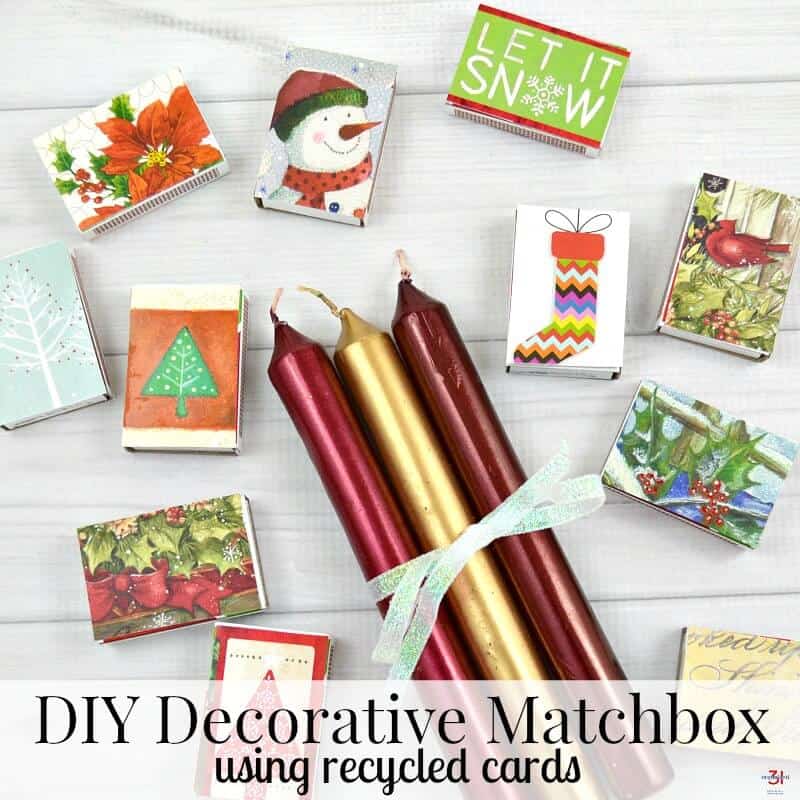
Seriously, aren’t these just the cutest little gifts?! DIY Decorative Matchboxes would make a wonderful hostess gift or gift for anyone when combined with some pretty candles. And can’t you see them as sweet little favors at a holiday party? Warning – these are so easy to make and so stinkin’ cute that making them is highly addictive.
More repurposed Christmas crafts.

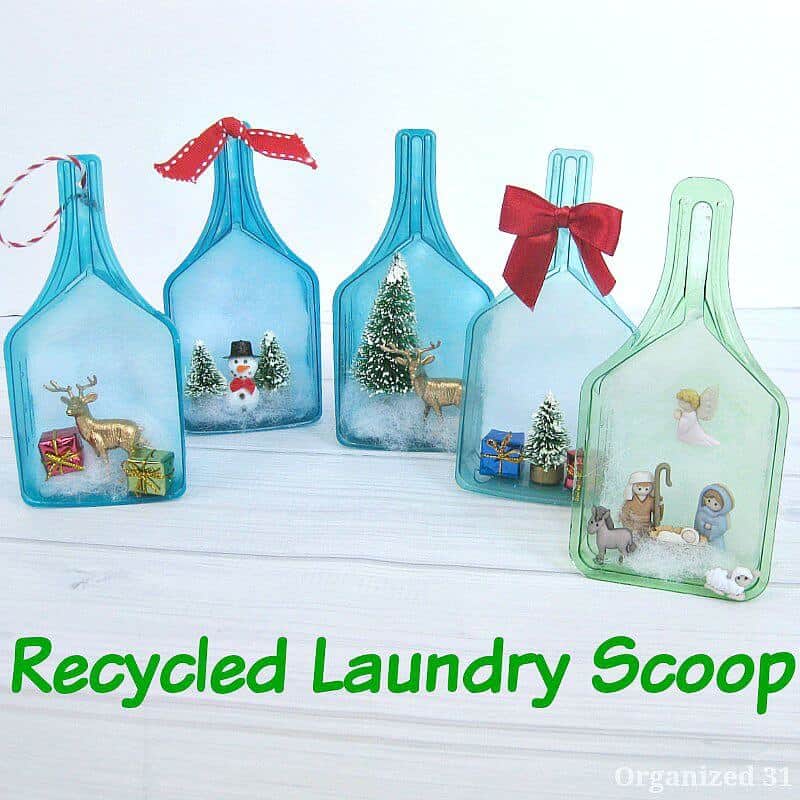
Recycled Laundry Scoop Decoration
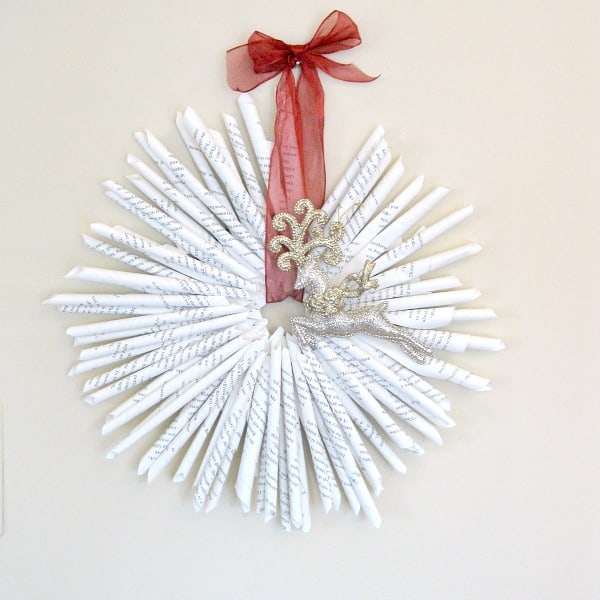
Upcycled Book Page Christmas Wreath
See all my most festive Christmas ideas, printables and recipes in the table below. You can scroll though the table and look for ideas or search for specific ideas with the magnifying glass in the upper right-hand corner (on desktop). Click on the topic and then click through the specific article.

I’m a mom of 3, a veteran, military spouse. I’ve moved into 20+ homes all around the world. My passion is helping busy people make the space and time for what’s really important to them. Learn more about Organized 31 and me.


These matchboxes are so cute. Loved them.
Thanks, Sandy. I’m still so happy with them.