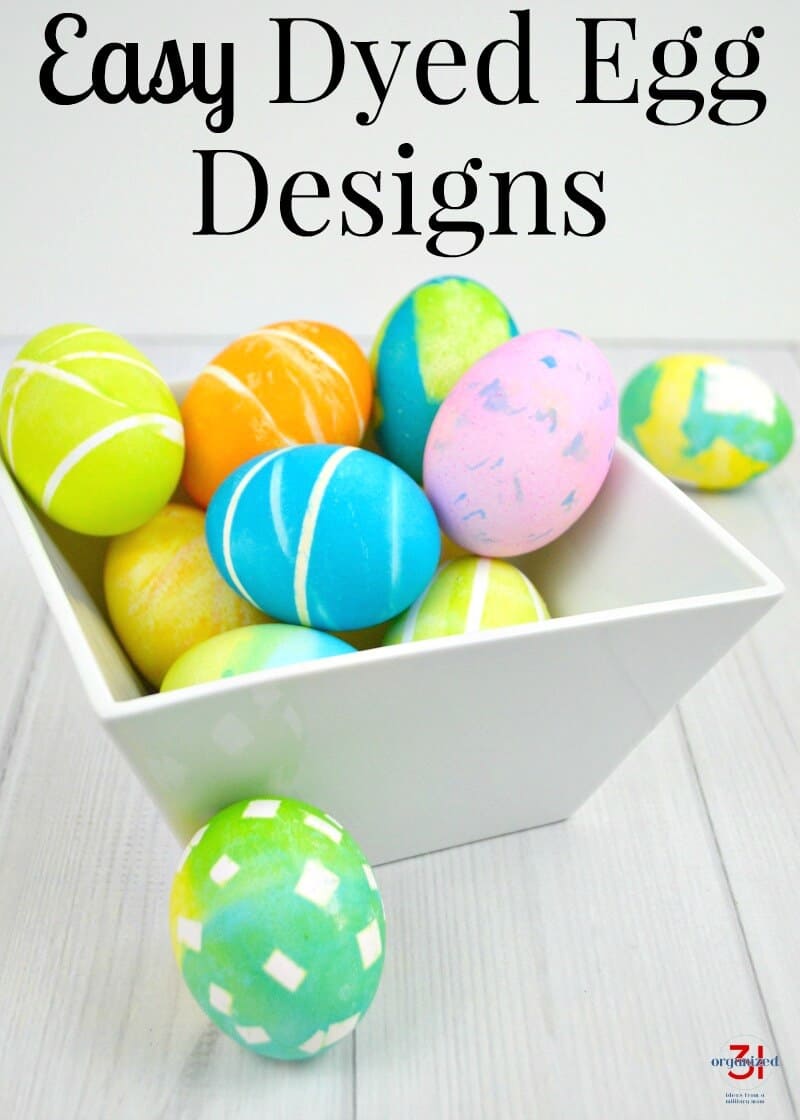
Dyed Egg Designs (Easy to Make)
This post may contain affiliate links provided for your convenience. We earn commissions if you shop through the links on this page. I am also an Amazon Associate and earn from qualifying purchases Read my full disclosure policy.

I love coloring Easter eggs now just as much as I did as a child. It’s so magical to drop a plain egg into a cup of dye and have it come out beautifully dyed and unique every time. As much as I adore dyeing eggs, I don’t have the attention span to do complicated dye techniques. These are my 3 favorite dyed egg designs that are very easy to do and use a store-bought dye kit and items you already have in your home.
My entire family looks forward to dyeing eggs each year. We all get excited and have different egg dyeing techniques. In the past I’ve shared some of our dyed egg designs:
Look at how gorgeous these eggs turned out. I love the graphic look of the patterns and, of course, the beautiful, happy colors of the eggs.
Dyed Egg Designs
A quick trip to the grocery store and a quick look around the house will provide everything you need to create these easy dyed egg designs.
Supplies
Egg Dye Kit – I just pick up a simple store-bought dye kit. I like this one that comes with cups for the dye.
Rubber Bands – The more rubber bands you have, the more complicated designs you can create.
Stickers – The ones I used came for free in a junk mail offer. You can use any small stickers that have a strong adhesive.
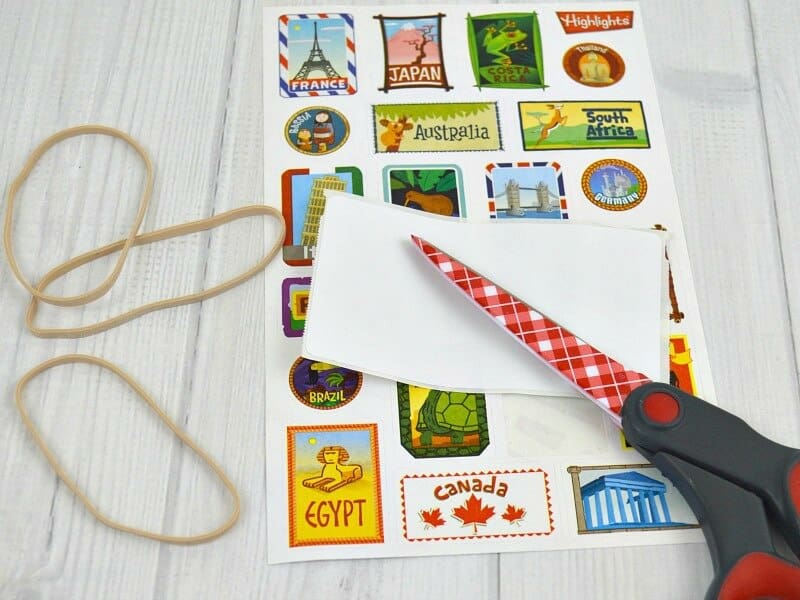
Labels – I used envelope labels that I already had.
Dyed Egg Design with Rubber Bands
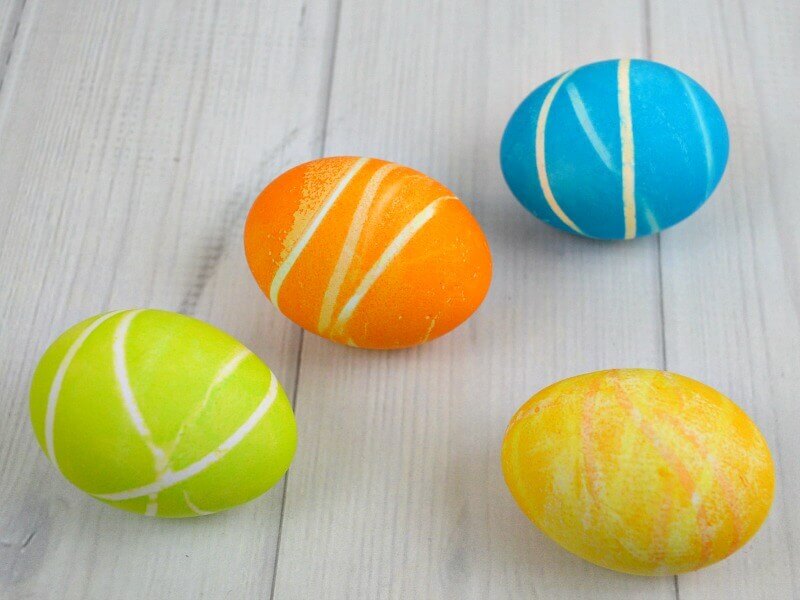
Wrap the rubber band tightly around the egg. Make more stripes by adding more rubber bands.
You can vary the design by:
- Adding the rubber bands to the plain egg and then dye the egg. See the green egg below
- Dye the plain egg first in a light color dye. Dry, add the rubber bands and then dye again.
- Do a combination of both techniques above. See the blue and orange eggs below.
- Add the rubber band and remove it part way through the dye process. See the yellow and orange egg below.
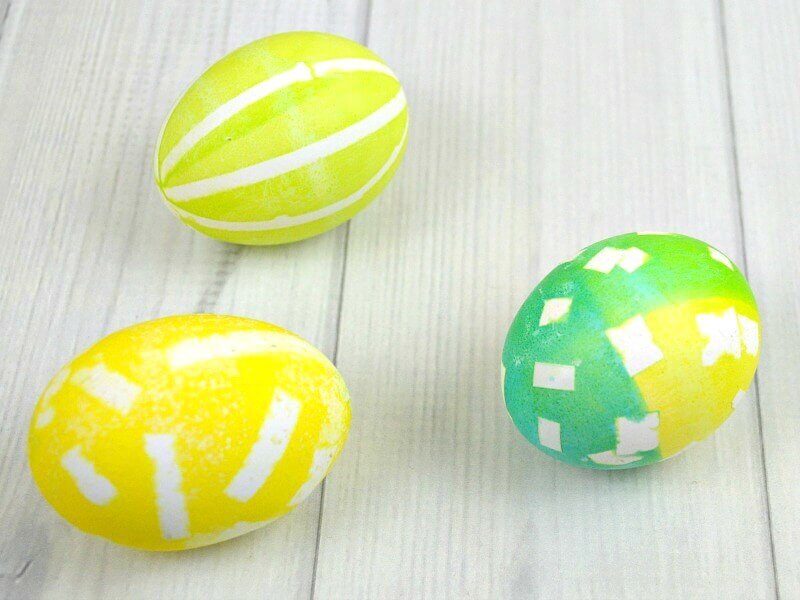
Dyed Egg Designs with Small Stickers
Attach the small stickers to your egg before you dye it. Remove the stickers after the egg is dyed. You need the adhesive to be strong enough to hold up through sitting in the liquid dye.
Vary the design by:
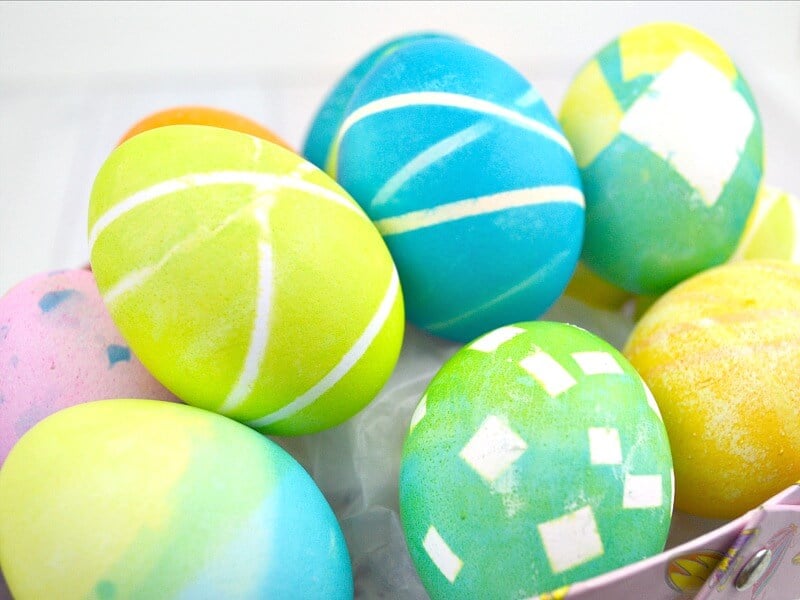
- Adhere the stickers to a plain egg and then dye it. Like the white spots below.
- Dye the egg. Let it dry. Add stickers and dye the egg again. Like the blue egg with green spots below.
- Do a combination of both. Like the blue egg and the green egg below.
- Choose different shapes and sizes of stickers.
- Squared
- Dots
- Hearts
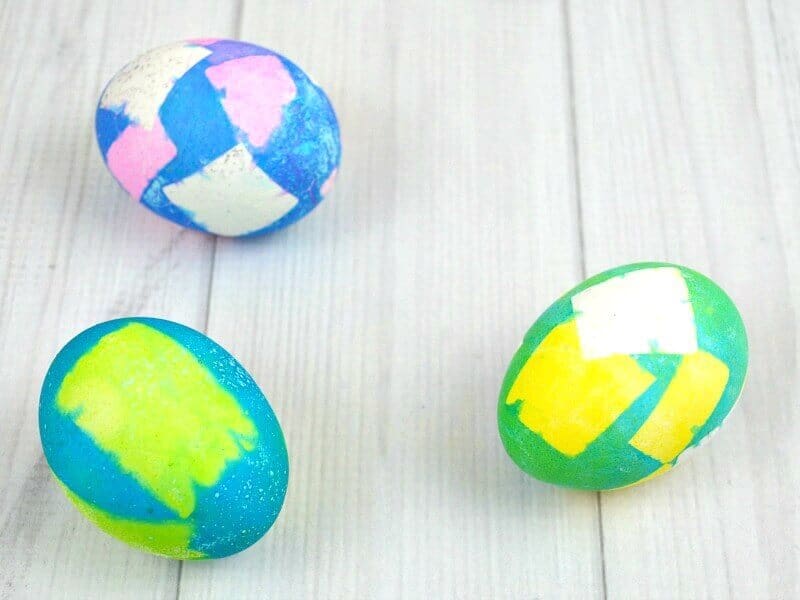
Dyed Egg Designs with Labels
Attach mailing labels to the egg like in the sticker technique. I cut the mailing labels into strips and small squared to make different designs.
Vary the design by:
- Adhere the labels to a plain egg and then dye it. Like all the eggs below.
- Dye the egg. Let it dry. Add labels and dye the egg again. Like the blue egg with green spots above.
- Do a combination of both. Like the blue egg and the green egg above.
- Choose or create different shapes and sizes of labels.
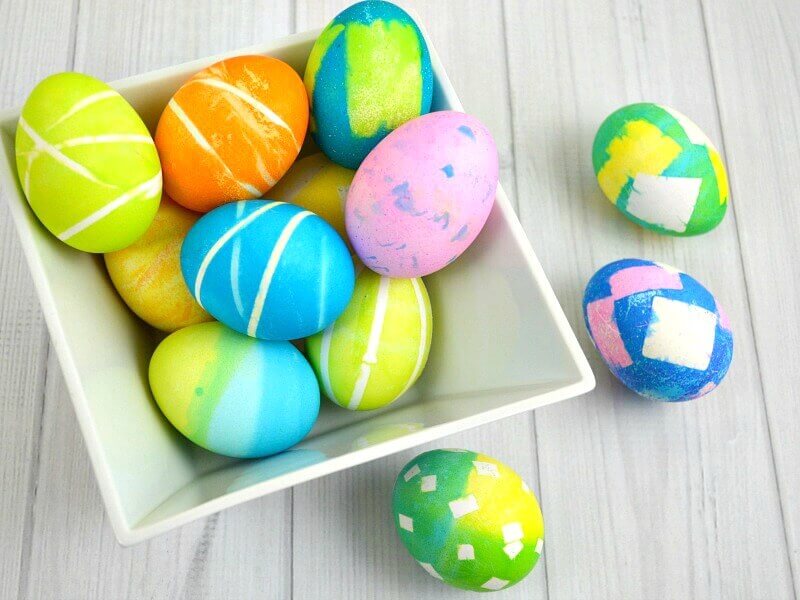
I loved the endless variations I could create with these dyed egg design techniques. These are easy enough for children to do also, with supervision.
It’s only a couple of weeks until Easter and I can’t wait to start dyeing eggs this year. I’m already creating new dyed egg designs in my imagination.
Find all my Easter crafts, tips, printables and recipes in the table below. You can scroll though the table and look for ideas or search for specific ideas with the magnifying glass in the upper right-hand corner (on desktop). Click on the topic and then click through the specific article.

I’m a mom of 3, a veteran, military spouse. I’ve moved into 20+ homes all around the world. My passion is helping busy people make the space and time for what’s really important to them. Learn more about Organized 31 and me.

So pretty. I loved doing this when my kids were around. One year I tried using natural dyes, and that was fun too (onion skins, etc.) It’s just hopeful and makes me think of spring, even though the link to the resurrection is thin:) I think the rubber bands make a very cool effect.
Trying natural dyes would be fun with my science loving family, Seana. 🙂