How to Make a Candy Lei
This post may contain affiliate links provided for your convenience. We earn commissions if you shop through the links on this page. I am also an Amazon Associate and earn from qualifying purchases Read my full disclosure policy.
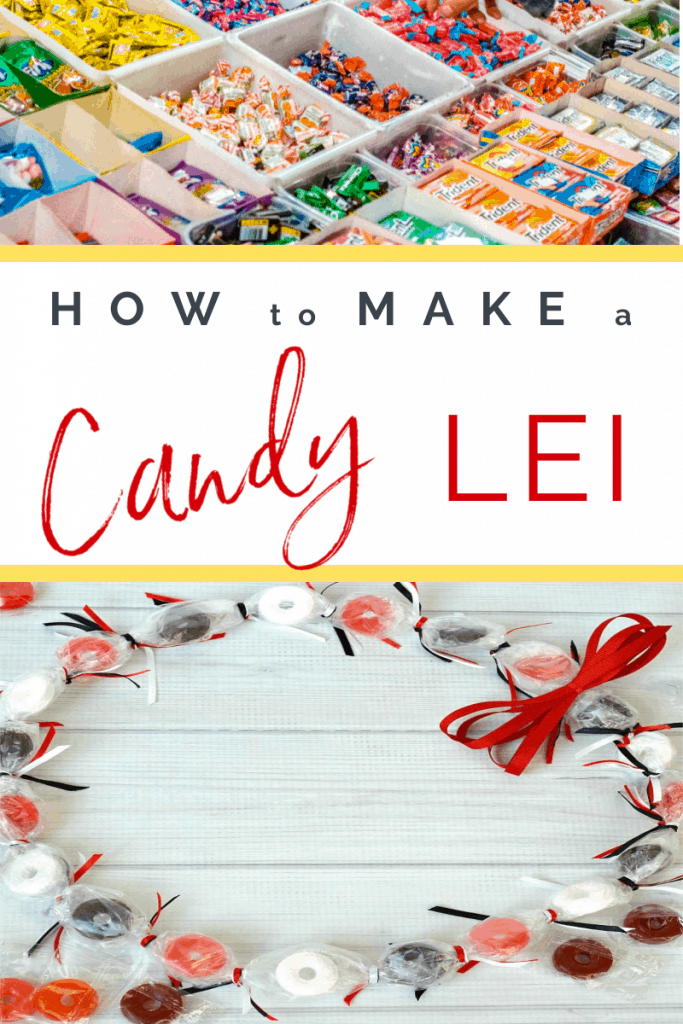

While you can purchase a candy lei, it really is simple to learn how to make a candy lei. If you grew up in Hawai’i or know anyone who grew up in Hawai’i, you know that there are many occasions when leis are given. There are many different kinds of leis, but a candy lei is always a hit. Making your own candy lei is a colorful and fun way to celebrate any occasion and is always a huge hit.

Making a candy lei is a fun and easy craft that can be enjoyed by people of all ages. Variations can be made by using different types of candy.
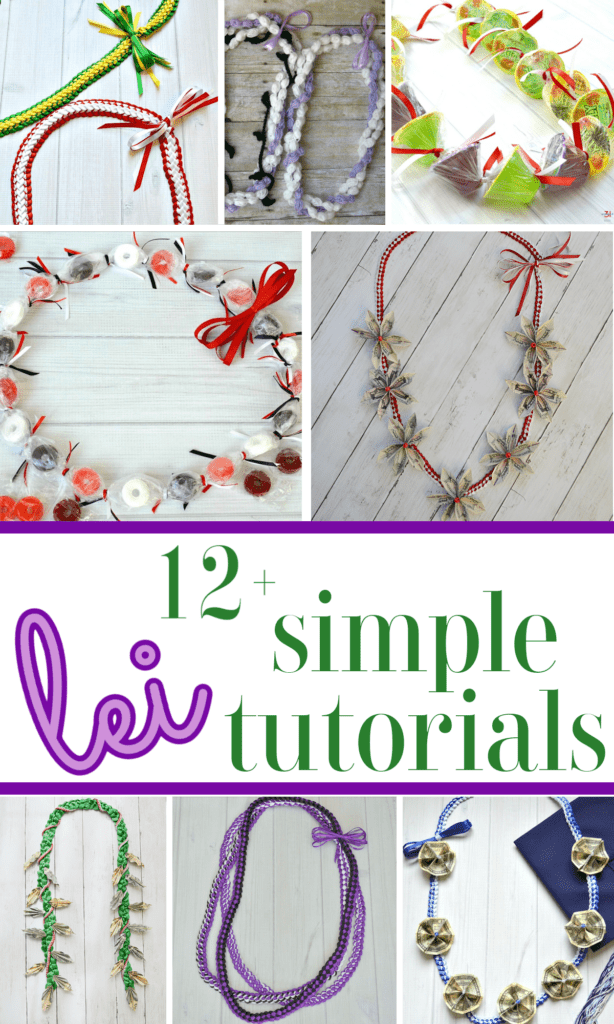
There are many various styles of leis, including a variety of flower leis, money leis, crocheted leis, ribbon leis, eyelash yarn leis and more.
Candy leis have been a fun twist on the concept of a lei for decades. Candy leis have been around since at least the 1960’s.
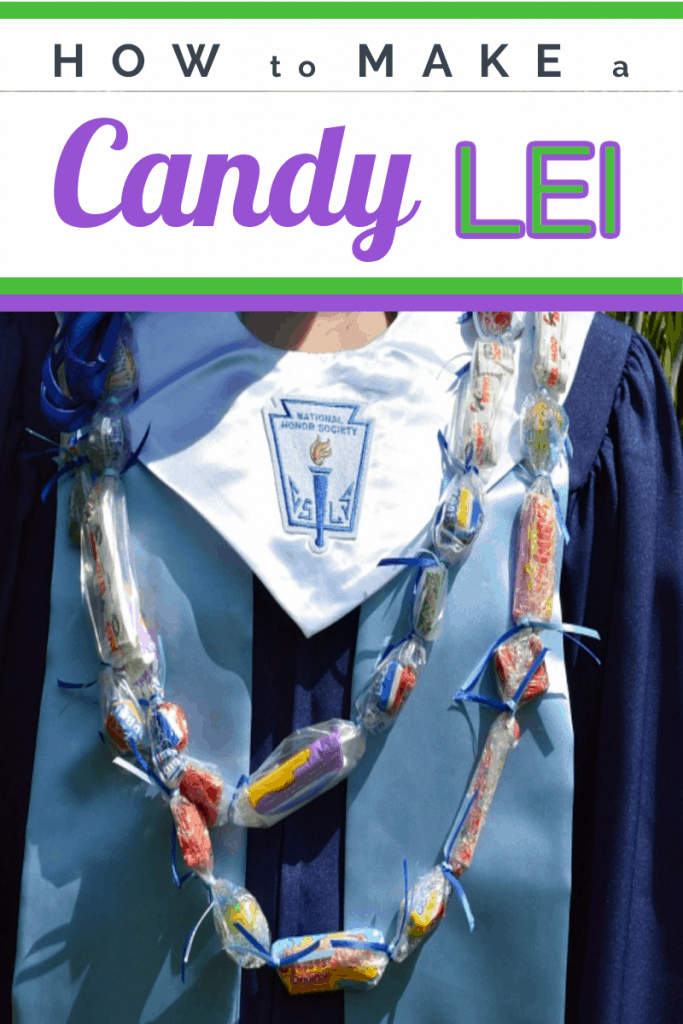
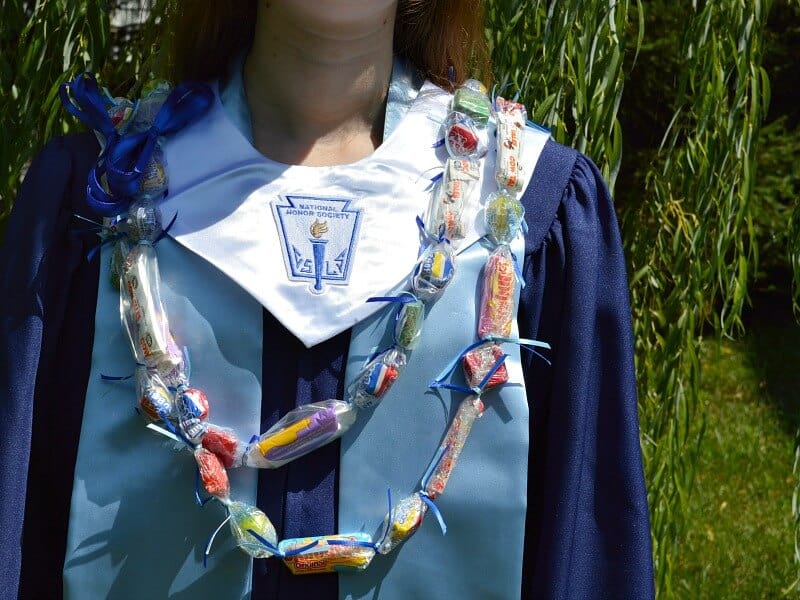
One of the most popular occasions for giving a candy lei is at school graduations. In Hawai’i, you’ll always see candy leis included as fun graduation gifts at graduation ceremonies. I’ve seen school graduates with leis piles up to their ears!
A candy lei is perfect for:
- A graduation gift, for both high school and college graduation
- A birthday gift
- Lei gift for younger children when adults are receiving traditional leis
- Retirement
- Birthday party favors
- Hawaiian party favors
- A gift on Lei Day, which is May 1st in Hawai’i
It’s very simple to make a candy lei when you know how. You can make one in about 15 to 20 minutes. With a bit of planning, you can make a candy lei in your graduate’s school colors as a personalized celebration.
What do you need to make a candy lei?
- A simple to follow tutorial like the one below.
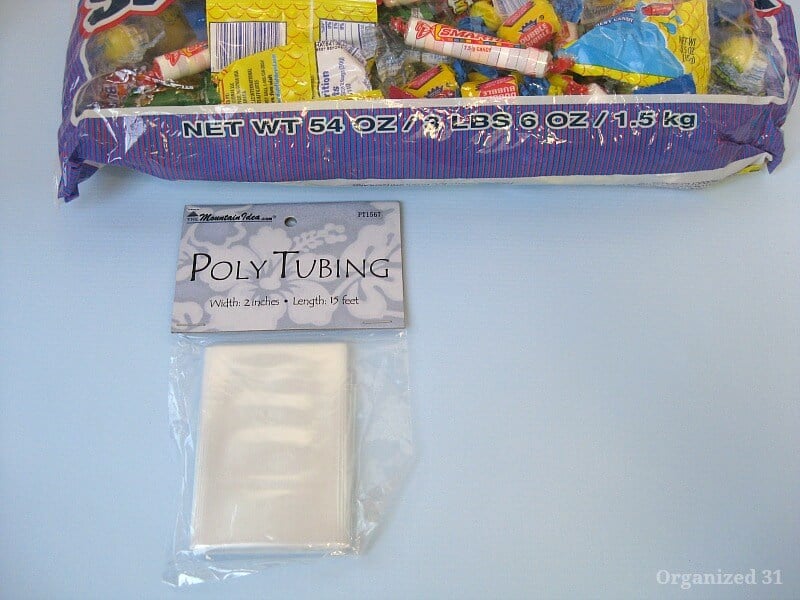
- Poly tubing for leis, netting for leis or plastic wrap (such as Saran wrap), with plastic wrap being the least desirable choice
- Satin ribbon or curling ribbon – If you’re making the lei for graduation, choose the school colors.
- Ruler
- Tape measure
- Scissors
- Candy – Large bag of assorted candy or color-coordinated candy to match the high school colors. You can choose whatever candy you’d like to make a unique candy lei.
- Advice on choosing candy
- Only make a candy bar lei for cooler temperatures or if it will only be worn a short time. You don’t want the chocolate to melt.
- Do choose the recipient’s favorite candy if you know it.
- Choose candy in the school colors for graduation.
- Choose small, individually wrapped pieces of candy that will fit into the lei tubing or netting.
- Advice on choosing candy
Suggested Candy Lei Ideas
Making a candy lei is a great use of candy left over from Halloween, a holiday or party.
- Jolly Ranchers
- Life Savers
- Gum
- Skittles
- Colorful hard candies
- Gummy Bears
- Air Heads
- Candy Necklace
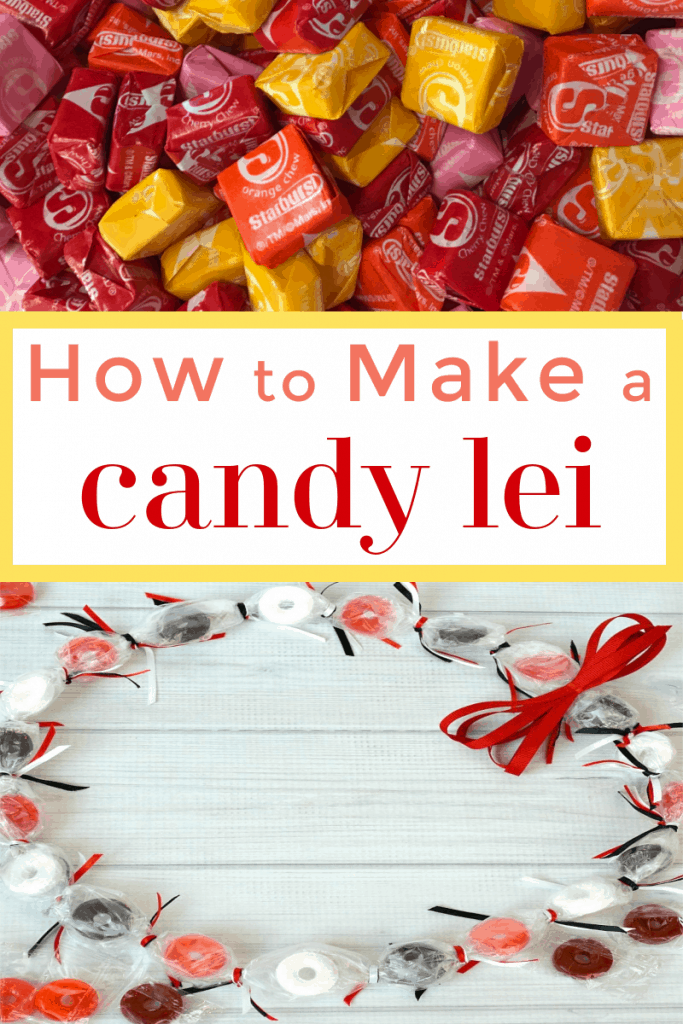
- Starburst
You can make a lei out of small toys, small dollar store items, coins and really almost anything. I even shared a tutorial to make DIY Leis out of almost anything.
While you can make a candy lei for any special occasion, I’ll be describing making it as a graduation lei. You can choose to adapt color choices to meet the needs of your occasion or recipient.
How to Make a Candy Lei
It’s easiest to work on a large flat surface, like a table or clean floor area.
Cut the poly tubing (lei netting or cling wrap) to a length of approximately 60 inches long to create a finished diy candy lei that is approximately 42 inches long. You can make it longer for a taller graduate or shorter for a child.
Cut each piece of ribbon to approximately 8 inch lengths. Group two or more school color ribbon pieces together to make a fuller candy lei. To make this step go faster, I measure and cut the multiple colors of ribbon together at the same time.
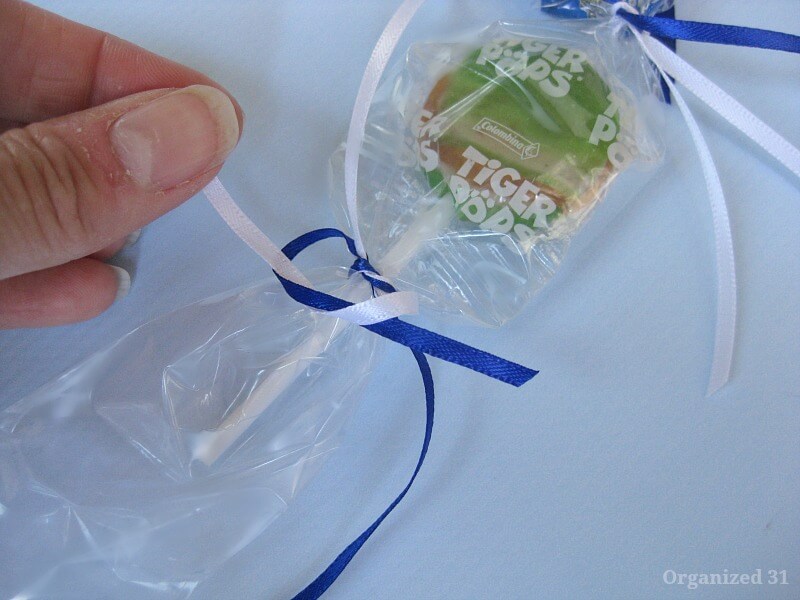
Slip pieces of candy into the poly tubing. Plan ahead to alternate candy colors and types to create the candy garland you want. Leave about a 1/2 inch space between each piece of candy. I like to place the first piece of candy in the center of the tubing and then plan the design out from there. This allows you to work on each side of the lei, working out from the center.
Some people prefer to place all the candy in the poly tubing before tying the ribbon. I find it easier to tie the ribbon after I add each piece of candy. Be sure to snug the ribbons down on either side of the candy, so that the side of the knot is close to the piece of candy. This allows you to maximize the number of pieces of candy that will fit in your lei.
The ribbon stays in place best by tying square knots with the ribbon, but really any ribbon knot will work, as long as it is a double knot. Many people use curling ribbon and curl the ends after tying. I had satin ribbon on-hand from making ribbon leis and chose it use it for the candy lei.
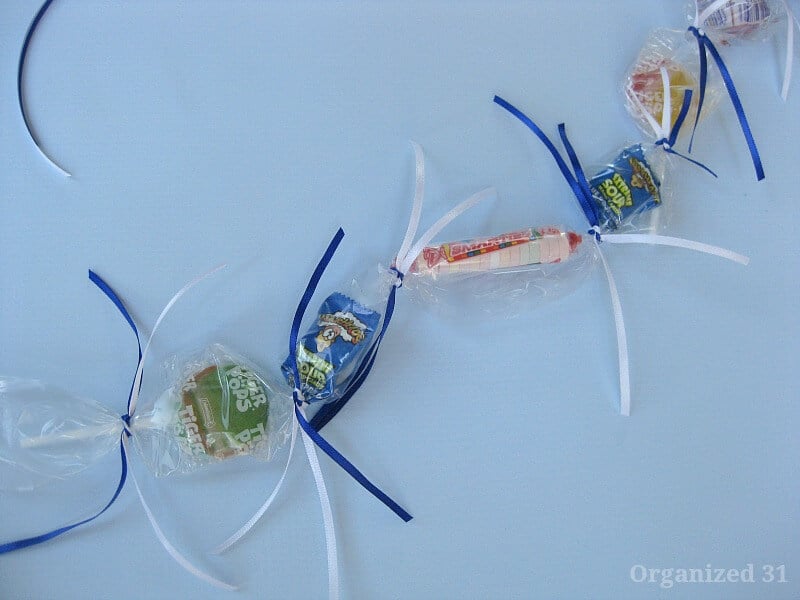
I start from the center of the lei and work out to the ends by alternating adding candy to each side. If you find the ribbons are too long, trim them to the desired length. It’s a nice touch to trim the end of the ribbon on an angle.
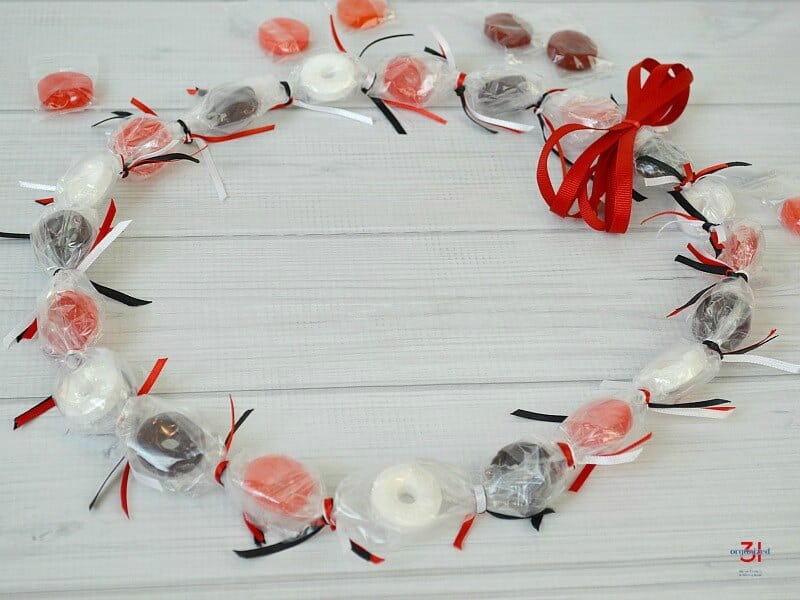
When you reach the ends of the poly tubing, insert one end into the other and tie the ribbon to hold the tubing together.
The end will stay securely closed if you overlap each side with one piece of candy in the middle so that you tie the candy lei closed on both sides of that last candy piece.
Add a bow made from sheer ribbon or any wide ribbon to the area where you joined the ends of the poly tubing.
Using candy in the graduate’s high school colors is an easy way to personalized the graduation candy lei gift.
Once you get the hang of tying the ribbons in place, the candy lei making really does go pretty quickly. It’s a project that you can make with elementary school aged children with a bit of supervision. Remember, if your graduate is celebrating in warm weather, be sure to choose the type of candy carefully so it doesn’t melt.
Print the Candy Lei Tutorial
You can print out the step-by-step instructions in the box below.

Candy Lei Tutorial Instructions
Supplies
- Ruler
- tape measure
- Pair of Scissors
- poly tubing for leis or netting for leis You can use plastic food wrap, but it's the least authentic choice.
- satin ribbon or curling ribbon If you’re making the lei for graduation, choose the school colors.
- Candy Choose candy that won't melt in the sun.
Instructions
- Cut the poly tubing (lei netting or cling wrap) to a length of approximately 60 inches long to create a finished candy lei that is approximately 42 inches long.
- Cut each piece of ribbon to approximately 8 inch lengths. Group two or more school color ribbon pieces together to make a fuller candy lei.
- Slip pieces of candy into the poly tubing. Plan ahead to alternate candy colors and types to create the candy garland you want. Leave about a 1/2 inch space between each piece of candy.
- Tie ribbon between each piece of candy using a square knot.
- When you reach the ends of the poly tubing, insert one end into the other and tie the ribbon to hold the tubing together. The end will stay securely closed if you overlap each side with one piece of candy in the middle so that you tie the candy lei closed on both sides of that last candy piece.
- Trim the ribbon ends so they are similar in length and trim on an angle.
- Add a ribbon bow to the spot where the ends of the tubing are connected.
Now that you know how to make a candy lei, how many students do you know graduating this year? These candy leis also make great party favors.
More Lei Tutorials
DIY Lei Tutorials and Instructions – Everything you need to know about lei etiquette and all 11 of my best tutorials
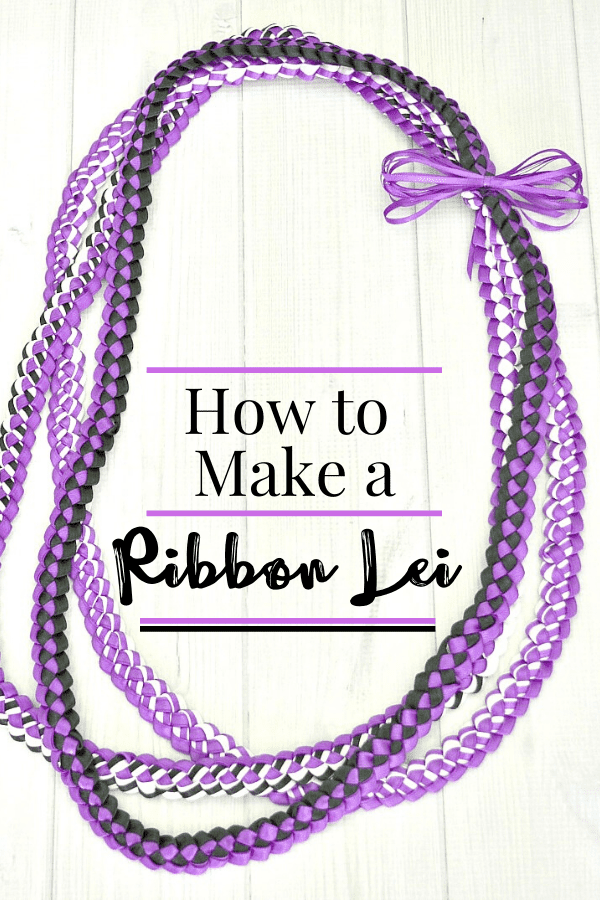
How to Make a Ribbon Lei – Easy-to-follow tutorial on how to make a ribbon lei in about 30 minutes.
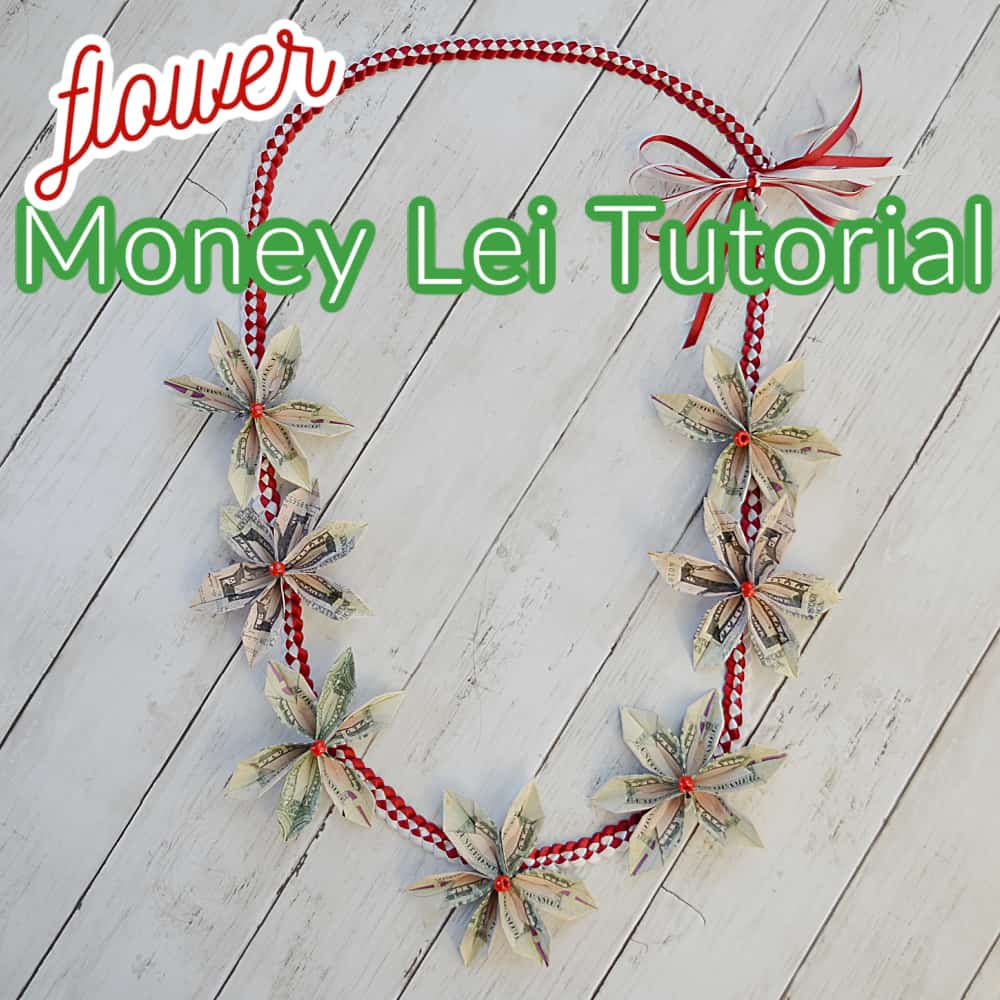
Flower Money Lei Tutorial – A graduation lei made with real money. This easy flower money lei tutorial makes a great gift for any graduate.
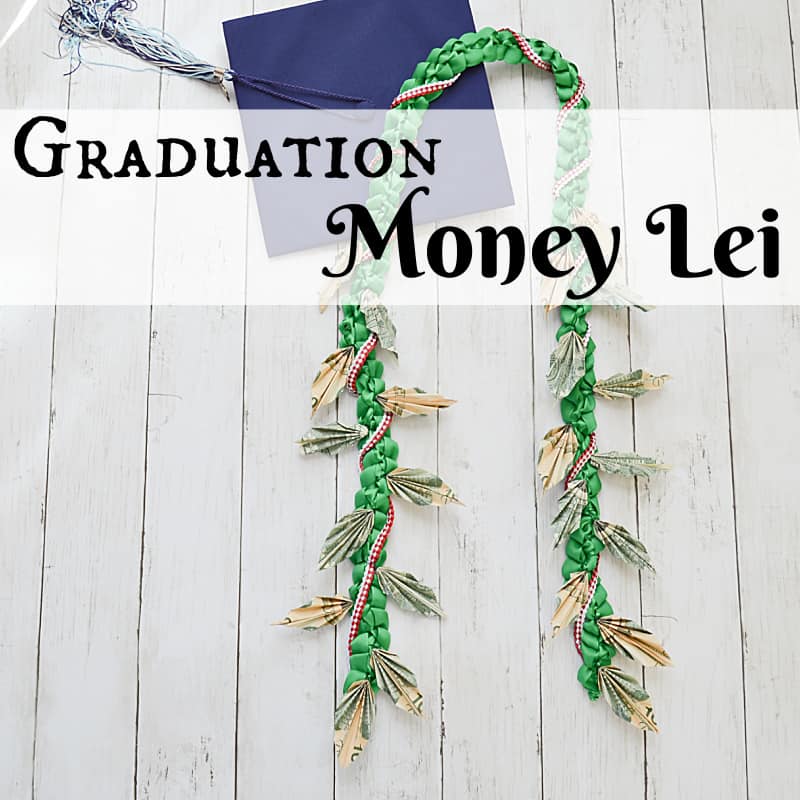
Money Lei – Maile Lei Style – A money lei made in the maile lei style is the perfect gift for a graduate. This easy-to-follow tutorial creates a memorable graduation gift.
Dog Treat Lei – I used the candy lei tutorial to make a
Dog Treat Lei – I used the candy lei tutorial to make a lei for my dog.

You may have missed these other candy craft ideas
- Easy Candy Acorns – A cute craft you can make with the kids. They’re perfect for table decorations or party favors.
- Halloween Gauze Wrapped Candy Bars – Fun to make and fun to enjoy.
- Candy Graduation Caps – Fun to make graduation treats.
Making a candy lei is a delightful and creative activity that can bring joy to both the maker and recipient. Be sure to pin this tutorial on how to make a candy lei so you can find it again and again every graduation season or for any special occasion.
See all my favorite graduation crafts, party ideas, printables and recipes in the table below. You can scroll through the table and look for ideas or search for specific ideas with the magnifying glass in the upper right-hand corner (on desktop). Click on the topic and then click through the specific article.

I’m a mom of 3, a veteran, military spouse. I’ve moved into 20+ homes all around the world. My passion is helping busy people make the space and time for what’s really important to them. Learn more about Organized 31 and me.


I always wondered how they made those candy leis! I hadn’t heard of poly tubing before. Thanks for sharing how to make one. I also like the tip about not using candy that will melt. It’s amazing how hot it gets out on the field during graduation!
Happy to share the “secret” with you, Brenda. 🙂 It really is amazing how hot it can get out there at graduation, isn’t it?
This is such a fun idea, Susan. I have never seen a candy lei before. I love that your puppy gets one too!
Let me know when your next graduation is, Cynthia, and I’ll make you a candy lei to celebrate! 🙂 I promise.
Nice DIY. This candy lei is a good option to try.
Have fun making one (or two or three), Sandy. They’re always a big hit with graduates. 🙂