DIY Kid’s Placemat
This post may contain affiliate links provided for your convenience. We earn commissions if you shop through the links on this page. I am also an Amazon Associate and earn from qualifying purchases Read my full disclosure policy.

This shop has been compensated by Collective Bias, Inc. and its advertiser. All opinions are mine alone. #GoldfishLunchSmiles #CollectiveBias
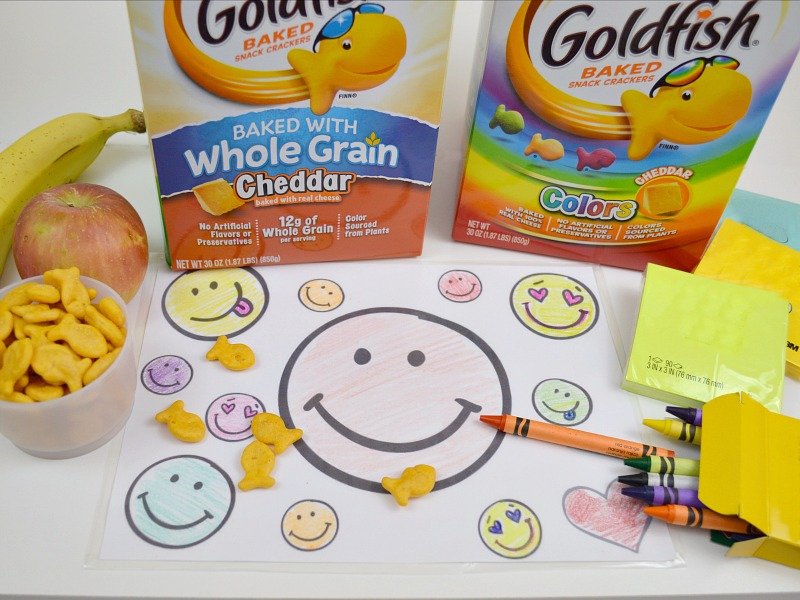
I feel like I’ve blinked and it’s back-to-school time again. I guess it’s a good thing that I have 35 back-to-school-as-a-mom experiences under my belt because it’s no big deal and is even fun for me (back-to-school is a lot more fun as a mom!) I was at Walmart this week stocking up on school supplies and lunch snacks and started thinking about my kids going back to school. I like to find ways to make my children’s lunches and after-school snacks extra special (it’s how I show my love and affection). This DIY kid’s placemat is a fun addition to lunches and snacks that’s sure to add a smile. Add your child’s favorite snacks and you’ll earn bonus mom points (I don’t know about you, but I can use all the extra points I can get!).

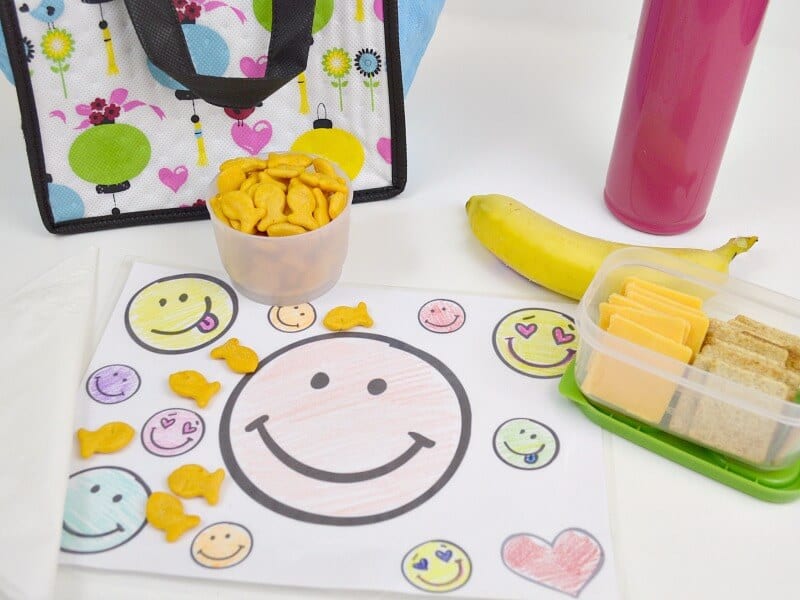
I’m a bit of clean freak, especially when it comes to food. I wonder about how sanitary the table is when my kids are eating lunch and snacks outside or away from home. In addition to making lunch and snacks fun, this personalized DIY kid’s placemat puts my worries at ease. I can easily keep the placemat clean and know that it doesn’t matter how clean (or not clean) the table is. And the placemat makes it easy for outdoor picnics anywhere, on any surface. Oh, and did I say it makes eating fun, too? I’m all about showing my love and affection to my children in small, concrete ways and this reusable placemat does just that.
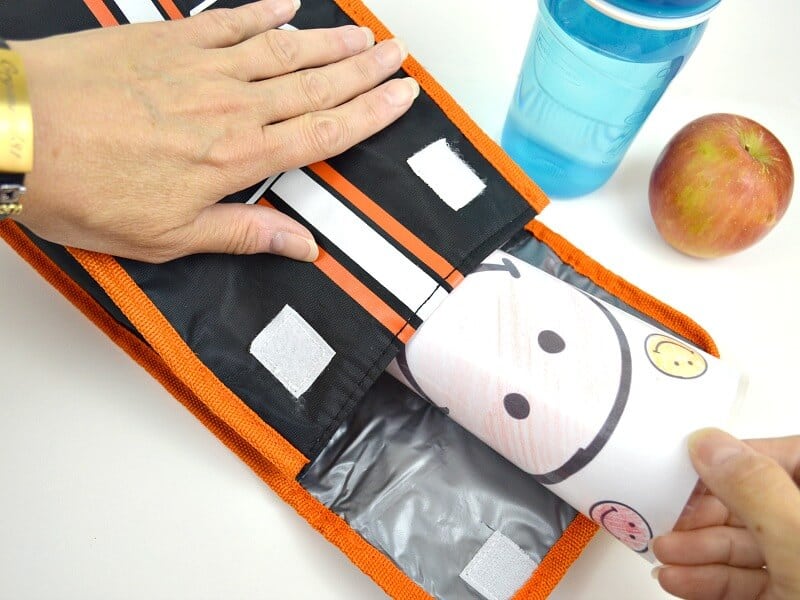
![Make a personalized wipeable lunch box placemat and provide a clean and fun lunch surface. #GoldfishLunchSmiles [ad]](https://organized31.com/wp-content/uploads/2017/07/wipeable.jpg)
Making sure that my children’s favorite snacks are always available is another way I show my love and share a smile.
DIY Kid’s Placemat
What makes this kid’s placemat extra fun is that your child can personalize it by coloring it themselves. It’s a great end-of-summer kids’ craft to make with your child and make happy memories together. I look for ways to build happy mommy memories with my children whenever I can.
DIY Kid’s Placemat
Supplies
Printer Paper
Crayons
Laminating Sheets – Make sure you have enough for the front and back of the placemat.
To get the free Coloring Lunch Mats printable, simply sign up for our free newsletter below. The printable coloring mats pdf will be sent directly to your inbox after your signup.
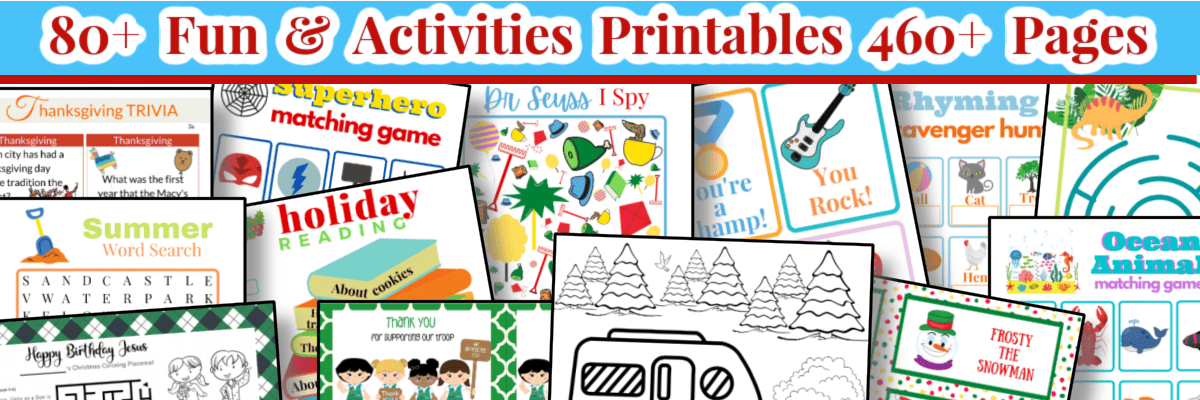
As a special opportunity, if you enjoy games, printable activities and other fun printables, you definitely want to check out this limited time low price offer on the Fun & Activities Vault filled with even more printable activities, including ones only available in the Vault.
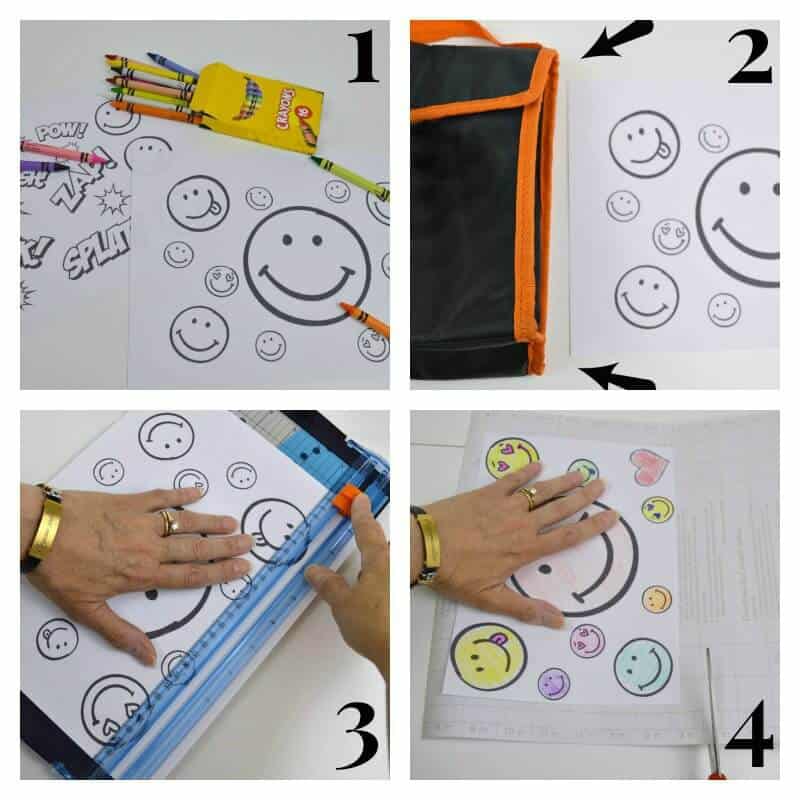
Steps
- Print out the a free printable image or draw your own. Have your children color the placemat.
- Measure the sheet so that it will fit in your child’s lunchbox if you want to send it to school with them
- Cut the paper to fit in the lunchbox, if needed.
- Cut laminate sheets to cover both sides of the placemat with about 1/2 inch extra on each side. I find it easiest to place one piece of laminate sheet down on the table with the sticky side up. Put the placemat down on the laminate sheet and smooth out any bubbles. Then do the same with the second side of the placemat.
- Trim the extra laminating sheet edges to about 1/8 from the edge of the paper.
Every lunch and snack will be a happy celebration with the festive kid’s placemat. The placemat is easy enough to make that you can make them for each holiday or make a new one each time your child’s interests change. You know. Dump trucks are suddenly and inexplicably out and now it’s all dinosaurs all the time. Or purple is no longer the favorite color, now it’s orange.
You can also send the DIY kid’s placemat in your child’s lunchbox for school lunch and snacks. (Have you ever thought about how not clean those lunch tables are at school? Ugh! Shiver!
While I was picking up back-to-school supplies, I found the boxes of Goldfish crackers in a special display in the middle of the aisle in the food section. That made it easy to find our favorites flavors.
Take the time now to make some happy memories with your children before they head back to school. Make a DIY kid’s placemat (or two or three)
For more back-to-school ideas, printables and recipes check out the table below. You can scroll though the table and look for ideas or search for specific ideas with the magnifying glass in the upper right-hand corner (on desktop). Click on the topic and then click through the specific article.

I’m a mom of 3, a veteran, military spouse. I’ve moved into 20+ homes all around the world. My passion is helping busy people make the space and time for what’s really important to them. Learn more about Organized 31 and me.


What a neat idea to make a placemat to bring to school! I don’t like all the germs either, so my kids just hold the lunchbag, after sanitizing their hands, and eat their sandwich that way. It would be nice to have a placemat for them.
I’m glad to know I’m not the only mom wondering about those lunch table germs, Brenda. 🙂
I love this! My daughter is totally into art and I know she’d be thrilled to color her won place mat (and show it off to school friends!) #client
Have fun crafting with your daughter (I still love coloring!), Sarah. I miss those coloring together days when my children were young.
What a fun idea! I bet the little ones enjoy creating these and dining on them too!
Thanks, Cynthia. They are a lot of fun (and so easy to make)!
Thank you for your beautiful work!