Day 7 – Organize Office Supplies
This post may contain affiliate links provided for your convenience. We earn commissions if you shop through the links on this page. I am also an Amazon Associate and earn from qualifying purchases Read my full disclosure policy.
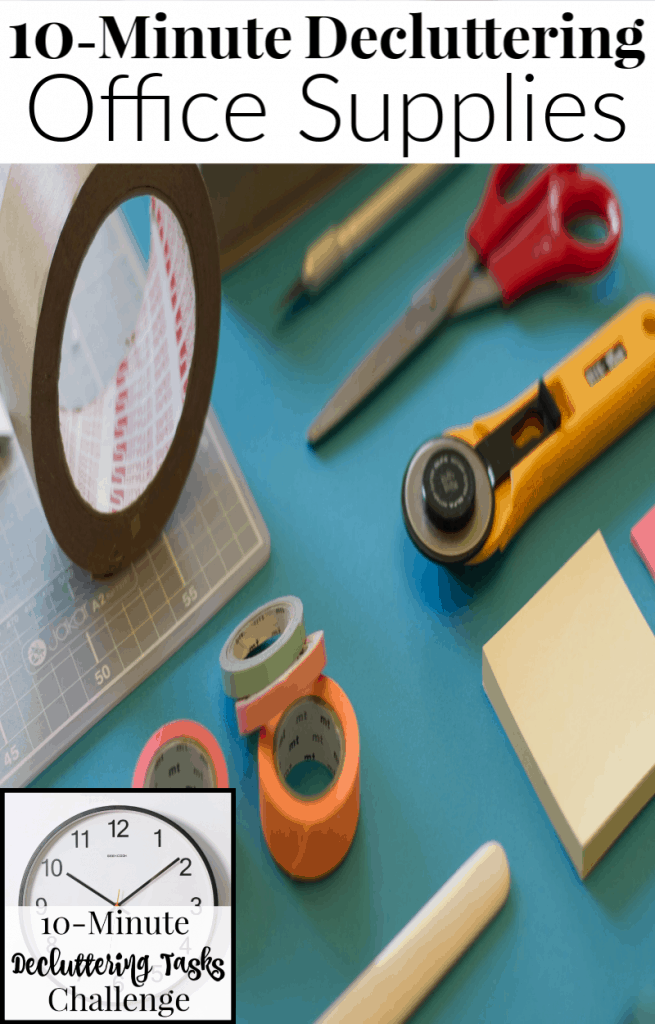

Home office organization is critical to smooth family, school and work operation. Today we’ll examine and declutter the office supplies we have scattered through out our home. By clearing clutter, we’re making room to pay our bills, do homework and our own work from home tasks.
I’m guessing that I’m not the only one that has a much too large collection of office supplies. I’m unable to resist the sales on all those fun office supplies in September after the back-to-school rush and in February after the new year organizing sales. I also have difficulty throwing away a pad of paper with even just one piece of paper or a favorite eraser that’s the size of a quarter. This is a home organization area that is tough for me.
I used to have office supplies organized and stored in multiple supply area locations throughout my house. I have an office supply closet in my office, a junk drawer in my kitchen and my children had office/school supplies in their bedrooms. That makes it difficult to find what we need and too easy to overbuy without knowing what we already had.
Let’s start by taking a quick walk around to the spots you have office supplies stashed in your home. Spend a minute or less at each location to make a quick assessment of what you have. Pick one area to start purging. I’d recommend the spot in your kitchen or office that you can make a dent in today in about 10 minutes.
Declutter Home Office Supplies
Grab the 6 decluttering bags you created earlier print out the free two page Clear Clutter Checklist and head to your office clutter storage spaces. You may need a larger than normal bag or box for items to donate (if your stash of office supplies is anything like mine).

Take Everything Out – Remember that we’re devoting 10 minutes to purging today. Only take out as much of the office supplies as you can go through in that time. You can come back to the remainder of the supplies another time. Lay the items you take out on a table, desk or the floor.
Don’t forget to look around the house for things such as:
- Pens and pencils you have stashed all over your home
- Rubber bands
- Sticky notes
- Scissors
- Paper clips
Group Like Items Together – Quickly group like items together. You may want to first create larger groups of different types of office supplies like:
- Your office supplies
- School supplies
- Craft supplies
Then group the larger categories into sub-categories such as:
- Place paper together. If you have different types of paper (notebook, legal pad, graph paper), place them in separate piles next to each other.
- Place pens, pencils, and markers in one pile or separate piles depending on how you use them.
As you group the items together, consider how you use the items. What works for me, may not work for you. Consider what you need for your personal situation.
Evaluate – Look at each group you’ve created.
- Are there any categories you don’t need?
- Are there categories that have more items than you really need to keep?
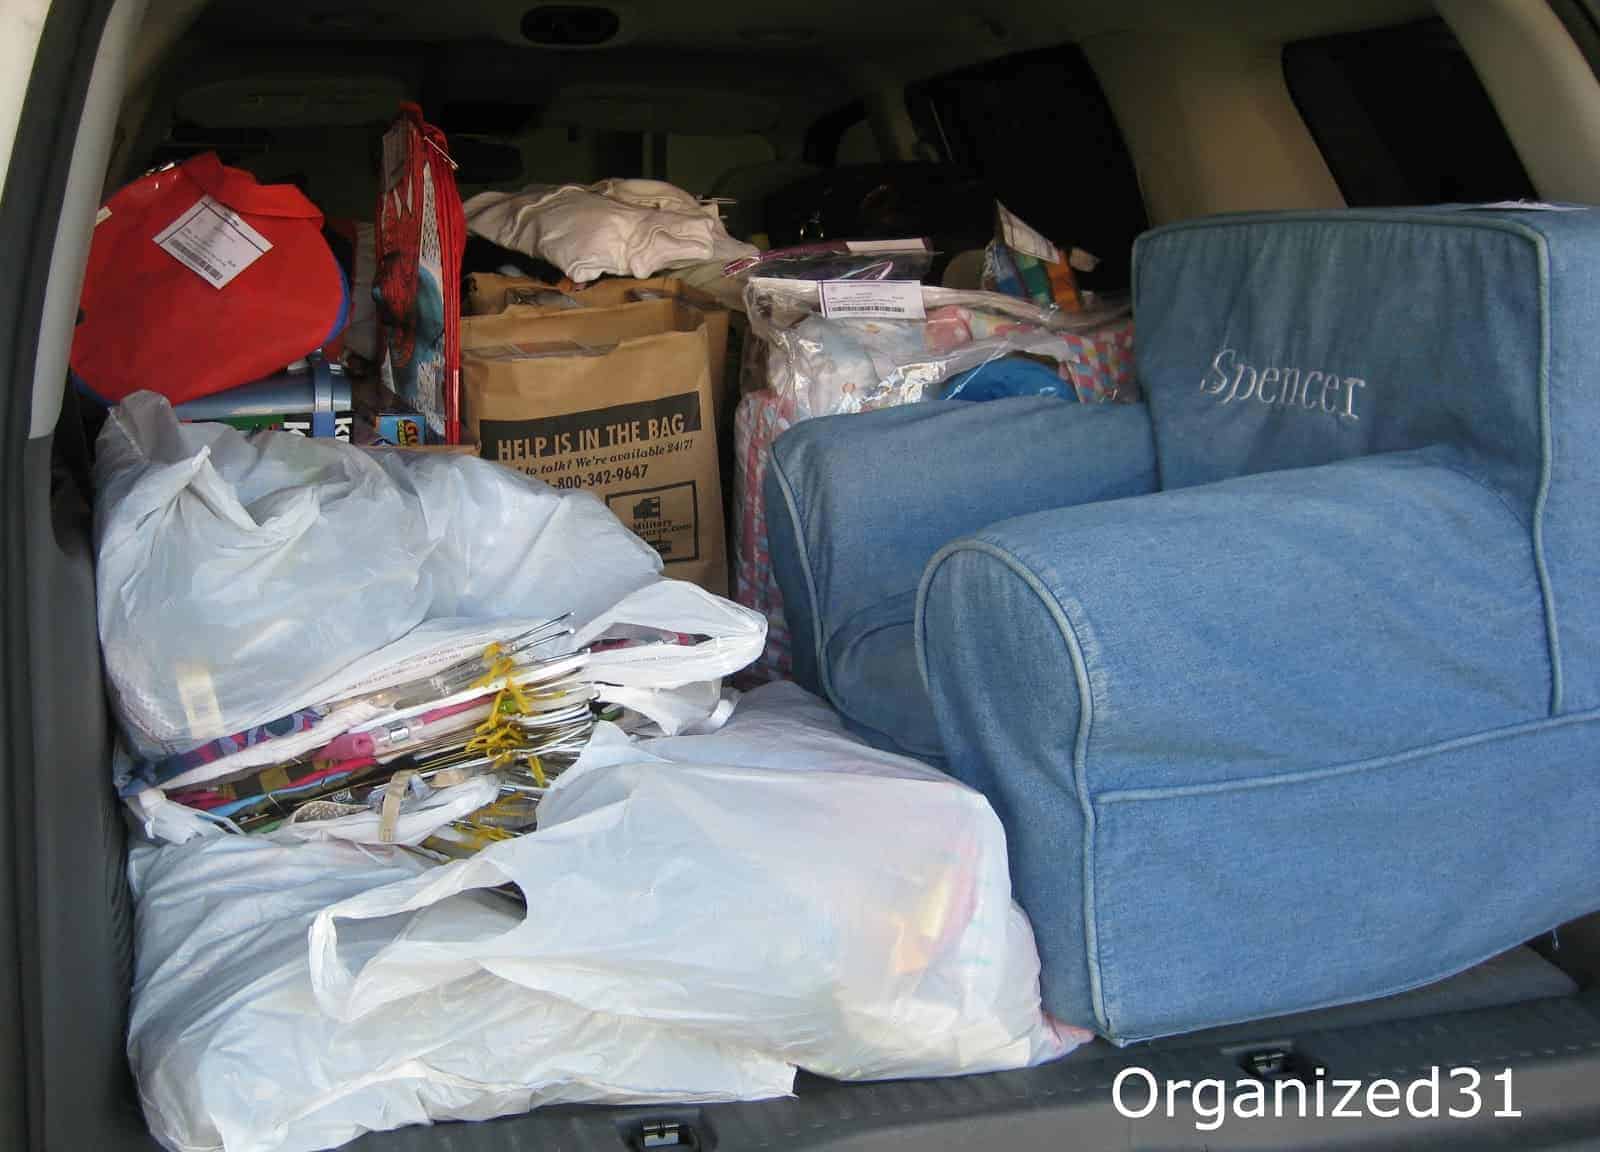
This is the point where I remind myself that I can donate my extra office supplies to our local homeless shelter and help needy families. Keeping that in mind makes it easier for me to let some of my office supplies stash go.
Declutter – Remove items you don’t need to keep and place them in one of your decluttering bags. Be tough as you evaluate the items. You don’t need to keep those pencils that are 2-3 inches long. You are worth a full-sized pencil. Really.
Put Everything Away – Put the items you’ve decided to keep back away using the best ideas to organize and store office supplies below. These ideas and ways to organize office supplies work whether you have a designated room or simply and organized office space.
My Office Supply Organization Ideas
How to Declutter Your Office – Declutter your home office with these 11 tips from a professional organizer and a free downloadable 9-page checklist resource.
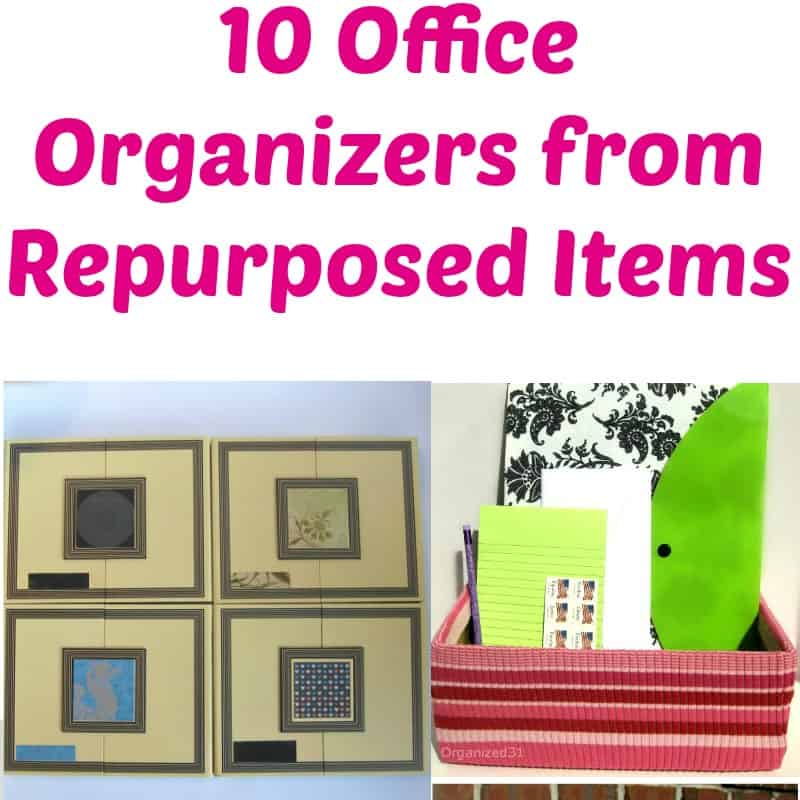
You don’t have to spend money to organize your newly purged office supplies. These 10 recycled office organizers will help you get everything neatly organized for free.
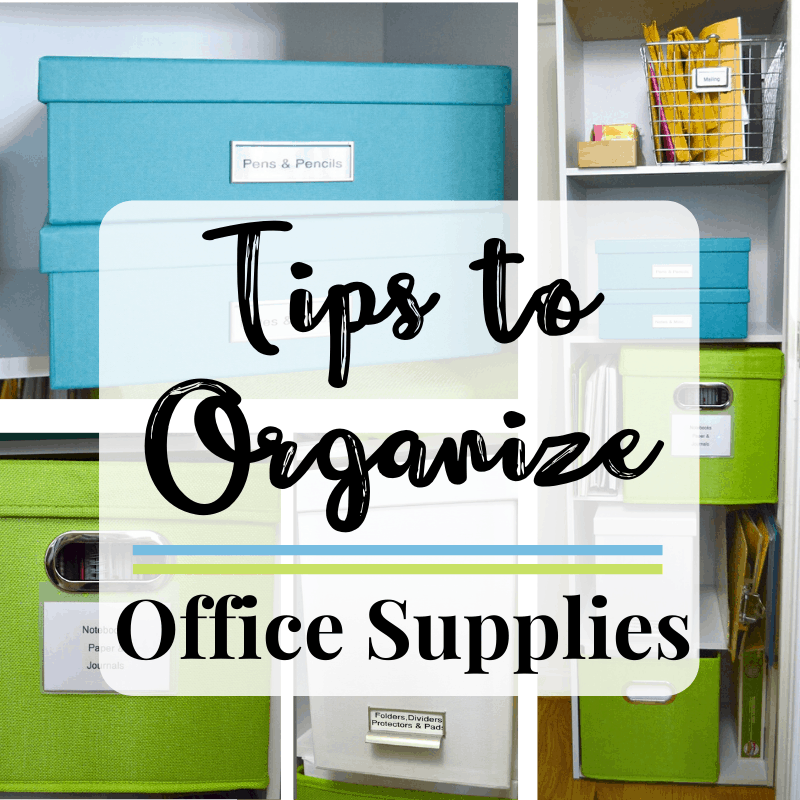
Organize Office Supplies at Home – 10+ tips to organize your office supplies at home so that they’re functional and pretty. Make the most of a small space with careful planning and organizing.
Products for Office Organizing
When it comes to knowing how to organize your office, you need to start with considering your office space. Even a small office can be organized
- Behind the door space
- Maximize storage in your work desk, especially your desk drawer
- Use your printer table for organization
- Add file cabinets or book cases, if needed
- Take advantage of vertical space
- The wall in front of the desk
- Other wall space
- Behind-the-door, either the wall or the back of the door
Consider organizational products you already have around your home:
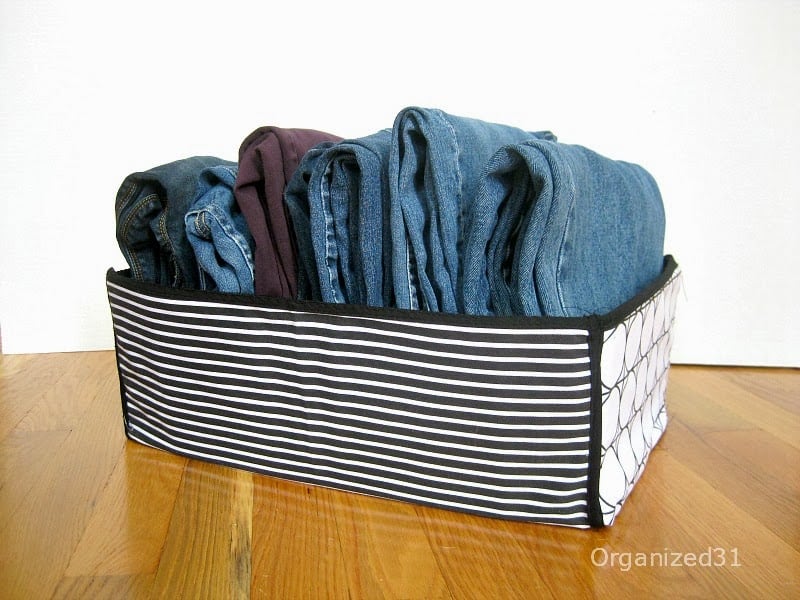
- Storage containers or storage bins
- Drawer dividers
- Look for repurposed containers to keep things tidy
In choosing organizing products, it’s important to consider not only the functionality but also the aesthetic appeal.
Look for practical storage solutions and think about how the products can be easily integrated into your existing office, ensuring they complement rather than disrupt the flow of your work environment.
Additionally consider is versatility. Choose organizing products that offer multipurpose use, such as desk organizers with interchangeable compartments or modular shelving systems that can adapt to different storage needs over time. This flexibility allows for a more adaptable and scalable solution as your office requirements evolve.
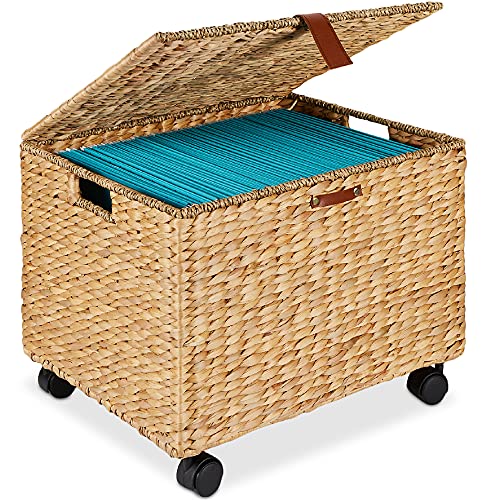
Woven Mobile Storage Basket, Portable File Organizer for Legal & Letter Size w/Lid
4 Locking Wheels
Available in several colors
4 Tier Letter Tray Office Desk Organizers
Workspace Organizers with Drawer and 2 Pen Holder
Available in 10 different colors

with 5 Vertical Compartments
File Organizer for Office Desktop, Home Workspace, Black

Multi-Functional Pencil Holder for Desk with 5 Compartments and a Drawer
Comes in 18 different colors


Double Tray and 5 Upright Section File Sorter Organizer
Available in 6 different colors


Organizing your supplies for easy access, especially for children, is key to an organized office that will work for you.
Find all my decluttering tips, printables and challenges in the table below. You can scroll though the table and look for ideas or search for specific ideas with the magnifying glass in the upper right-hand corner (on desktop). Click on the topic and then click through the specific article.

I’m a mom of 3, a veteran, military spouse. I’ve moved into 20+ homes all around the world. My passion is helping busy people make the space and time for what’s really important to them. Learn more about Organized 31 and me.


This is a good idea. My kids’ school supplies closet probably needs some cleaning up. I’ll have to check.
My mom (a teacher) is in the process of moving, and she counted 6 staplers and over 100 pens, lol. I think so many of us hoard office supplies, and don’t even realize it!
The junk drawer is one of my favorite little projects. Incredibly rewarding. Having an organized space (especially in the kitchen), where everyone can get the office supply they need is wonderful. Put the labels into the drawer if necessary, right? Wonderful little task today:)