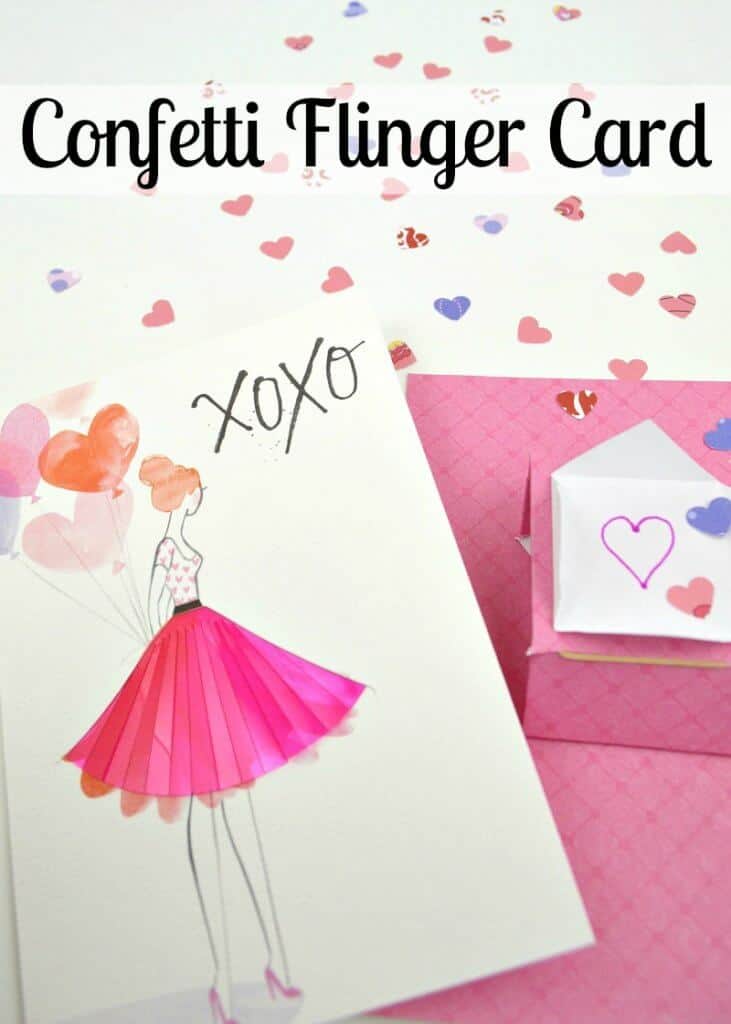
Confetti Flinger Card Insert
This post may contain affiliate links provided for your convenience. We earn commissions if you shop through the links on this page. I am also an Amazon Associate and earn from qualifying purchases Read my full disclosure policy.

This shop has been compensated by Collective Bias, Inc. and its advertiser. All opinions are mine alone. #SendingYourLove #CollectiveBias
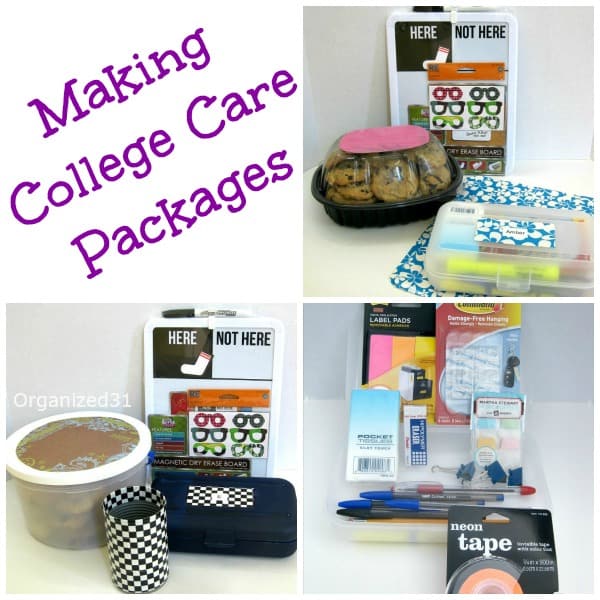
With two of my “babies” far away at college, I’m always looking for special ways to surprise them and show them I’m thinking of them. I love sending them cards because getting mail when you’re away at college is still exciting in this age of technology. And really, it’s still exciting for anyone whether they’re in college or not.
I made a confetti flinger card insert for the next card I send to surprise my babies and it is so much fun. Really. I just kept testing it over and over again.
The first confetti flinger card insert I made took me a bit longer as I figured out the measurements and how to assemble it. But after the first one, it takes less than 15 minutes to make one.
CONFETTI FLINGER CARD INSERT
My daughters both love pretty things and especially pretty cards. With just days until Valentine’s Day, I was on a mission to find pretty Valentine’s Day cards for my confetti flinger card insert.
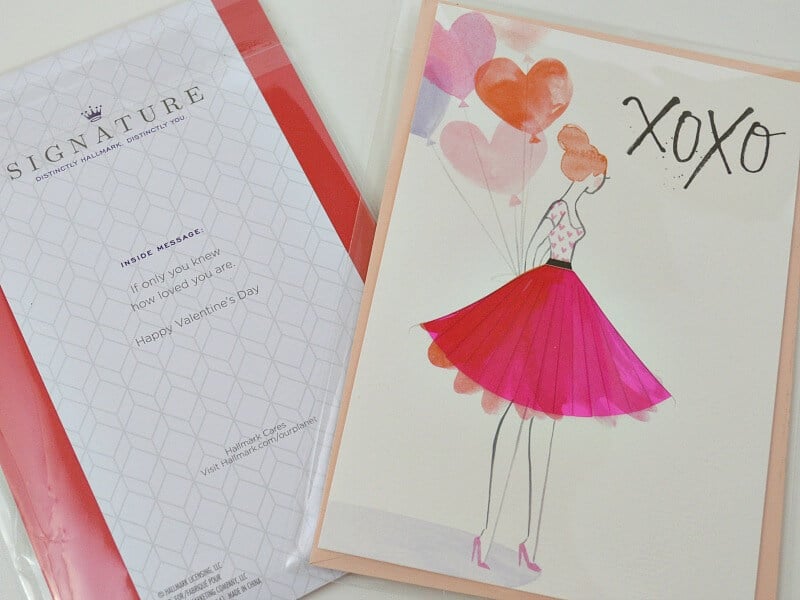
I popped over to Walmart to pick up my confetti flinger supplies and cards. I found these lovely Hallmark Signature cards for Valentine’s Day. It’s like they created this beautiful card just for my two babies. And the sentiment inside the card is exactly what I’m trying to convey to them. Lucky for you and me, there’s an in-aisle coupon offer at Walmart now until 2/15/2017 for $2 off of a two card purchase (with a minimum purchase of $2 required).
Confetti Clinger Card Insert Supplies
- Decorative Card Stock Paper – Coordinate to your card
- Paper Cutter or Scissors
- Ruler
- Bone Folder or Popsicle Stick
- Double Stick Tape
- 1 inch rubber band
- Sticky Note or Printer Paper – Sticky note paper is better because it’s lighter in weight and will allow the confetti to be projected better.
- Decorative Paper scraps
- Heart Punch or Hole Punch
Step 1 – Cut a piece of decorative card stock paper 3 inches by 5 inches to make the flinger. Cut another piece just smaller than your card to make the insert. My insert is 4 1/2 by 6 1/2 inches.
Step 2 – Crease paper as indicated to make folding easier and precise.
Step 3 – Cut notches as indicated by the black triangles. Use the crease lines as guides for where to cut.
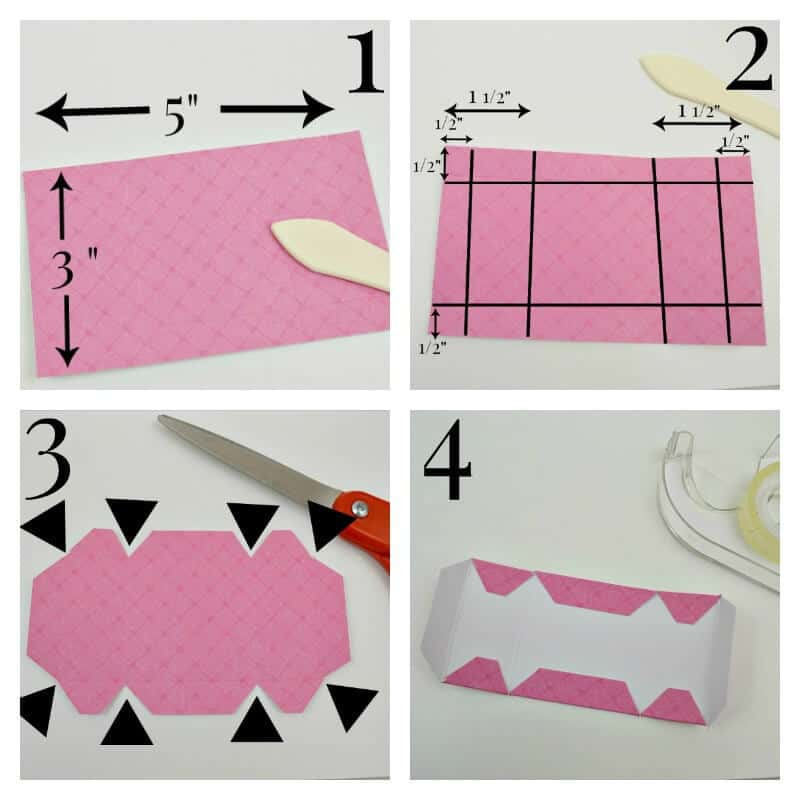
Step 4 – With double stick tape, adhere the six flaps on both of the long sides to the back of the paper.
Step 5 – Cut a sticky note into a 2 1/4 inch by 2 1/4 inch square. Fold the corners into the center. Fold the corners back and forth to make the folds less stiff. You want these triangles to hold the confetti in place loosely and give way when the flinger releases. Attach this square to the center of the flinger with double stick tape.
Step 6 – With scissors, clip the flinger at the front crease just below the confetti square. Also clip on the back side of the flinger about one-third of the way down from the top crease. The slit should be approximately 1/4 ” long. You can just eyeball it.
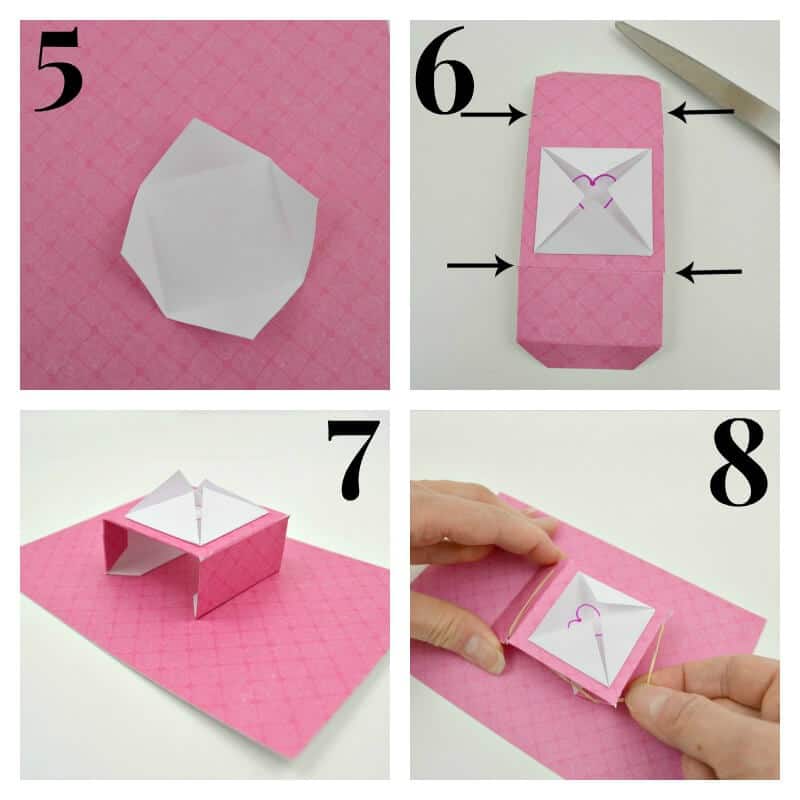
Step 7 – Bend the flinger into a square with a gap on the bottom between the two flaps. Tape the flinger to the card insert with double stick tape on the tabs. Make sure you have the front of the flinger towards the bottom of the insert. The front of your flinger is the side with the notches on the crease (the back is the side with the notches one-third of the way down from the crease). Before adhering the flinger to the insert make sure that the flinger has room to move down and back without hanging over the edge of the card insert.
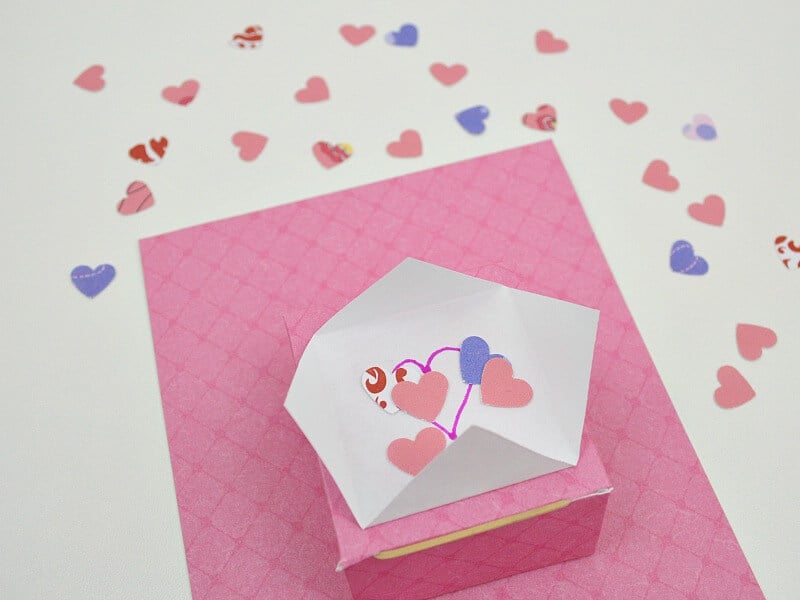
Step 8 – Place the rubber band into the notches. Push the flinger forward and release to make sure it snaps backwards and works correctly.
Step 9 – Punch heart confetti out of the scraps of decorative paper. If you don’t have a heart punch, you can use round confetti created by a hole punch. Put the confetti into the confetti pocket.
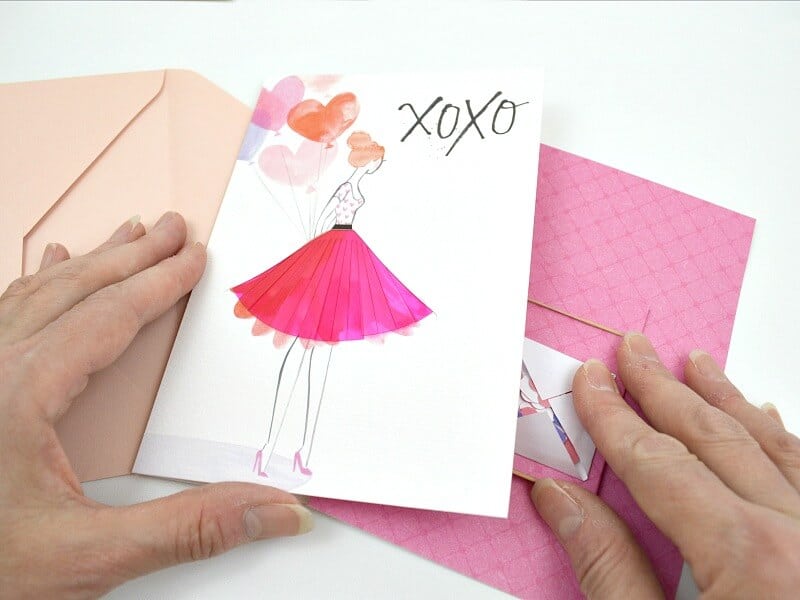
Insert your confetti flinger card insert into your card and send to your favorite college student or loved one.
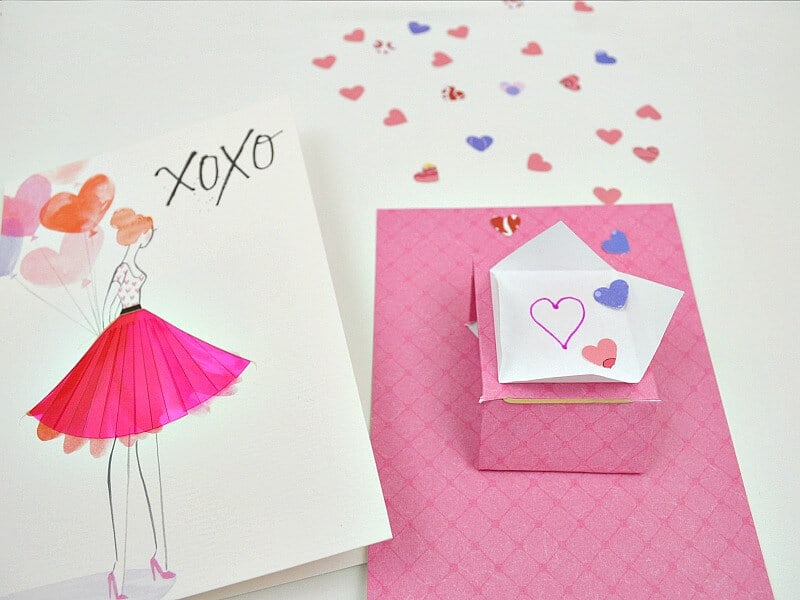
When they open the card, they’ll have a sweet celebration thanks to your confetti flinger.
See how much fun opening a card with this confetti flinger is in action!
Have I got you as excited about making a confetti flinger card insert as I am? I’m sending them to everyone I know this year for Valentine’s Day. You can find more Valentine’s inspiration and digital coupon offers here.
For More Valentine’s Day Ideas

For my favorite Valentine’s crafts, tips, printables and recipes, check out the table below. You can scroll through the table and look for ideas or search for specific ideas with the magnifying glass in the upper right-hand corner (on desktop). Click on the topic and then click through the specific article.

I’m a mom of 3, a veteran, military spouse. I’ve moved into 20+ homes all around the world. My passion is helping busy people make the space and time for what’s really important to them. Learn more about Organized 31 and me.

![Make an easy DIY fabric headband as part of college care package ideas for women to go with a pampering care package. #FiercelyCleanPores [ad]](https://organized31.com/wp-content/uploads/2016/03/College-Care-Package-Ideas-for-Women-sq.jpg)

I love this! Thanks for sharing how you made it!
Happy to share, Jennifer. We could all use a little more confetti in our lives.
Oh My Gosh! This is so cute. I love putting fun confetti in cards, but have never made a flinger. I need to go and get crafty! Love this.
Happy to help get you crafting, Cynthia. 🙂
Wow, what a fun card! I’m sure your daughters will really enjoy them. My daughter likes making cards and she likes to make a different kind each time. I’ll have to tell her about your idea.
It really is fun to make, Brenda. I hope your daughter finds it as much fun as I do.
Love this idea! What a great way to add a personal touch to a very special card! {client}
Thanks, Cathy. It’s so rewarding when you test it and celebrate with confetti.
These little cards are seriously so cute! I didn’t realize how easy they would be to put together.
Thank you, Sarah. After you make the first one they really are easy to make.
These are so sweet! Definitely going to try them this week with the kids at my learning center. Thanks for the inspiration! 🙂
Thanks, Alix. They’ll have fun with it, I know I sure do. 🙂
Aww, how cute! I love it! I am definitely trying this for my daughter on Valentine’s day. She would love that hallmark card, too 🙂
Your daughter has good taste, Andrea. 🙂
What a cute idea. Hallmark really has come out with a lot of nice cards lately!
Please can you explain how to cut properly and the 1 third thing because I did what it says and it won’t pop up
Sure, Linabeth. Why don’t you email at iorganize31 (at) gmail (dot) com so that we can chat about your specific questions (and send photos if you can). I’d love to help make it work for you.