How to Reorganize a Kitchen
This post may contain affiliate links provided for your convenience. We earn commissions if you shop through the links on this page. I am also an Amazon Associate and earn from qualifying purchases Read my full disclosure policy.

If you know me and live near me, I’ve offered at least once to help you organize anything you like to tackle. Fortunately, I have wonderful friends who aren’t insulted when I offer and even take me up on the offer. Last week, my crafting-buddy friend, J., invited me over for a fun day of reorganizing her kitchen. I just love to brainstorm and dream of how to organize a kitchen.
I’ve know J. for 22 years. We’ve known each other since before kids. J. has moved many times with the military and learned the lesson I have – how to live in any situation without much complaining. She’s been in her current home for 4 years and she told me that all her kitchen items were in the same place they were when she unpacked them 4 years ago. We started by talking for a few minutes about what works for her and doesn’t work in the kitchen. We discussed her personal preferences for the location of items and what would work for her family. Then we figured out a stating layout design and got to work.
How Reorganize a Kitchen
1. Consider the functionality of your kitchen – what works for you and what doesn’t work
2. What special considerations do you have – what are your personal preferences and do you have any mobility or other challenges that need to be addressed
3. Plan a preliminary layout for your kitchen – you want to have a game plan but be flexible and willing to adjust as you find what items will fit where in your kitchen.
Layout Goals Examples
put like items together when possible put all pots together, all cups together, all baking items together
put items where you use them put coffee cups near the coffee maker, put glasses near the fridge, put pots and pans near the stove
put frequently used items so they’re easily accessible put seasonal items on top shelves and in the back of cabinets and put items used daily in the front
put lighter items up higher and heavier items down lower put lighter items up higher so they’re easier to lift down and won’t hurt as much if they fall on you
file items rather than stack if you can rather than stacking cookie sheets and cooling racks, file them vertically
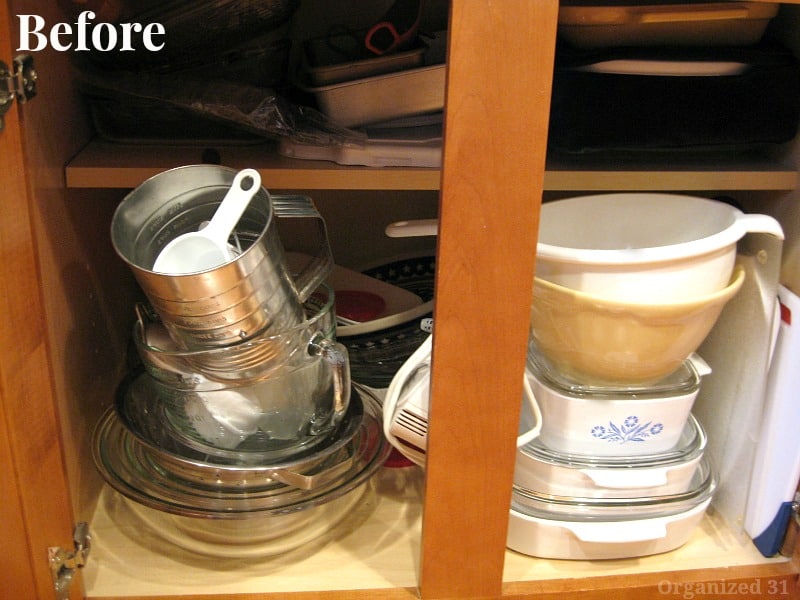
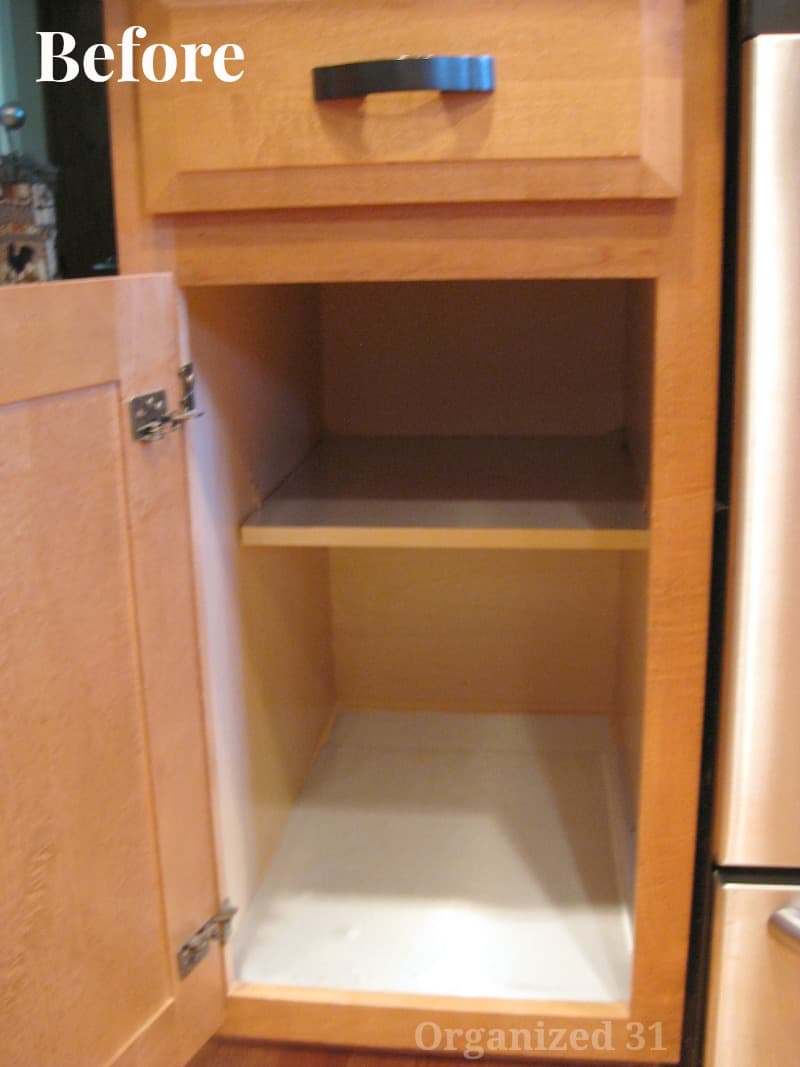
Tackle one cabinet at a time (or it can become too overwhelming). This cabinet wasn’t working for J. It held some of her most used items, but they were difficult to access because some were stacked and others were difficult to reach on the small shelf in the back of the cabinet.
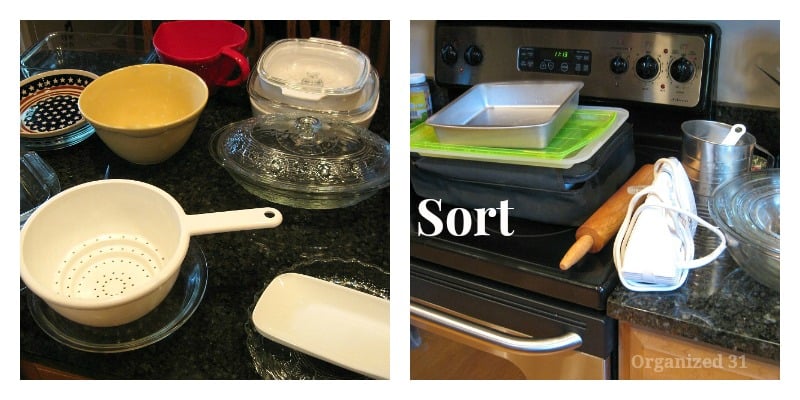
We took everything out of the cabinet and sorted through it. J. sorted everything into 5 categories.
throw away – if an item is broken and can’t be repaired
donate – if it’s something you don’t want but someone else might
keep in that cabinet – items that will be put back into the cabinet
relocate – items that need to go into a different cabinet or room, seasonal items may go into this pile to be stored in a closet, basement or attic if it makes sense for your situation
unsure – if you’re having a difficult time deciding whether to keep or get rid of an item, put it in a box in a closet or basement for 3 months and reevaluate
We started by lowering the shelf so that it was more accessible for J. Lowering it also made the shelf more functional. We placed items that are used less frequently in the back of the cabinet (see the white tray in the back on the right of the top shelf).
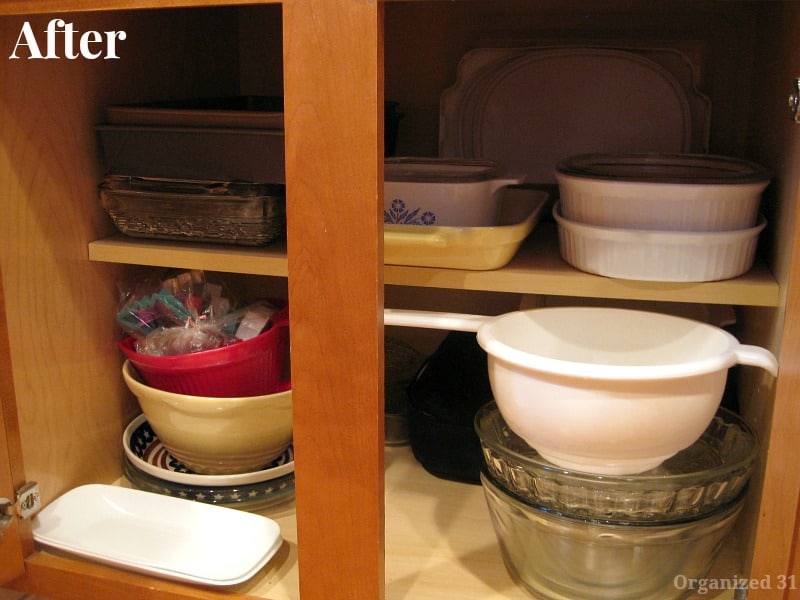
We placed items that J. uses at least weekly in the front of the cabinet so that they’re more easily reached. My goal was also not too stack too many items on top of each other. J. was happy to find some items that had been inaccessible in this cabinet before (see the white plates on the bottom left) and that she would like to used frequently.

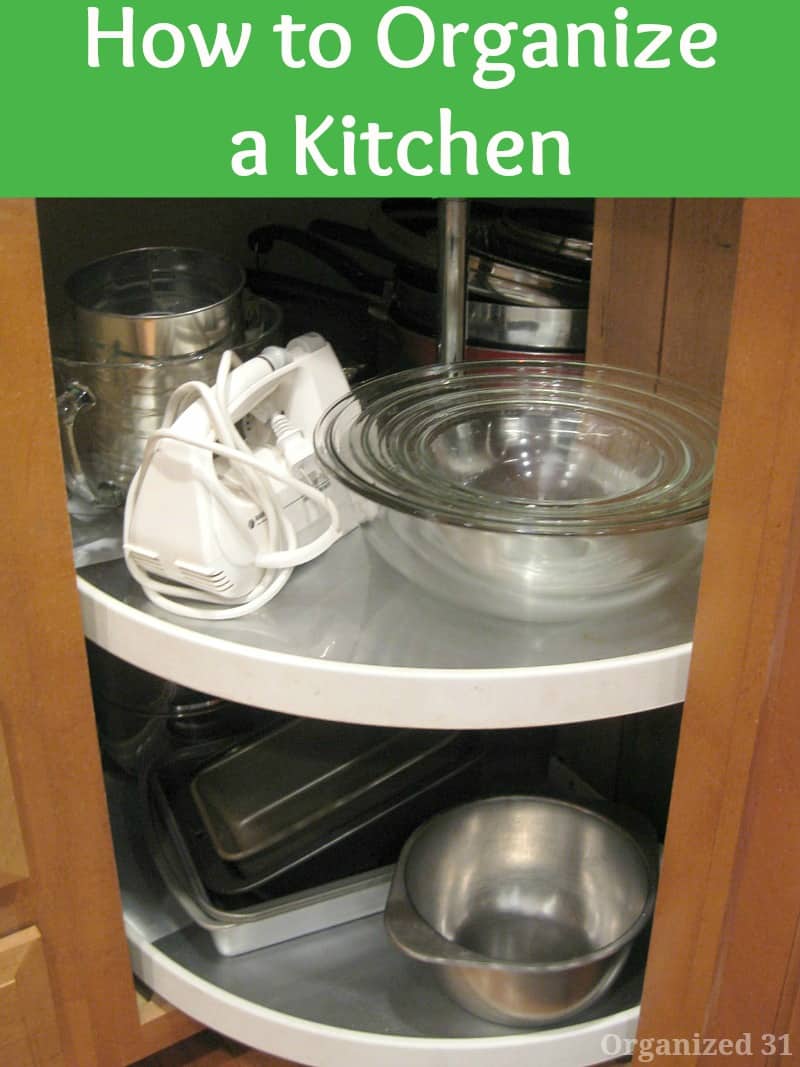
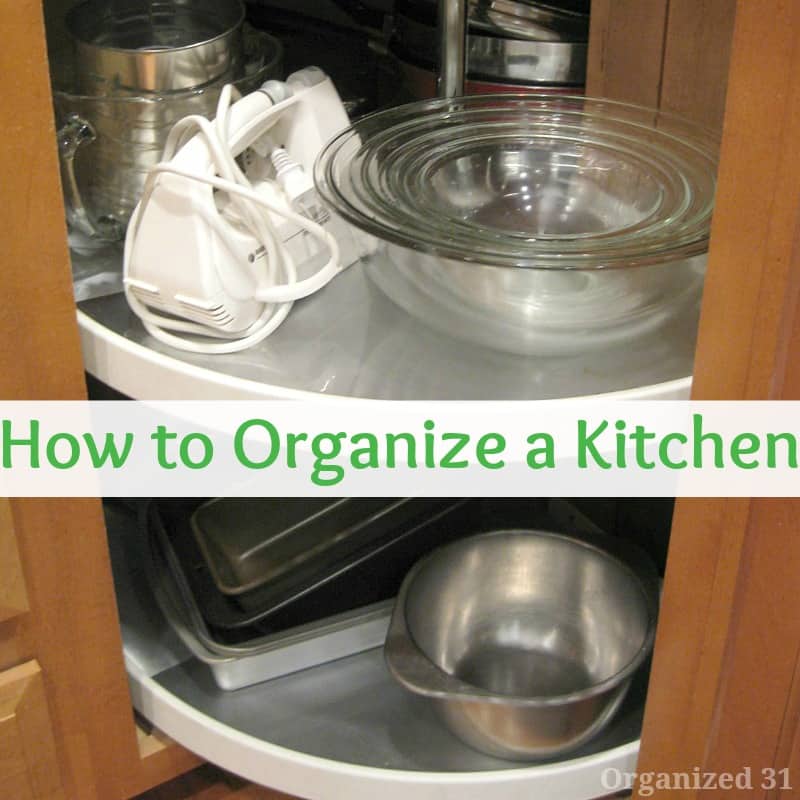
Place items that you use frequently so that you can access them easily. J didn’t use this corner cabinet as much as I thought she could. The lazy Susan makes all the items easily accessible.
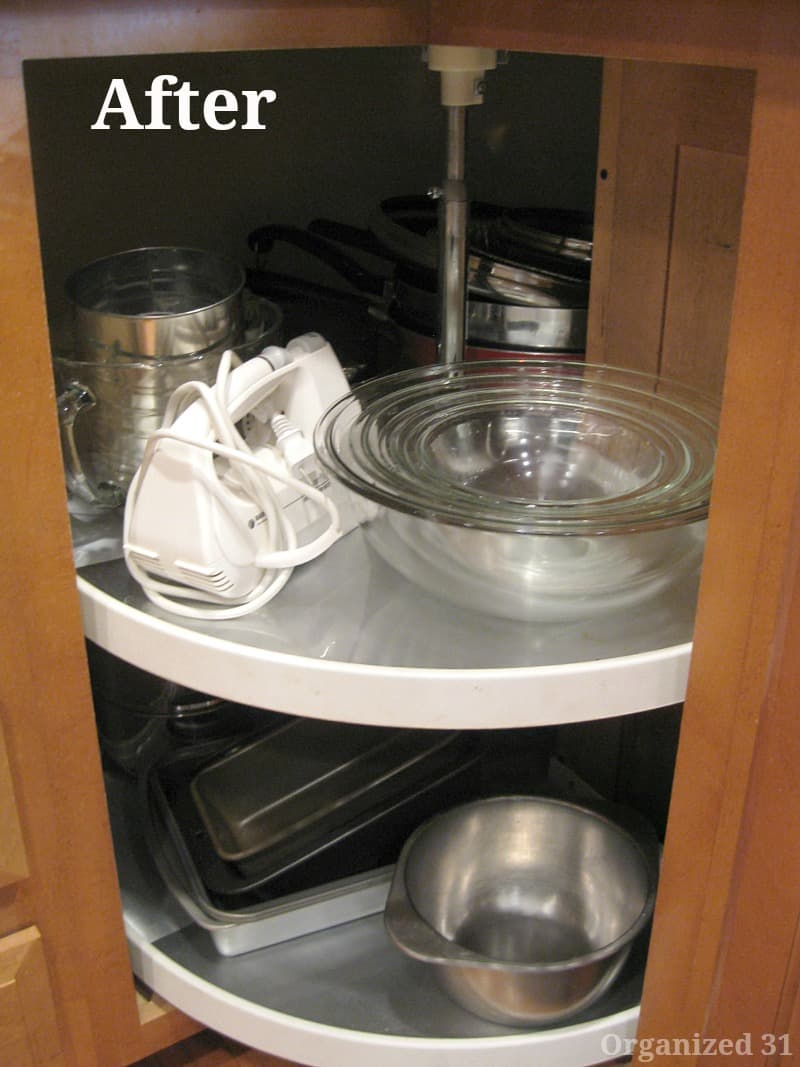
We placed items that are used daily on the two front sides of the Lazy Susan and other items that are used weekly farther back on the shelf. J. has found having these heavy mixing bowls and mixer in this cabinet very helpful. Previously J. wasn’t using these bowls because they were so difficult to access (look at the first Before photo in the bottom left) even though she preferred these mixing bowls. Now that they’re so easily accessible, she’s able to enjoy using them again.
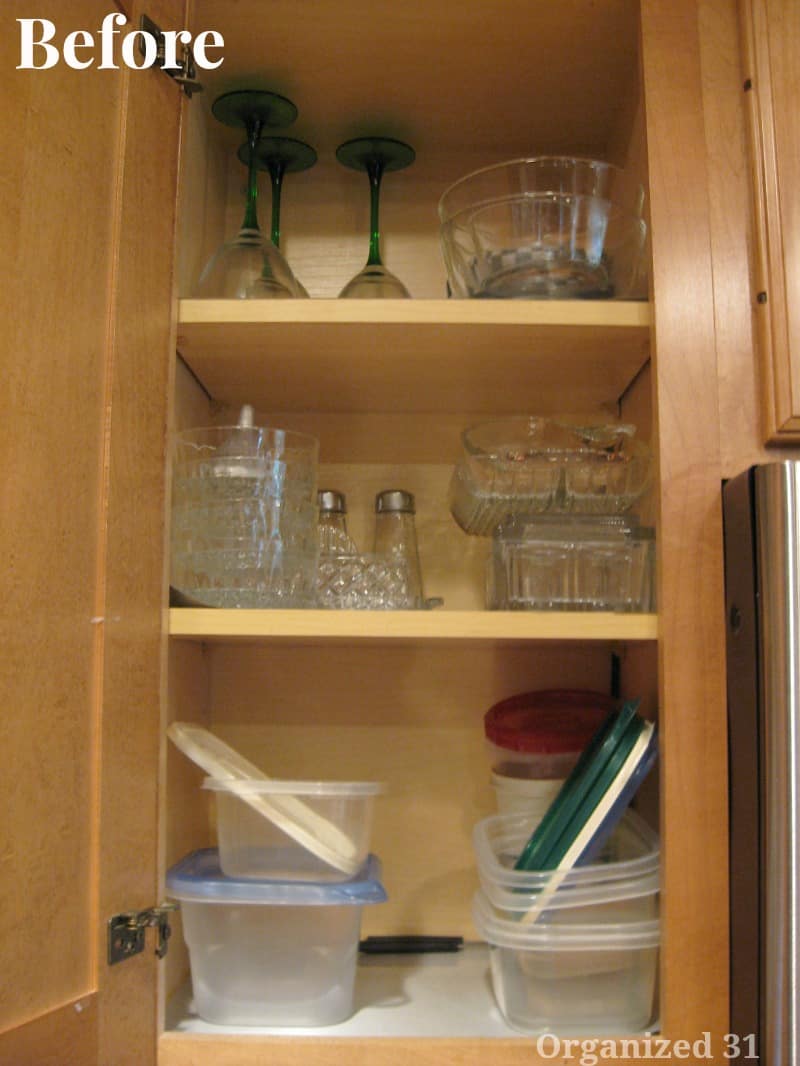
This cabinet is in a prime location near the fridge and stove in J.’s kitchen but was under utilized. Two of the three shelves were filled with seldom used serving dishes. I was sure that we could better organize this cabinet to make it more functional for J.
Oops, I got too excited and forgot to take a before photo. It was filled with plastic storage containers and small heavy serving dishes. I was positive that we cold make this cabinet more functional for J. also. This cabinet is below the one pictured above and shares the prime location near the fridge and stove. The plastic storage containers didn’t make sense for J’s family because they are all tall(er).
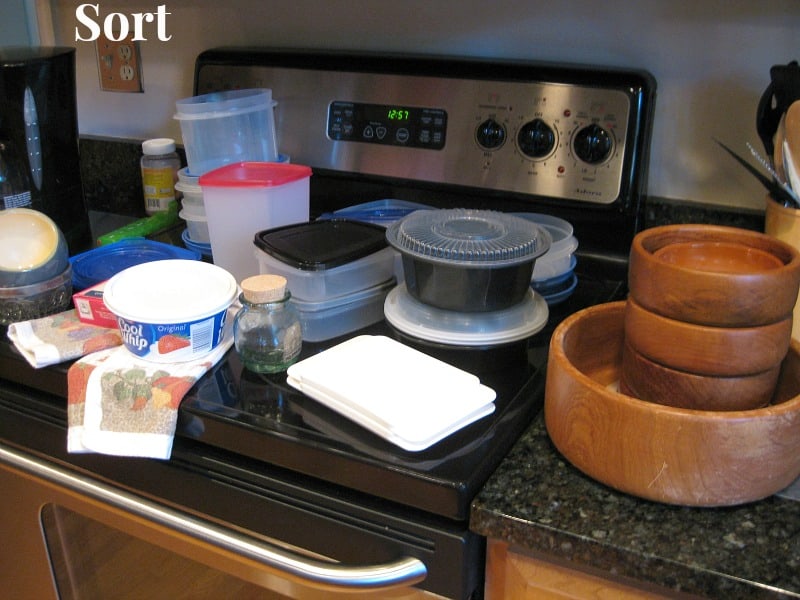
We sorted through the items from both cabinets. Sorting through and letting go of plastic storage containers can be tough. It’s helpful to put similar containers together in your sorting so that you can see how many of each size and type you have Then be honest about how many of each one you really need. If you’re not sure, put the extras in your 3 month box and revisit whether you want to keep those containers in 3 months.
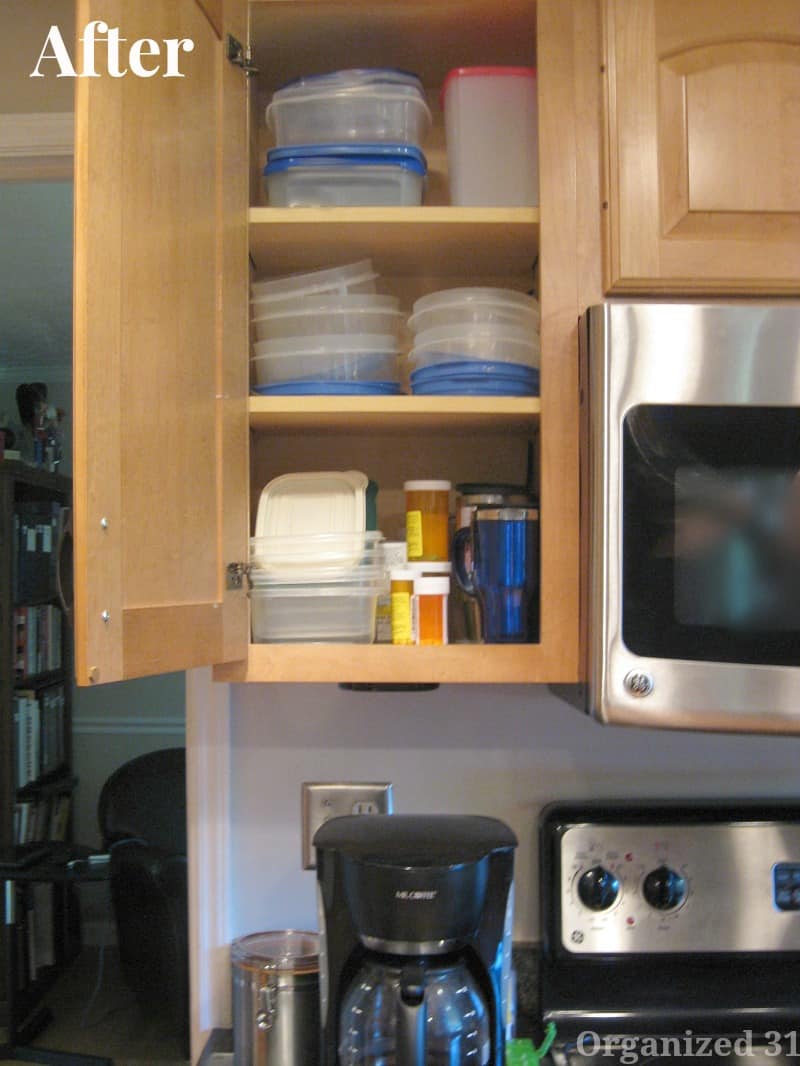
Since this cabinet is near the stove and fridge and since J. and her family are tall, it made sense for her plastic storage containers. We put the less often used sizes on the top shelf. We also planned space for the plastic containers that were in use in the fridge on this day We were able to fit all these containers in J.’s cabinet and make room for her medication to fit her right by the coffee maker. In the morning, J. starts her day and takes her medication at the coffee maker, so it made sense to put the medication in this cabinet.
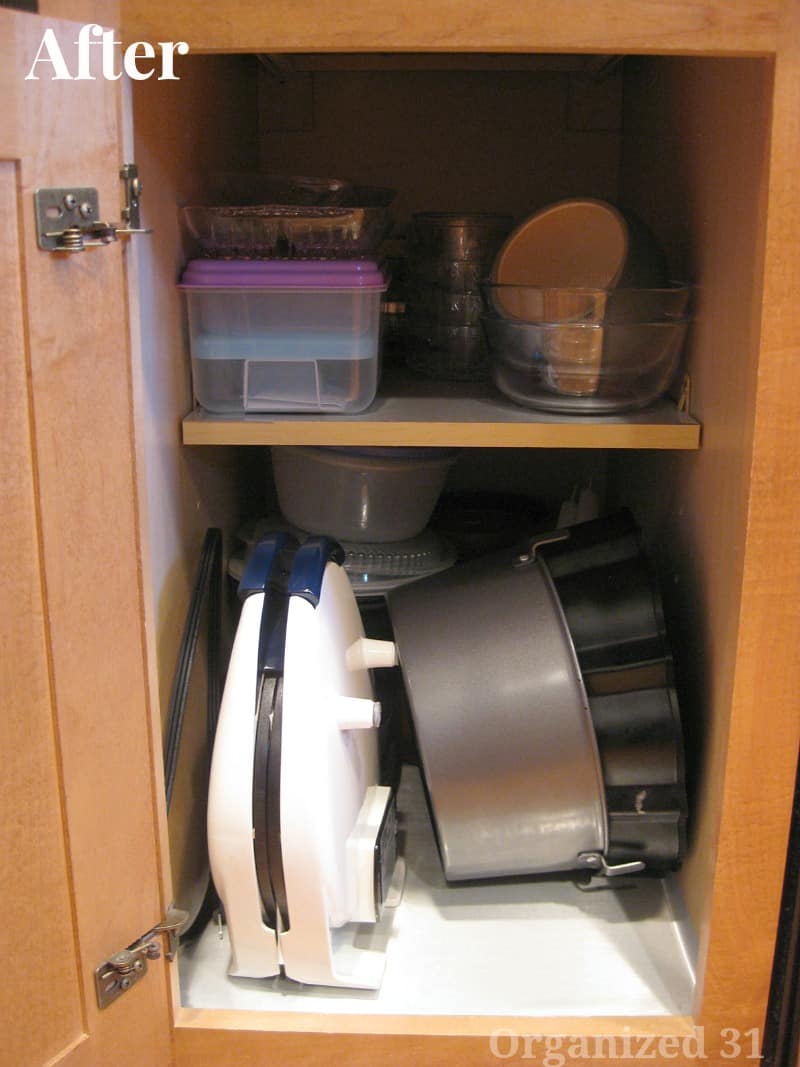
We returned many of the serving pieces to the lower cabinet, but they are now more easily accessible for J. We placed the waffle maker in the front of the cabinet because J. uses it every weekend. We also filed the Bundt and angel food cake pan so that they’re more easily accessed than if they’d been stacked.
It’s been over a month now and J. reports that all our changes are working well for her. The changes are working so well that she’s invited me back to work on her pantry. Yea! I can’t wait. How is your kitchen working for you?
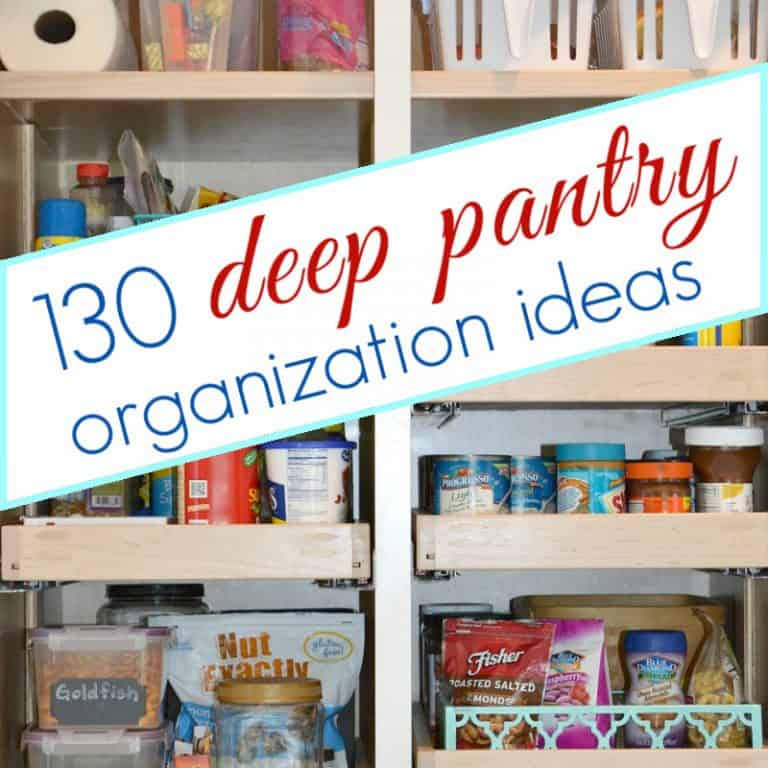
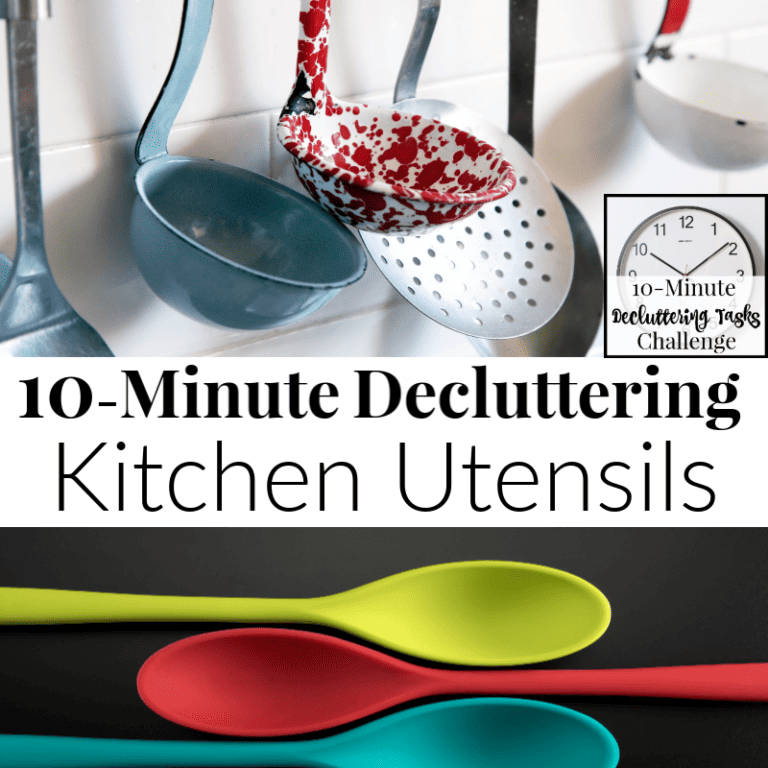
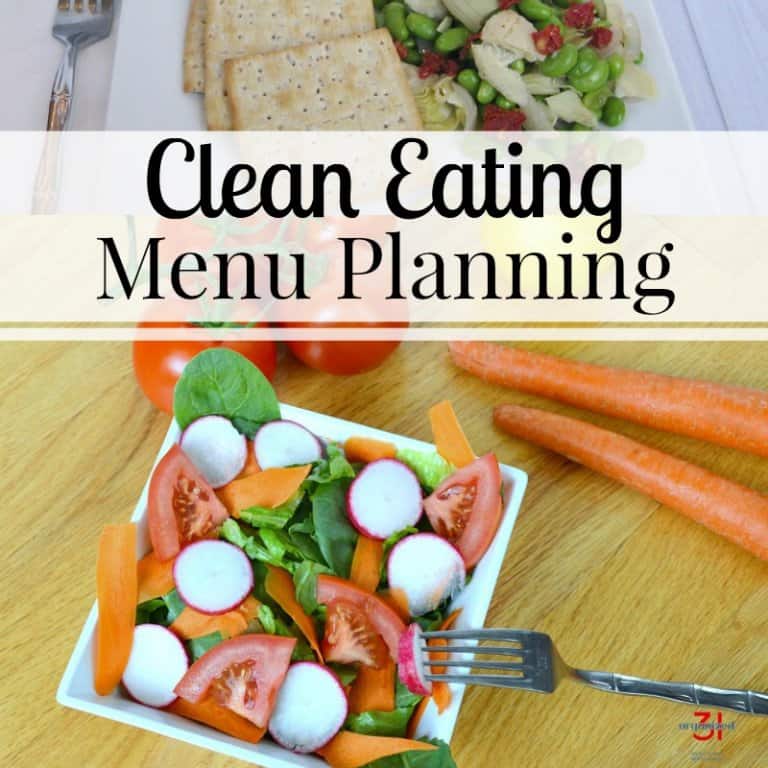
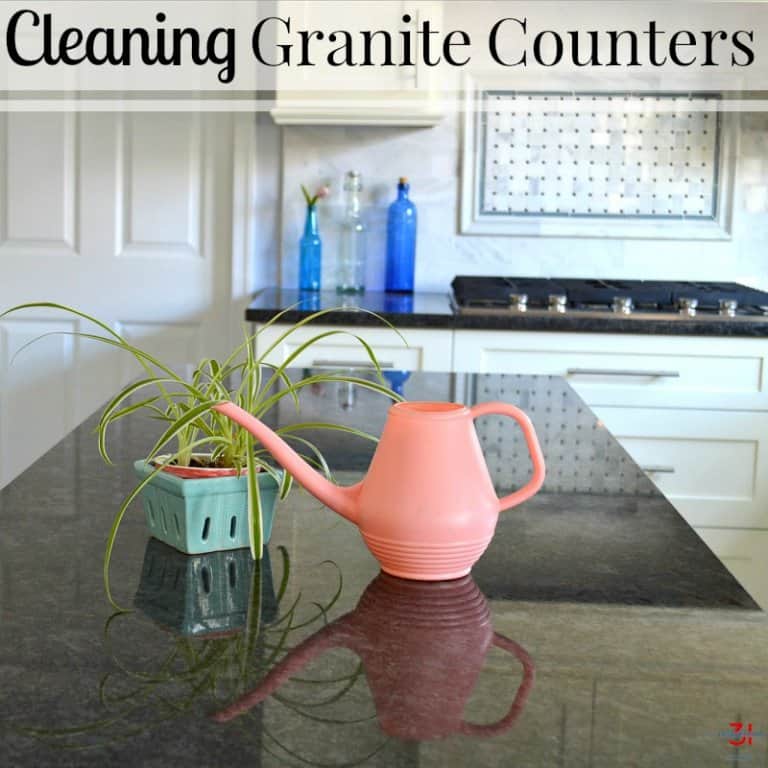
More Kitchen Organizing Ideas

I’m a mom of 3, a veteran, military spouse. I’ve moved into 20+ homes all around the world. My passion is helping busy people make the space and time for what’s really important to them. Learn more about Organized 31 and me.

3 Comments