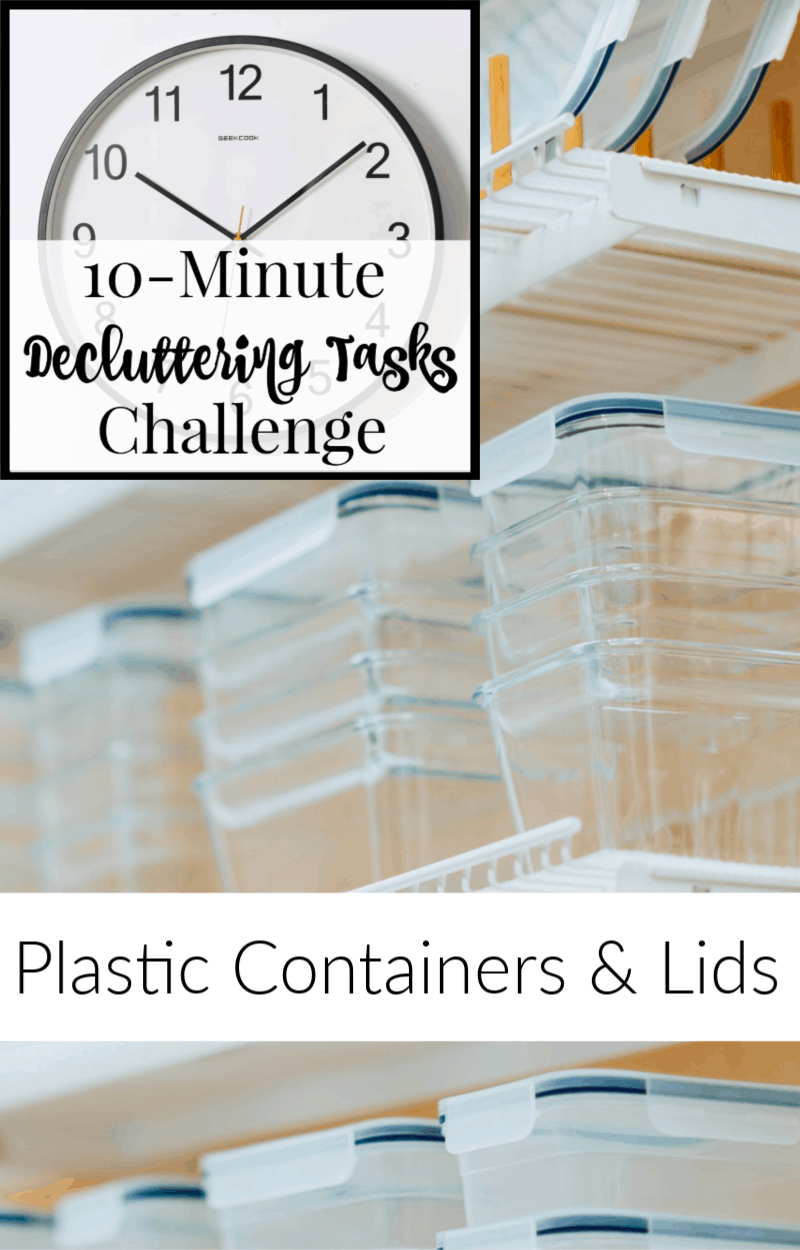
Day 3 – Decluttering Plastic Containers and Lids
This post may contain affiliate links provided for your convenience. We earn commissions if you shop through the links on this page. I am also an Amazon Associate and earn from qualifying purchases Read my full disclosure policy.

If you’ve got one, you’ve got lots of tupperware containers and probably mismatched ones with missing lids or bottoms. Today we’ll take our time to declutter food storage containers so that we neatly store what we have and can find the containers you need when you need them.
Remember that the goal is to clear clutter that we don’t need from our lives and home so that we can make room to better enjoy life. Make room in your life for more enjoyment by getting rid of some of that stuff that’s just taking up room. Today we’re going to tackle decluttering plastic storage containers and lids.
I don’t know how it happens, but somehow those plastic containers and lids seem to multiply at night in the darkness of a kitchen cabinet. It’s like the Bermuda Triangle of the kitchen – some things disappear (like lids) and other things appear out of nowhere (like stained containers).
If you’re like most of us, before you even open that plastic container cabinet, you know you have too many containers and lids. Too. Many. Keep that mind when you start removing the clutter.
Clearing Clutter – Purging Tips for Plastic Containers and Lids
Let’s head into the kitchen. On your way, grab the free Decluttering Clutter Checklist and the 6 declutter bags you created earlier. Open the cabinet or drawer, set your timer for 10 minutes and let’s tackle that food storage container chaos.
Take All the Lids and Containers Out – Remember we’re doing this in 10 minutes. Know that you’re going to be making quick decisions here. There’s really no reason to linger because there shouldn’t be any emotional attachments here. As you take everything out of the cabinet, take time to match lids and containers and set them out on the counter.
Group Like Items Together – Quickly group like items together.
- Make a specific pile of take out plastic ones
- Place similar sized containers together
- Place similar shaped containers together
- Place any lidless containers together
- Place lids without containers together in another area
Evaluate – Look at each group you’ve created. Keep only what you have space to keep and the ones in the best condition.
- You don’t need containers that don’t have lids or plastic lids without containers.
- You don’t need to keep warped or damaged containers because they won’t seal tightly and then won’t keep leftovers fresh.
- Remove stained containers and lids unless you truly don’t have very many containers and need to keep them.
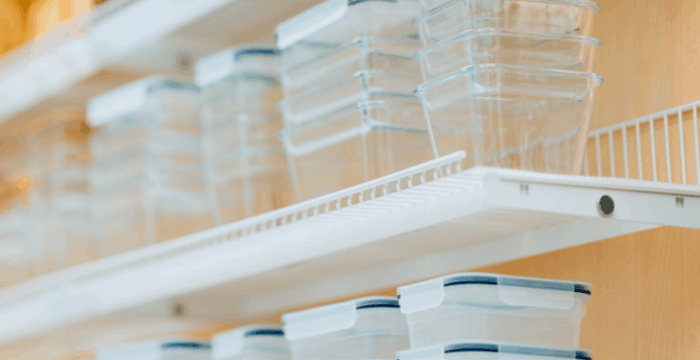
- Prioritize keeping square or rectangular containers because they maximize storage space. Learn why in my article, Why Square Rules in Organizing.
- Prioritize keeping glass ones. They are better for food storage, don’t stain, don’t warp and last longer. They do better in the dishwasher, as well.
Declutter – Be purposeful in choosing what you will keep. Take into consideration your weekly storage needs and how much space you have.
- Choose the ones with matching tops in good condition to donate.
- Containers without tops, can be offered up in your local buy nothing group.
- Tops or bottoms that can’t be donated or repurposed should be recycled, if possible, or thrown away. Always check your local recycling guidelines.
- I recommend minimizing the variety of containers so that it’s easier to store them neatly.
Put Everything Away – Put the items you’ve decided to keep back away.
- Some people like to organize food storage containers with the lids on. While others prefer storing them separately. Think about what works best for you.
- Be careful not to keep containers stacked too high. Tall stacks make it difficult to access ones at the bottom of the pile and make it more likely that things will fall over.
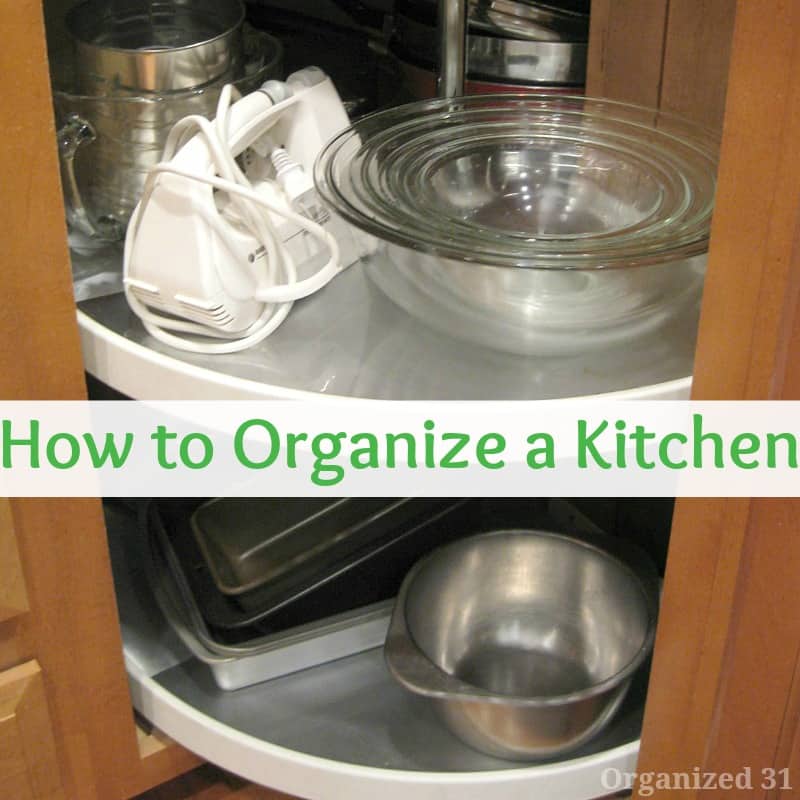
For tips on how to reorganize a kitchen and plastic containers check out these tips when my friend, J., and I reorganized her kitchen.
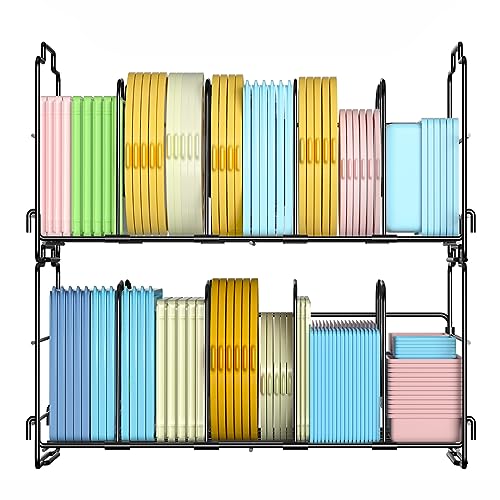
Products to Organize Containers
When purchasing an organizer for food storage containers, it’s important to consider is the size and shape of the organizer. Assess your storage needs and choose containers that are versatile and maximize space in your kitchen or pantry.
You want an organizer that will fit in your drawer or cabinet and will also hold all your containers and lids neatly.
Look for designs that allow you to store different sizes and shapes to create a customized storage solution tailored to your specific needs.
I have switched out all my food storage containers from plastic to glass. I prefer glass since it is BPA-free, lasts for years and can be used in the microwave, oven, refrigerator and freezer. Since they last for years, and even decades. I’ve found it easy to order just replacement lids when I’ve need.
Also, look for containers that offer a tight seal to prevent moisture and air from getting in, as this will help keep your food fresh for longer periods.
Another important aspect is the stackability of the containers, which can save significant space in your kitchen cabinets or pantry.
If you’re not able to change out all your containers at once, do it slowly over time as containers break or as you find sales on new products.

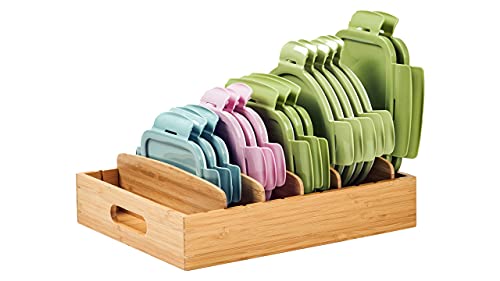
Large Capacity
Adjustable 10 Dividers
Organizer Rack for Cabinets, Cupboards, Pantry Shelves, Drawers to Keep Kitchen Tidy

with Adjustable Dividers
for Kitchen Storage And Organization on shelf, in drawer or in cabinet
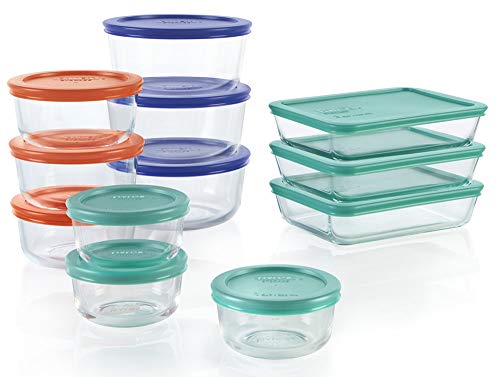
Airtight 18pc Set
Anti Spill Microwave & Oven Safe
BPA Free
Made in the USA

24 PC Set
Glass containers with lids
Made in the USA
This is an excellent pull out option from The Container Store and the Everything Organizer Food Storage Lid Organizer is also a popular choice from The Container Store.
More Kitchen Organizing Ideas
5 Organization Tips for the Kitchen – These tried and true organization tips for the kitchen will help you organize your kitchen and make it work for your unique situation and needs.
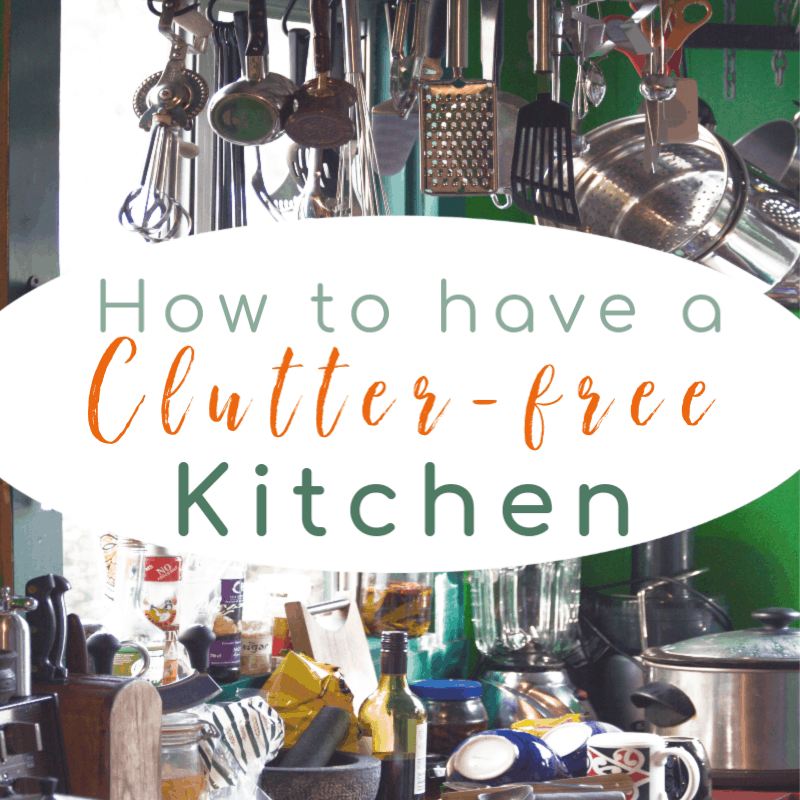
How to Have a Clutter-Free Kitchen – It really is possible to have and maintain a clutter-free kitchen, regardless of how big or small your kitchen is. These simple tips will make it reality.
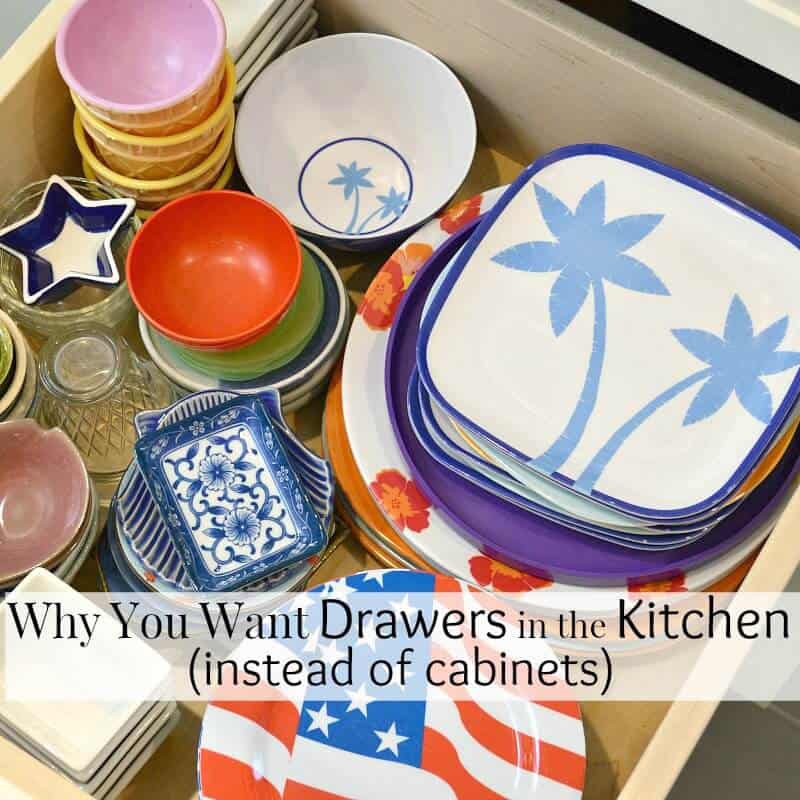
Kitchen Storage Drawers and Why You Want Them – Why you want kitchen storage drawers instead of cabinets to organize your kitchen.
We’ve got another day of purging done. You’ve tamed those unruly plastic containers and reclaimed that cabinet in your kitchen. Drop by tomorrow for Day Four in the 31 Days of 10-Minute Purging Tips challenge. Let’s purge and make more room in your home for you.
If you didn’t already, print out your free Purging Clutter Checklist and get ready for tomorrow’s purging task. And if you can’t wait for tomorrow, you can check out all 31 of the 10-Minute Purging tasks right now.
Find all my decluttering tips, printables and challenges in the table below. You can scroll though the table and look for ideas or search for specific ideas with the magnifying glass in the upper right-hand corner (on desktop). Click on the topic and then click through the specific article.

I’m a mom of 3, a veteran, military spouse. I’ve moved into 20+ homes all around the world. My passion is helping busy people make the space and time for what’s really important to them. Learn more about Organized 31 and me.


I’m a day behind so I’m tackling this one and Day 4 at the same time. LOVE this series! Thanks so much for inspiring me to organize and declutter, especially since I can do it in just 10 minutes a day.
I’m glad you’re finding it helpful, Corinne. You know I only do easy, really doable projects. 🙂
I like that you can do it in only 10 minutes. My daughter just found a lid yesterday in her room, without a container!
I love these 10 minute tips! I am sharing this with some of my family members that I know could benefit from this task.
lol. Hope your family finds these tips helpful, Andrea.
I just did this last night as we had acquired some new containers over the holidays. The flimsy ones from the deli really aren’t worth keeping as they don’t clean up well and tear easily. I also keep my largest containers out of the main storage area as they take up so much space and I use them so rarely.
Great tip about storing larger, seldom used containers elsewhere, Seana. I keep mine on the top (need a tall stool to reach) shelves in my kitchen. Great minds think alike. 🙂
A member of our local NAPO Chapter was talking about how he got rid of everything, bought three sizes only, and is delighted with the result. It feels good to clear that stuff out and get it functional!
That’s brilliant. I’ve moved towards just using glass containers and that limited the number of different sizes.
This is definitely something I need to work on! Mine are organized, but I have plenty of lids that are missing the tabs because they broke off. The next time I see containers on sale, I should probably get rid of those broken ones, and just buy some new ones.
Did the plastic containers.have one empty shelve.great
Congrats, Marsha! Organizing high five!
I did 2 bottom cabinets. Proud of myself
You are really working your way through this exercise! Good for you, Marsha!!