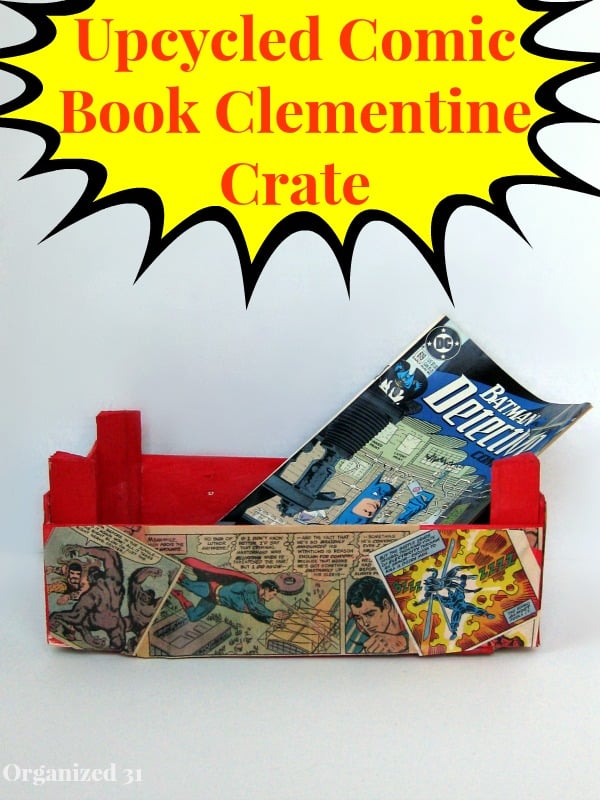
Upcycled Comic Book Clementine Crate
This post may contain affiliate links provided for your convenience. We earn commissions if you shop through the links on this page. I am also an Amazon Associate and earn from qualifying purchases Read my full disclosure policy.

I love repurposed craft and organizing projexts, so this upcycled comic book clementine crate is a win-win. It’s an easy and fun craft project to make with children and only costs pennies to create.
Sooo-ooo, I’ve got a friend, Holly. You can find her at Pink Fortitude. She challenged me and a couple of other blog friends to a friendly upcycled clementine crate challenge. Well, you know me. I love an upcycled, repurposed project. So, of course, I accepted the challenge. As I was contemplating what in the world I was going to do with a clementine crate, I realized that most of my craft projects are for my daughters or my girlfriends. The son and hubby are usually left out of the craft projects. That’s when it clicked. I’d make an upcycled comic book clementine crate for my son. Then I scored even more mom points by making an upcycled comic book clementine crate with my son.
This was an easy and quick project. You can do this one with children from ages 4 (with supervision) and up.

It probably goes without saying that you start with a clementine crate.
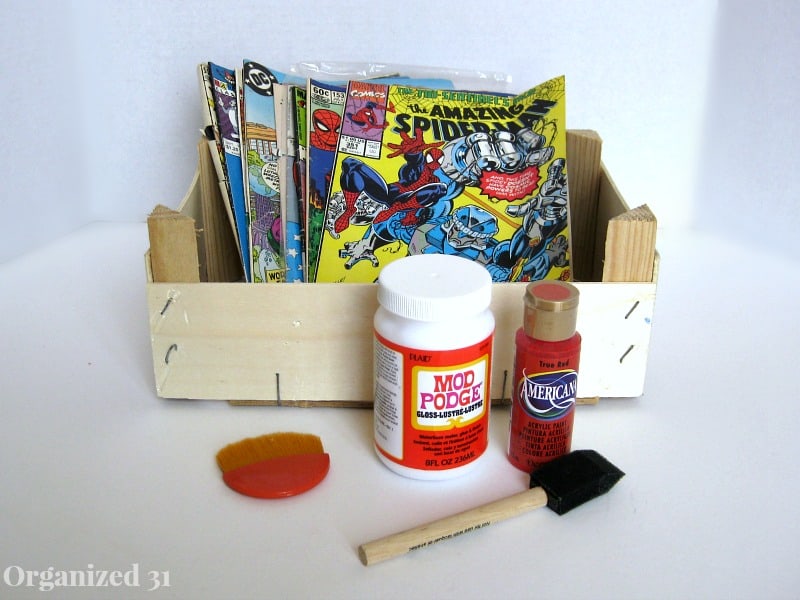
Pull the netting and the labels off the crate. Grab some old comic books. If you don’t already have comic books, you can ask at a comic book store for damaged books and they’ll usually sell them to you as a discount. You’ll also need craft paint, Mod Podge and a brush.
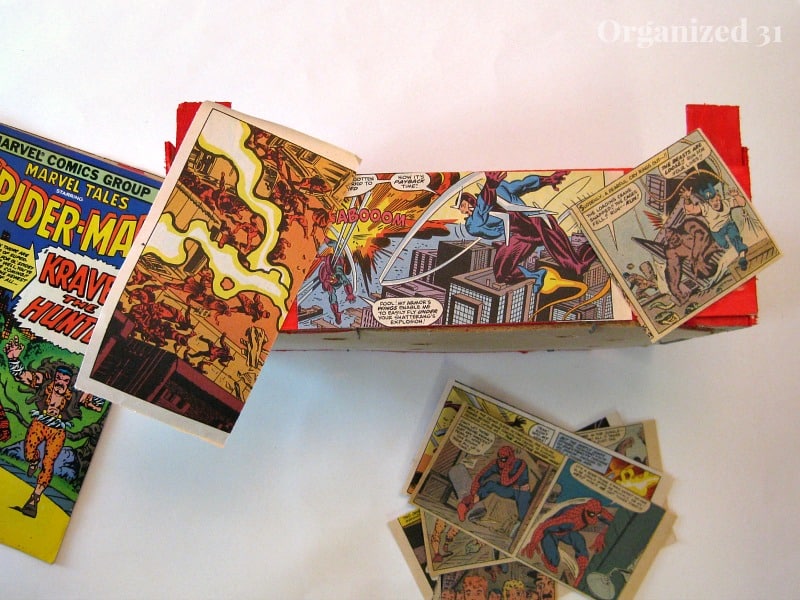
Paint the crate with your craft paint, both inside and out. I recommend you choose a “comic book” color of paint to give the crate more of a pow impact. After the paint has dried, add the comic panels that you have chosen. We found it easiest to paint the Mod Podge on the crate. Then paint the back of the comic panel with Mod Podge. Using our fingers, we smoothed the panels down onto the crate being careful to smooth out any air bubbles. Once we had all the panels smoothed out on one side of the crate, then we covered the top of that side of the crate with Mod Podge to seal and protect the lightweight comic book paper. We covered each side of the crate with the same process.
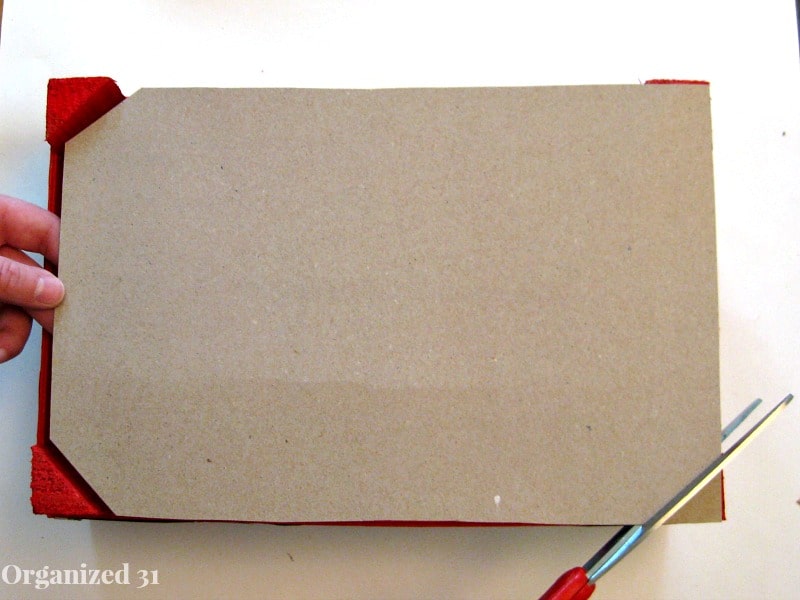
To reinforce the bottom of the crate and cover the staples, we cut a piece of cardboard to fit into the crate.

Then we mod podged an entire comic book page onto the cardboard.
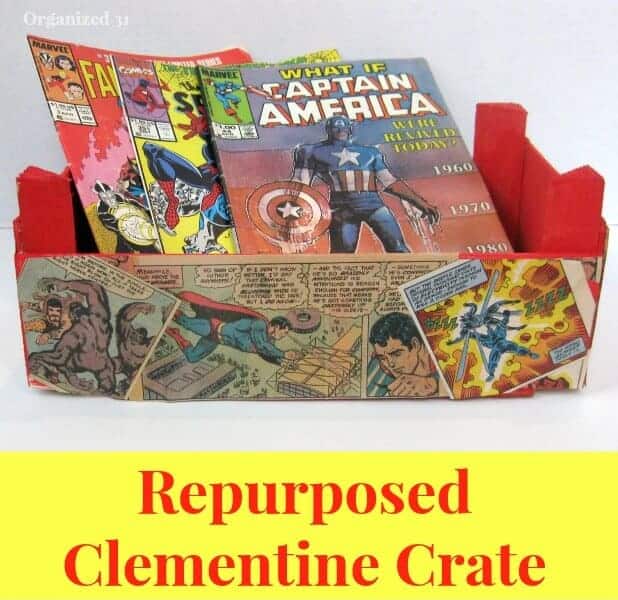
My son first thought he’d keep some comics in his new crate.
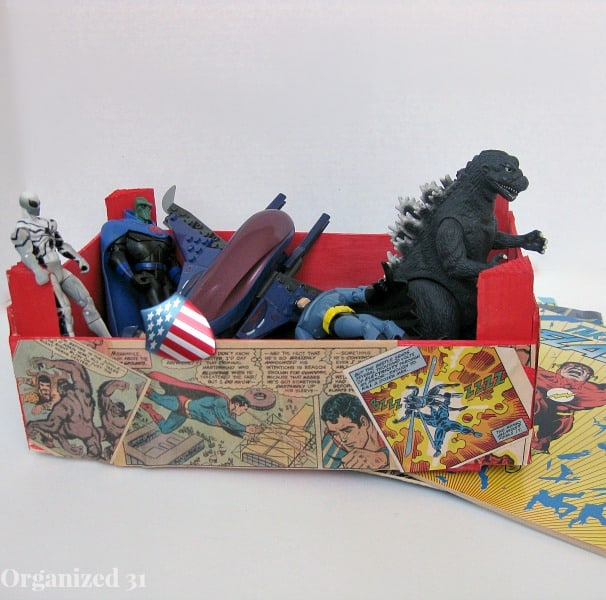
But then he decided it works well to hold action figures and even some Lego pieces.
Ah, the dilemma. All I know is that I scored some major mom points with this project.
Now you should pop over and check out the other entries in the repurposed clementine crate friendly challenge.
From Pink Fortitude From Wondermom Wannabe


I’m a mom of 3, a veteran, military spouse. I’ve moved into 20+ homes all around the world. My passion is helping busy people make the space and time for what’s really important to them. Learn more about Organized 31 and me.

I just love this crate and I am sure your son does too! It is one of those crafts that can be done easily and has such great results! Thanks for sharing. I am off to visit the other creative crates!
Hi Susan – WOO HOO for Mom points! I love this and love how you made it with your son and customized it for his tastes. Every dude needs a cool place for his stuff and I know he will love and appreciate this for many years. Hugs, Holly
I love it, and I want one! I’ve always wondered if I could do something else with those crates!
Adorable! My boys would love this!
Thanks for linking up to our Twirl and Take a Bow party last week! Hope to see you again tomorrow!
visiting from Make it pretty monday. This is fabulous. Great project