Disc Bound Notebook DIY Pocket Folder
This post may contain affiliate links provided for your convenience. We earn commissions if you shop through the links on this page. I am also an Amazon Associate and earn from qualifying purchases Read my full disclosure policy.
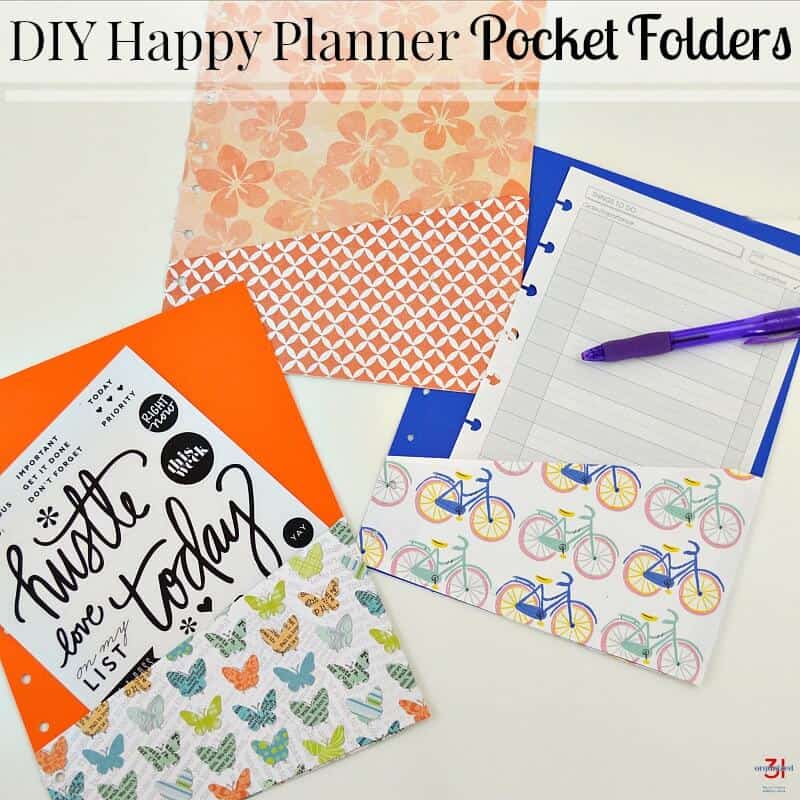
Remember when I shared how to make a DIY planner pocket folder? I was over the moon craft happy with how the DIY pocket folders turned out. I wanted to make more. Lots more. I was also trying to come up with a DIY gift idea for my friend, K. I had one of those light bulb moments. Bing!
K. always has her disc bound notebook with her. I knew I could make a DIY planner pocket folder for her disc bound notebook and make us both happy.
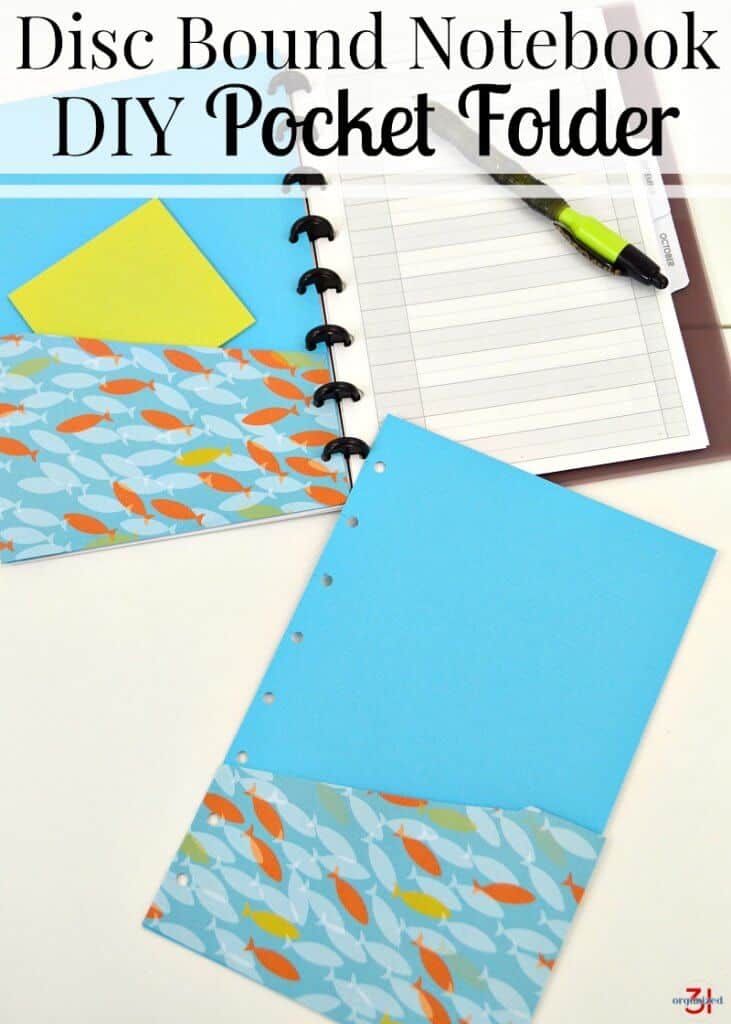
I’m so giddy with how adorable this DIY folder turned out. It was easy to make and you can adapt it to any size of disc notebook. K. and I met in Hawai’i, so I know she’ll love this fish paper. It has a happy Hawaiian feel to it.
Disc Bound Notebook DIY Pocket Folder
Supplies for a DIY Planner Pocket Folder
- Decorative Card Stock – You want to use card stock so that it’s sturdy enough to support the pockets and contents.
- Decorative Paper 12 inch by 12 inch
- Glue Stick
- Double-stick Tape
Equipment
- Paper Cutter or Scissors
- Scor-Pal
- Hole Punch or Crop-A-Dile
- Pencil
- Ruler
Lay a page from the disc bound notebook on top of the card stock paper. Measure and mark the edges of the paper. Cut the piece of card stock.
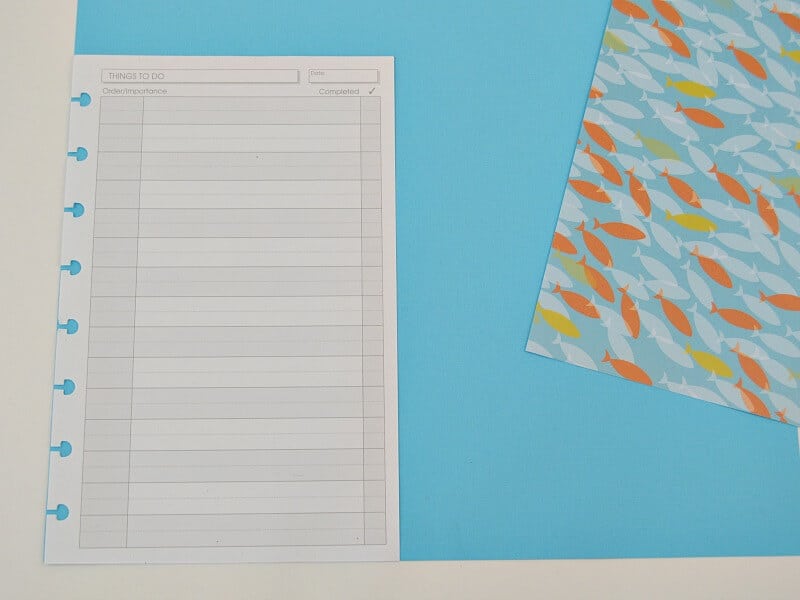
My piece of card stock was 5 1/2 by 8 1/2 inches (the solid blue paper).
Figure out how tall you want your pocket to be. Add 1/2 inch to the height measurement. Your pocket paper will be twice the width of your paper plus 1/8 inch.
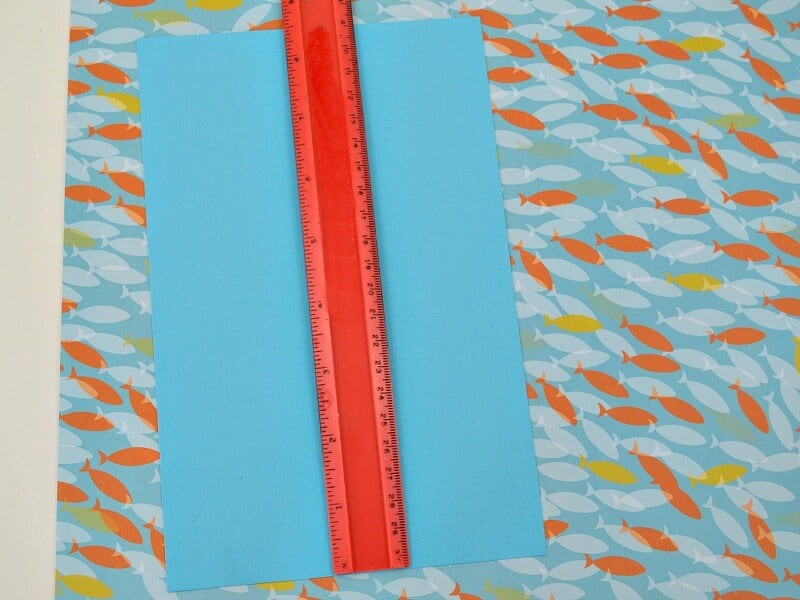
My decorative paper (the fish paper) when cut for the pocket measured 11 1/8 inches wide by 4 1/2 inches tall.
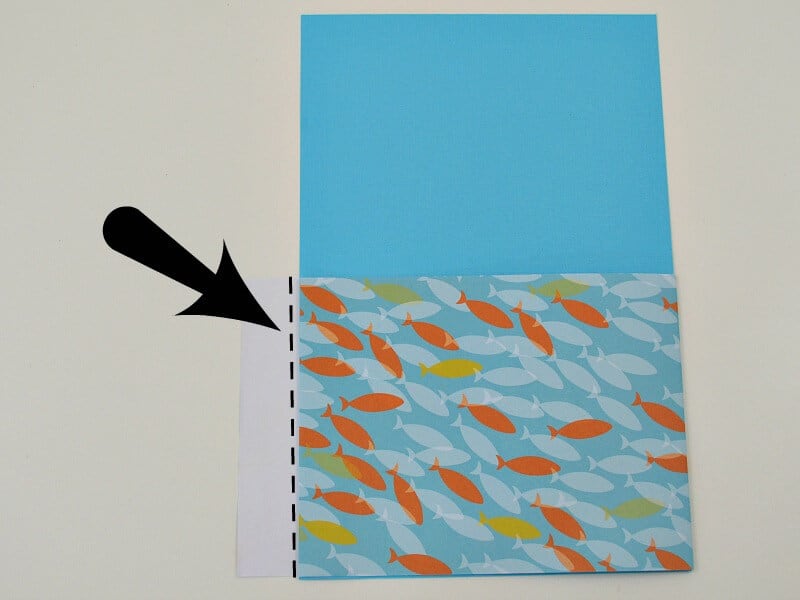
Since my decorative paper was 12 inches by 12 inches, it was easier for me to simply cut the paper 4 1/2 inches tall, fold it around my card stock and then trim the excess off.
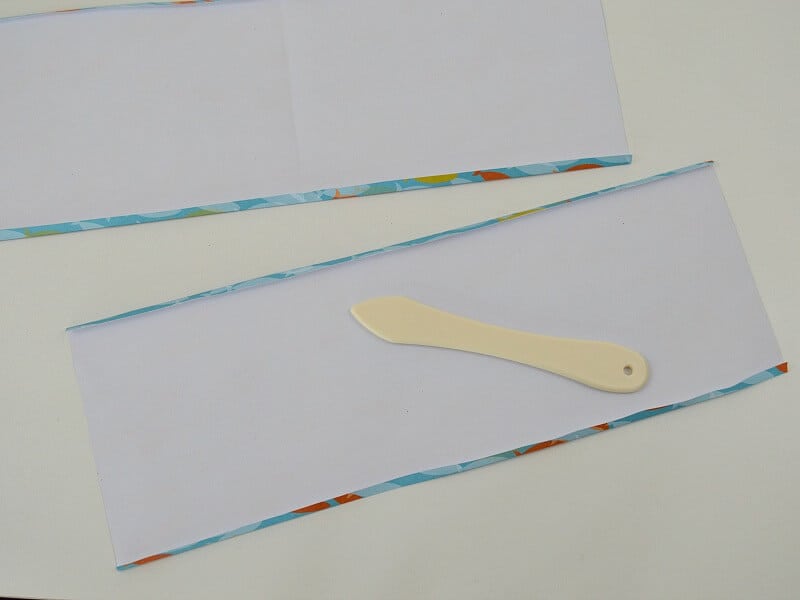
I used my Scor-Pal to fold 1/4 inch down on the top and the bottom of the pocket.
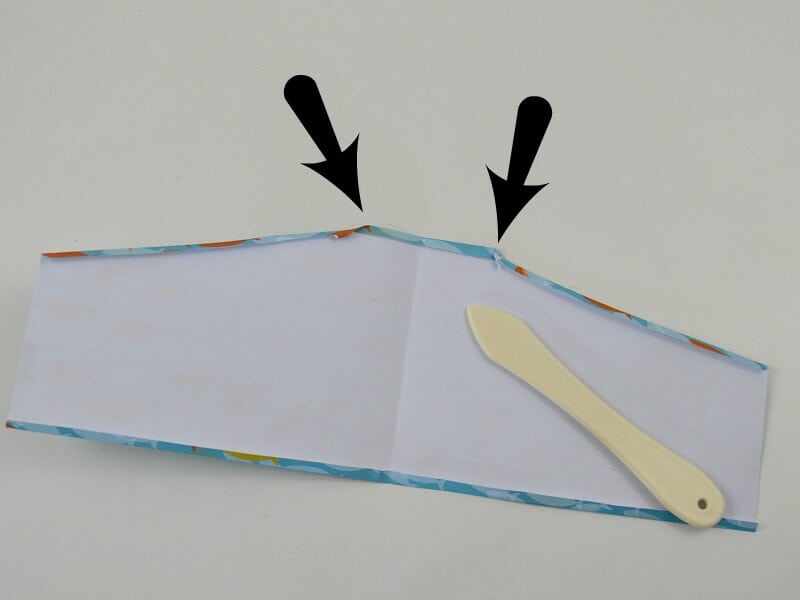
I wanted to have my pocket angled. The straight portion before the angled portion is 1 inch from the fold to the start of the angle. The short side of the pocket is 2 1/2 inches. I simply marked the paper at the 1 inch and the 2 1/2 inch points and then trimmed the paper between those two marks. Remember to leave a 1/4 inch margin to fold down. Use your Scor-Pal or a bone folder to neatly fold down the 1/4 inch margins.

Use double stick tape or the glue stick to attach the pocket to the bottom edge of the card stock and along the short edge where you punch the holes. I cut regular double stick tape in half to create thinner pieces of double stick tape.
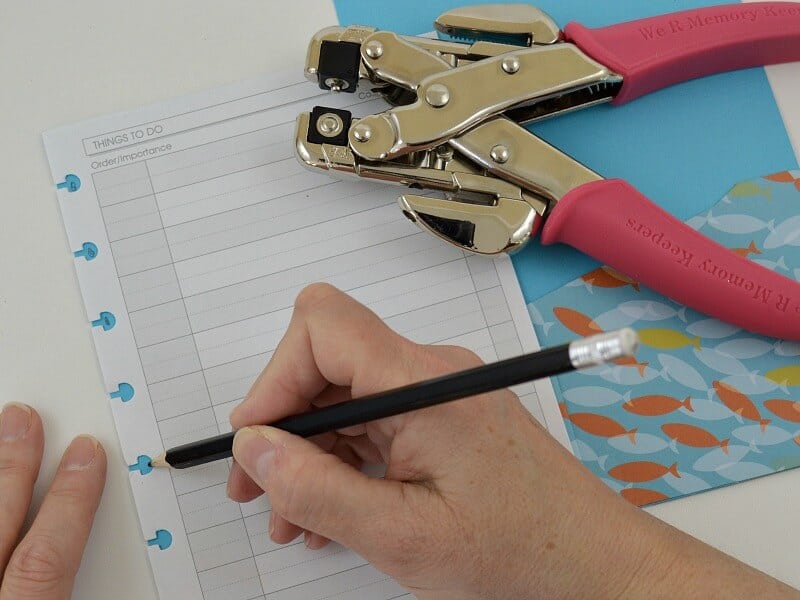
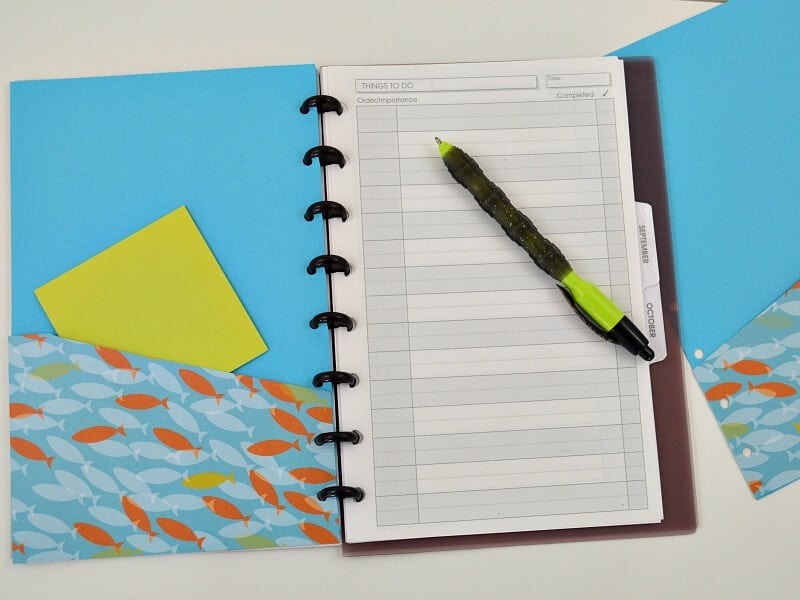
Lay a piece of note book paper onto your folder and mark the holes with a pencil.
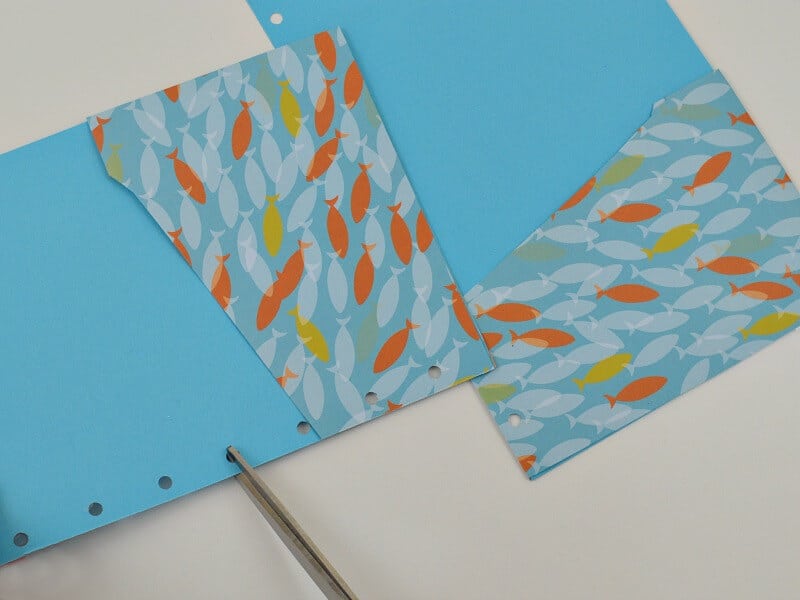
Punch holes with a hole punch or Crop-a-dile. The advantage to the Crop-a-dile is that it makes smaller holes so it holds onto the disc binding more securely. With scissors, clip from the paper edge to the punched hole.
I’m so excited that I can create my own unique disc bound notebook DIY pocket folder and it’s such a pretty decorative pocket folder, too. I warn you, these pocket folders are so easy to make and adorable that they’re a bit addictive.
More organizing ideas.
DIY Happy Planner Pocket Folder
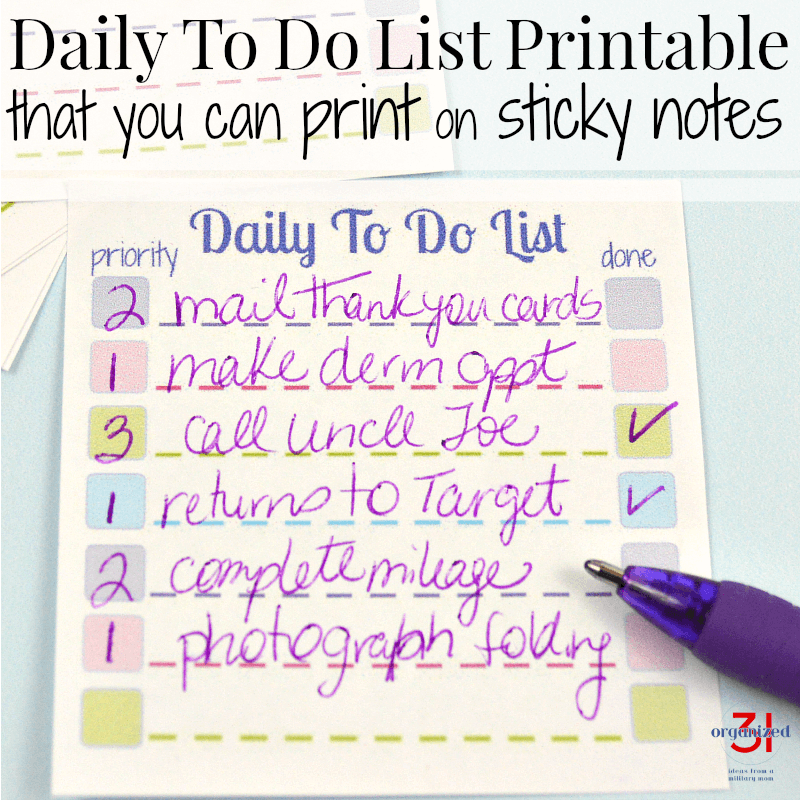
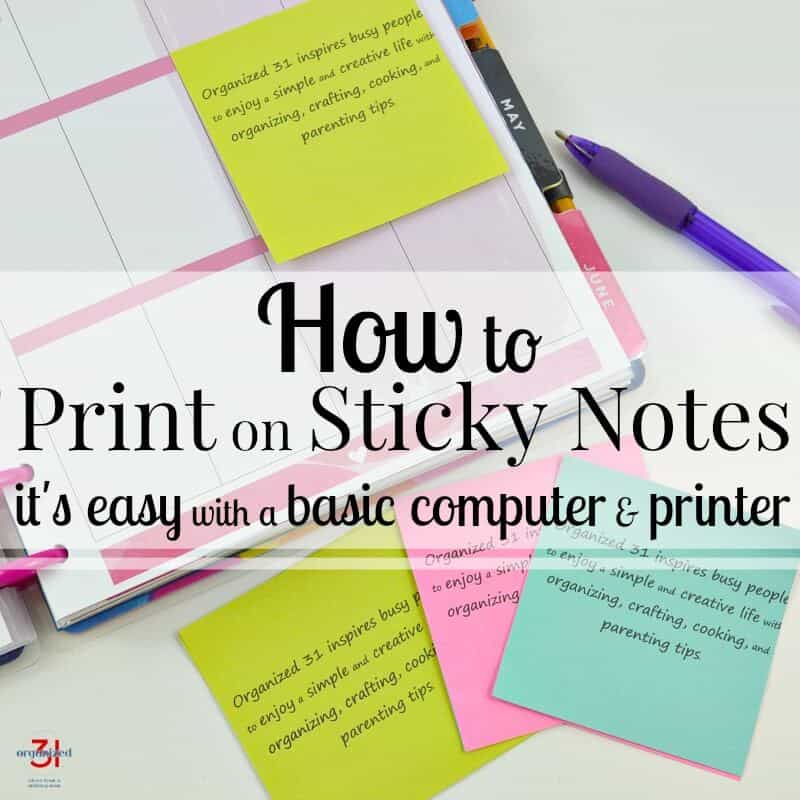
Daily To Do List Printable for Sticky Notes
Find all my best organizing tips, hacks, printables and favorite products in the table below. You can scroll through the table and look for ideas or search for specific ideas with the magnifying glass in the upper right-hand corner (on desktop). Click on the topic and then click through the specific article.

I’m a mom of 3, a veteran, military spouse. I’ve moved into 20+ homes all around the world. My passion is helping busy people make the space and time for what’s really important to them. Learn more about Organized 31 and me.

That turned out great! I like that you were so thoughtful and used a decorative paper that you knew your friend would like. My daughter likes organizing her notebooks for school, and this seems like something she could use. Thanks for sharing.
Susan, your craftiness is going to force me to get in my office and get it organized. I love this idea. The paper you used is so cute. Yet another great idea.
Thanks, Cynthia. Would love to craft together with you someday some how.