Repurposed Packaging + Mod Podge for Homemade Treat Gift Giving
This post may contain affiliate links provided for your convenience. We earn commissions if you shop through the links on this page. I am also an Amazon Associate and earn from qualifying purchases Read my full disclosure policy.


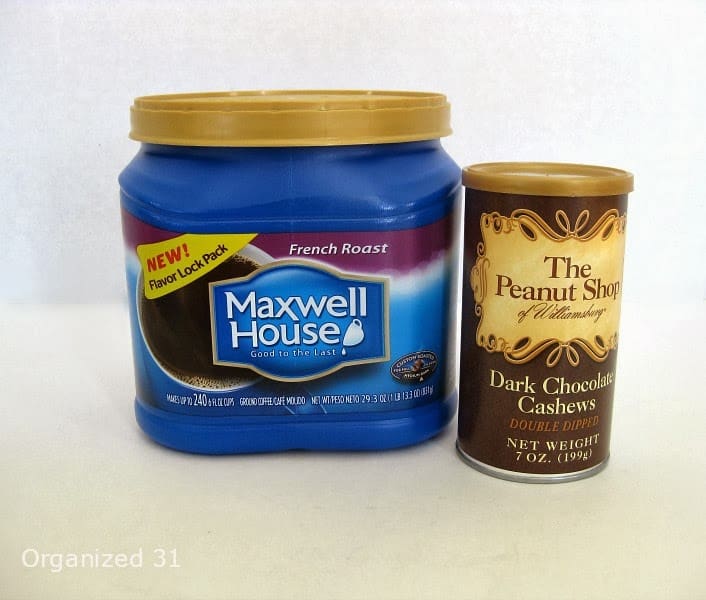
If you’ll be putting homemade food treats directly into the container, be sure you start with containers that are food safe. A good start is using containers that were sold with food products in them. If you are going to wrap your homemade treats, then you can place them into almost any clean container.

My friend, J., came over to spend a craft day with me. I really enjoyed spending time with her and having fun being creative.
I grabbed some Christmas card fronts I’d been saving and some J. brought some she’d saved with her (you may remember how I like to repurpose Christmas cards). I also grabbed some snowflake stickers I already had.

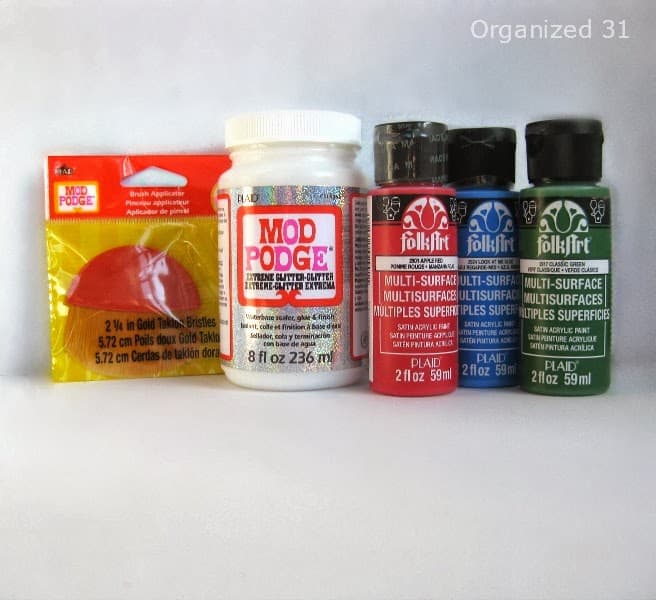
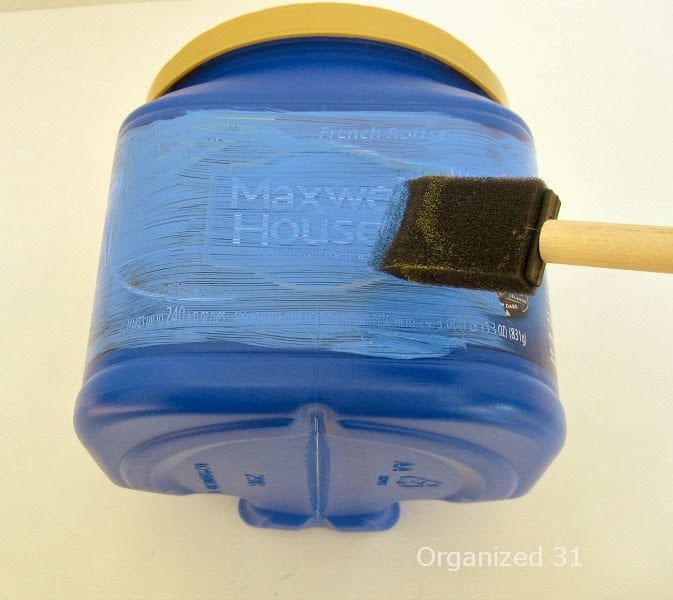
I started by painting several of my containers with the FolkArt Multi-surface paint.
The green FolkArt paint coordinated perfectly with one of the Christmas cards J. brought. We used the Glitter Mod Podge to add a repurposed Christmas card to the painted can (which formerly held chocolate covered cashews). I wanted to keep the rustic look of the Christmas card, so I only used the Glitter Mod Podge on the back of the card. I use rubber bands to hold the card in place while the Mod Podge was drying.
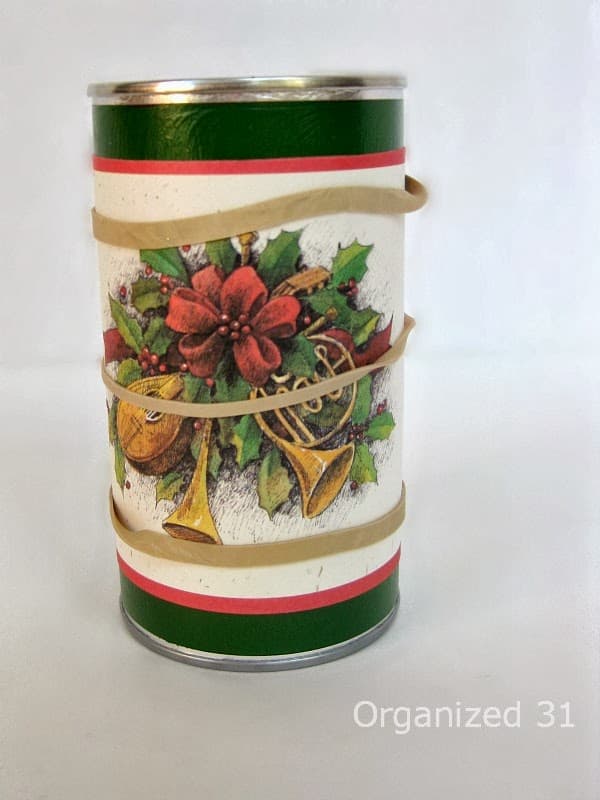
I added a piece of raffia for embellishment. This cute little can would be perfect for filling with homemade (or store bought) candies.

I also used the FolkArt Multi-Surface paint on an empty Velveeta cheese box.
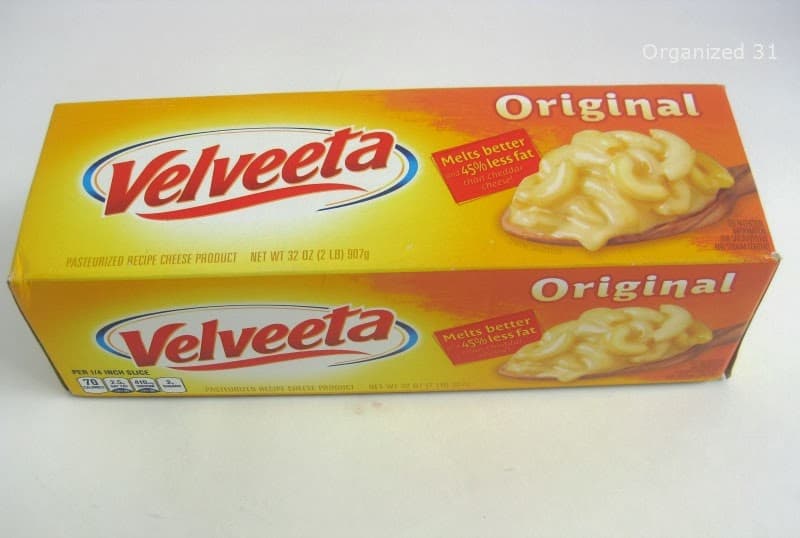
After painting the box, I added a Christmas card front using the Glitter Mod Podge to attach the card the box. Again, rubber bands held the card in place while it was drying. This time I knew I wanted to use the Mod Podge embellish the box and card, so it was fine that some Mod Podge got on the front of the card and box when we were adhering it.
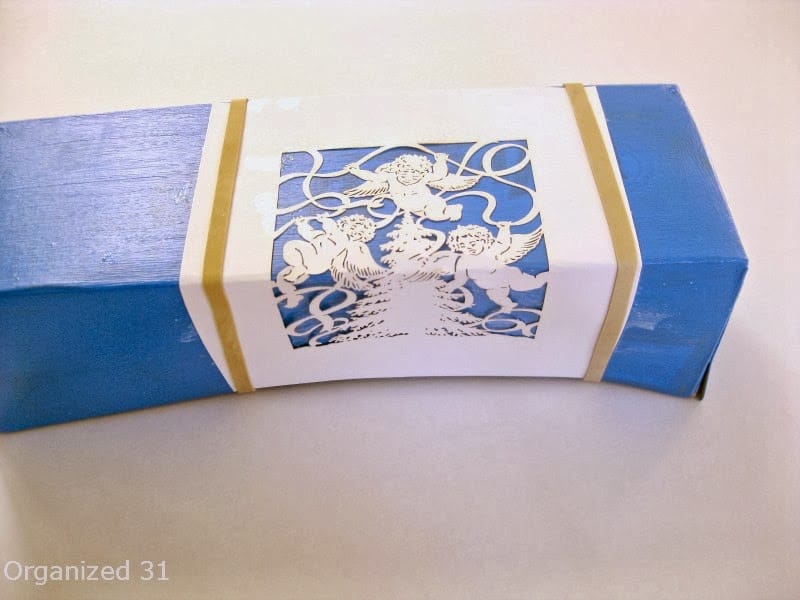
This box would be perfect for wrapped homemade candies or cookies.

The FolkArt Multi-surface paint says it’s for “glass, ceramics, wood, metal, rigid plastic, fabric, canvas, paper, terra cotta.” I had some issues with the paint. I followed the directions and let it dry for an hour before the 2nd coat. When I added the second coat, this peeling happened on both the rigid plastic on the metal. I recommend you test the paint on your surface and be certain that you give it plenty of drying time.

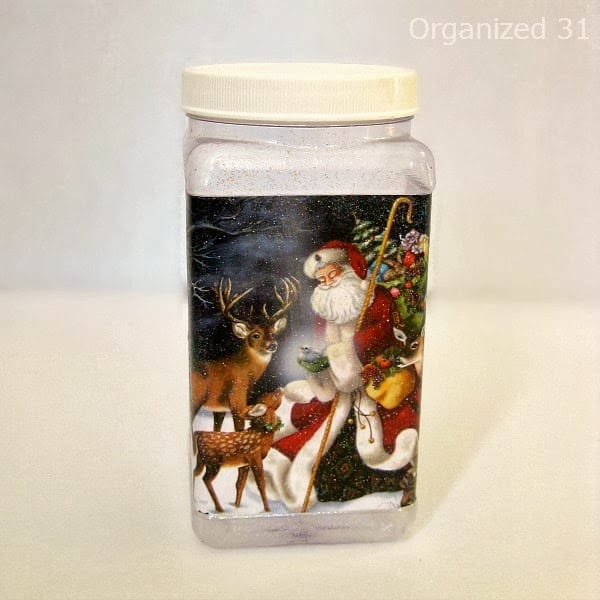
I’m not usually a glitter kinda girl, but I was having so much fun with Glitter Mod Podge that I grabbed the popcorn container and another Christmas card.

A quick coat of Mod Podge added on the back of the card and some rubber bands to hold the card in place while it was drying.

After about 20-25 minutes, the card was dry and I removed the rubber bands. I then covered the card and the entire jar with a coat of Glitter Mod Podge. I even added some Glitter Mod Podge to the top of the lid.
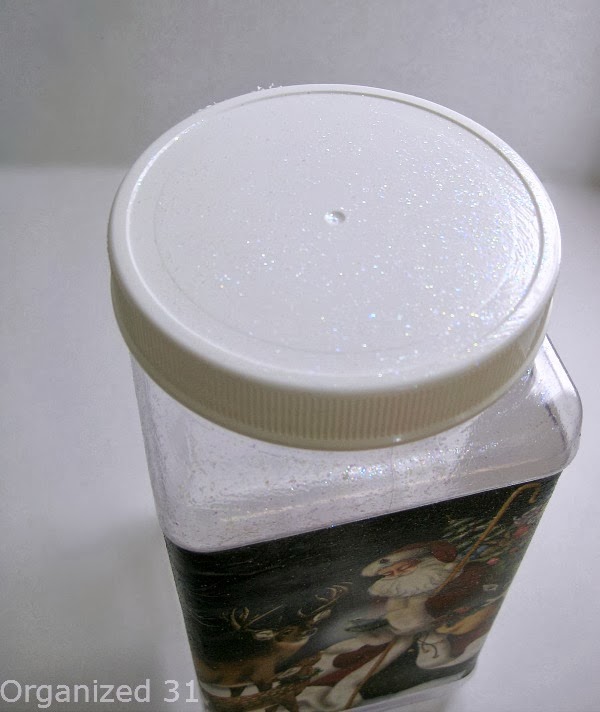
This jar would be great for holding homemade cookies.
You can sign up to receive more information and ideas from Plaid’s email newletter.
Or you can catch all the new ideas by following them on Facebook or their blog.
So, take a few minutes and look around your house for packaging that you can repurpose with the help of Mod Podge and FolkArt into your own beautiful gift giving containers. And invite a friend over to help with the crafting fun. Thanks, J.


I’m a mom of 3, a veteran, military spouse. I’ve moved into 20+ homes all around the world. My passion is helping busy people make the space and time for what’s really important to them. Learn more about Organized 31 and me.


I love this idea. What a fun way to create unique and interesting packages as well as reduce waste. Not to mention, this would be a fun project to tackle with the kids!
What an ambitious post – a few projects and a round up. Wow. Thanks for sharing. Wishing you a wonderful weekend. Darlene
These containers are really great! I have never heard of the glitter Mod Podge, I need to go out and get some! A girl can never have too much glitter!