
House Cleaning – 10 Areas You Always Forget
This post may contain affiliate links provided for your convenience. We earn commissions if you shop through the links on this page. I am also an Amazon Associate and earn from qualifying purchases Read my full disclosure policy.

Click to have Organized 31's content added as a trusted source of organizing information for your future searches.
Most of the time, cleaning is a necessity that I do without much thought. Deep cleaning or spring cleaning is the perfect time for house clean the 25 places you always forget to clean in your home.
A big part of what I like about spring is the feeling of everything being fresh and new (and the warm weather). I look forward to spring cleaning and a fresh new start inside the house.
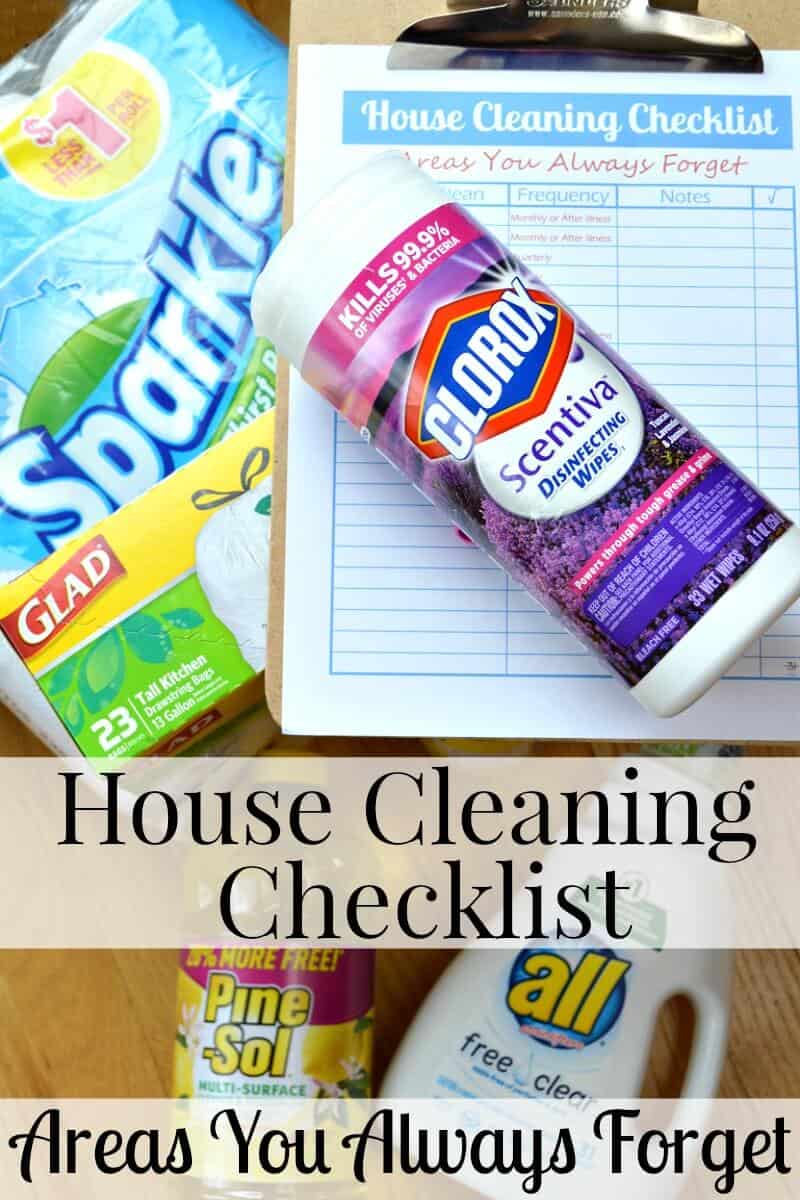
No matter how diligent you are about cleaning, there are certain areas that most of us forget. Don’t worry, you won’t be forgetting them any longer. Just print out your own copy of my house cleaning checklist and you won’t miss a thing.
This post was originally sponsored by Collective Bias, Inc. and Dollar General. All opinions are mine alone
After a long time being closed up, both in the winter and the summer, the house always feels stuffy and somehow stale. A good spring cleaning, anytime of the year, freshens up not only the house but my outlook, too.
I have a deep cleaning routine that I’ve used for years and I do a thorough cleaning (if I do say so myself), but in all the busyness of life, there are still areas that I often forget. This year, I decided to create a house cleaning checklist specifically for areas I usually forget to add my To Do List binder.
House Cleaning Checklist – Areas You Always Forget
Door Knobs
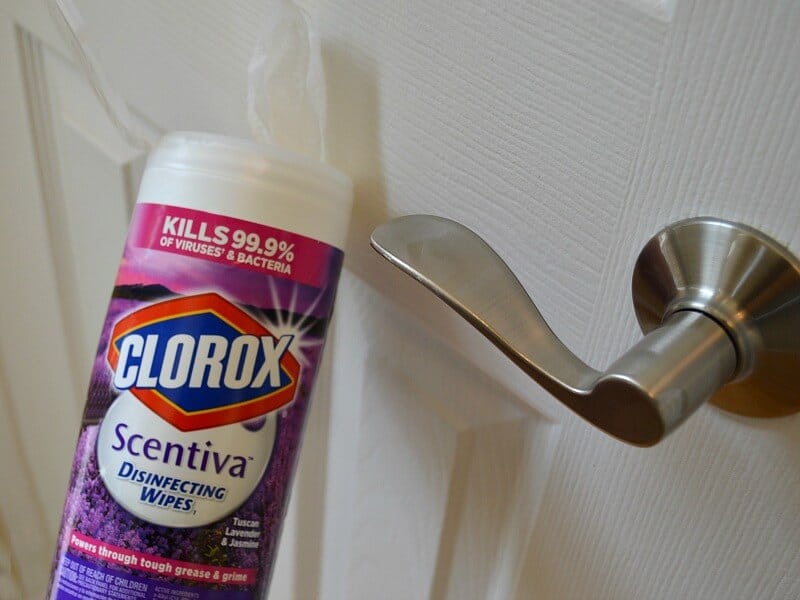
Door knobs can harbor germs and bacteria that are spread from one person to the next. Cleaning all the door knobs in your home will only take a few minutes. Disinfecting wipes are perfect for cleaning door knobs since they clean and disinfect. They’re also flexible and make it easy to clean all the surfaces and angles (and you don’t want to miss a milometer!).
Air Vents and Registers
Cleaning this area removes dust buildup which maintains good air quality and reduces allergens in your home (and we all want that!).
Use a vacuum with a brush attachment to remove surface dust from the register or vent covers. Use a long-handled duster or a vacuum hose to clear out the ductwork you can reach.
Every so often, or as needed, I remove them for a deeper clean by washing with warm, soapy water. Always dry completely before reinstalling.
Light Switches
Take a minute to look at the light switches in the most used areas of your home. You’ll probably be surprised at how smudged and dirty they are. Like door knobs, light switches can collect germs and bacteria that are passed from one person to the next. A quick disinfecting cleaning reduces the spread of infection and bacteria, in addition to removing those smudged fingerprints and marks.
Light Fixtures and Lamp Shades
Shades on ceiling fixtures and lamps can quickly gather dust and cobwebs. Be sure to turn off the fixture and let bulbs cool. Use a soft cloth or duster to remove dust. For glass or plastic shades, wash with warm, soapy water and dry well.
Fabric shades can be vacuumed with a brush attachment, dusted with a clean paint brush or wiped with a lint roller. This is a quick task that really brightens and freshens your home.
Garage Door Opener Devices
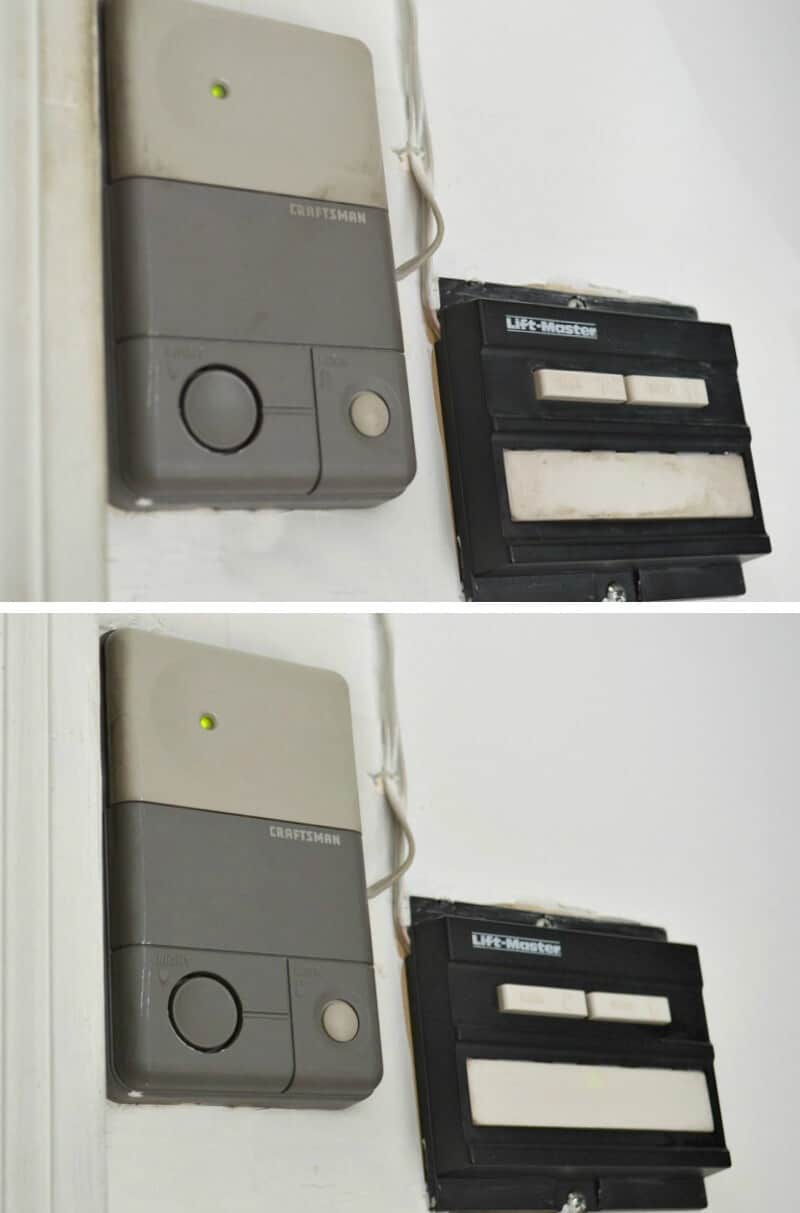
I’m a little embarrassed to admit that I’ve been meaning to clean the garage door opener buttons since we moved into this house. Somehow, life kept getting in the way. If there is this much dirt that I can see, how many germs and other things are hiding there? Ugh.
A disinfecting scrub to remove the dirt and potential infections took less than a minute and look at how much cleaner the garage door openers (and even the door trim next to them) are.
Remote Controls and Key Fobs
Just like switches and the garage door opener, these need regular cleaning to remove contaminates and grime. This is a great time to replace the batteries. Use a cloth with rubbing alcohol to wipe the surface, and a cotton swab dipped in rubbing alcohol to clean around buttons. For stubborn dirt, you can gently use a toothpick. Let it dry completely before reinserting the batteries.
Baseboards
I have a hairy dog (she seems to shed an entire other dog every day) and five people in my family. As a result, I clean my floors two to three times a week. Let’s be honest, by the time I’ve vacuumed and then mopped the floors, cleaning the baseboards doesn’t even cross my mind. Just look at the dust that builds up.
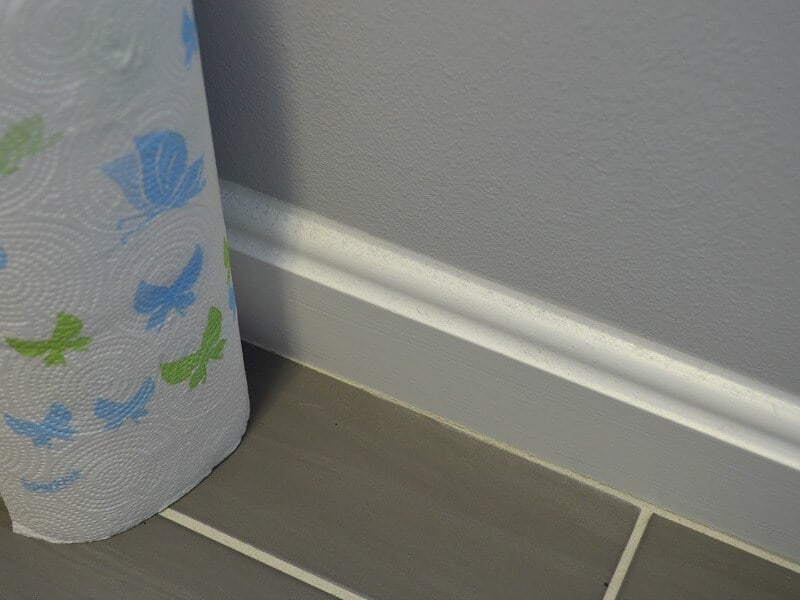
It really doesn’t take long to dust the baseboards, you just have to remember to tackle them. Using a slightly damp paper towel or a duster easily removes the dust. This is a great chore for even young kids to do since it’s easy.
Kitchen Drawers and Bathroom Drawers
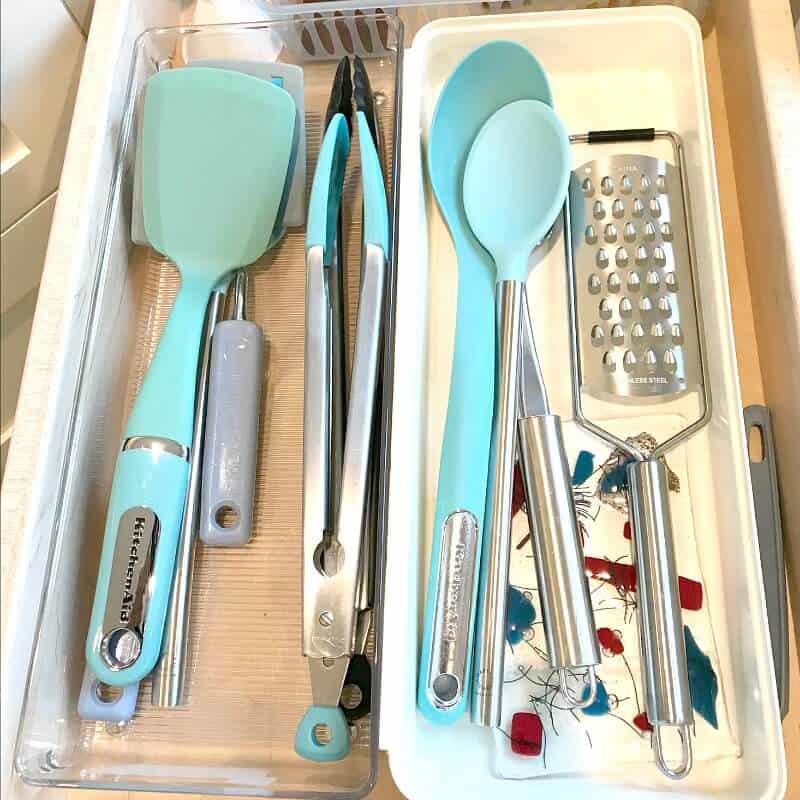
Through daily use, drawers gather dust, crumbs and dirt, so remember them in your cleaning process. Start by removing everything from the drawer. Vacuum or wipe out crumbs and dust, then clean with a damp cloth and mild cleaner. Dry thoroughly before replacing items. For stubborn dirt in the corners, you can use a toothpick or wood shish kabob skewer.
Clothes Washer
When was the last time you cleaned your clothes washer? Laundry is such a seemingly endless task that it’s easy to forget to clean the washer, but it’s critical to have a clean washer if you want to have clean clothes. If you have a front load washer, be sure to wipe off the gasket area and the door after each use. This helps reduce the buildup of gunk and dirt and also prevents mildew by removing moisture.
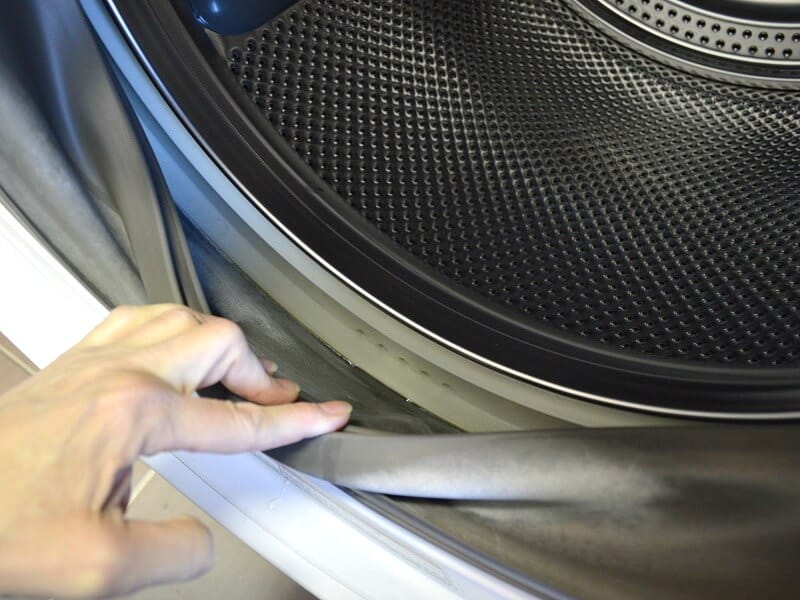
Monthly you should clean the interior well to prevent mold, mildew, and detergent buildup. I use the washing machine cleaner below.
Cleans Front Load and Top Load Washers, Including HE
6 Month Supply

For top load washers, you can use vinegar and a hot wash cycle. After the wash, you should clean all gaskets, the detergent drawer and door. Wipe every surface down and leave the lid open to dry thoroughly.
For a front-load washers, it’s important to clean the gasket and detergent drawer well and dry every surface. I use the magnetic tool below to keep the door of my front load washer propped open to allow fresh air to circulate and prevent mildew and mold.
Magnetic Washing Machine Door Holder with 2.6-Inch Magnet Base
Removable Washer Door Stopper to Keep Washer Door Open to Prevent Odors

Wipe the top and sides of the appliance down with cleaner or warm soapy water and dry well.
Clothes Dryer
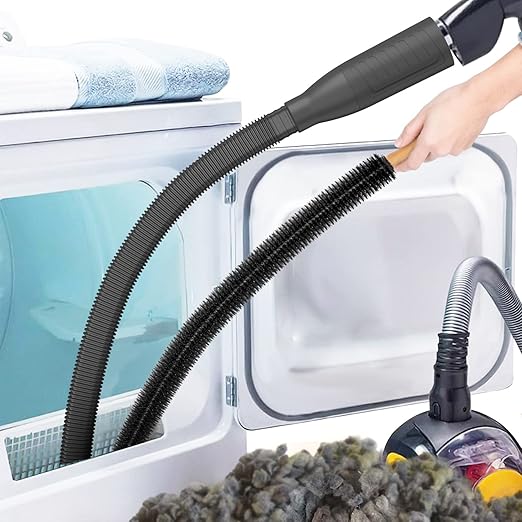
Just like with the clothes washer, I want the machines cleaning my clothes to be clean themselves. Wipe down the outside of the clothes dryer and be sure to clean the lint trap before or after every use. I use a long brush like the one below to remove lint that is hard to reach.
Vacuum Attachment Hose with Brush and a, Dryer Cleaning Brush for Lint Removal
Dish Washer
We rely on our dishwasher to clean our dishes, so I want to make sure that the dishwasher is sanitary. Start by removing the racks. Then remove and rinse the filter to clear food debris. Check online to see how to remove the filter for your particular model. Wipe the door seals and spray arms with a soft cloth dipped in white vinegar.
I use dishwasher cleaning tablets, but you can also run an empty cycle with a cup of white vinegar on the top rack on a short hot cycle for freshness.
Under and Behind Appliances
These areas is often forgotten because they’re out of sight, but still can collect dust, grease, and debris, which can attract pests and affect your appliance efficiency. As a dog owner, I’m always surprised at how much dog hair I find under them.
Move the appliance if possible, then vacuum and wipe down the floor and walls with warm, soapy water or a degreaser. Regular cleaning prevents odors, fire hazards, and buildup.
I use this affordable tool to clean under my appliances because when my husband is deployed, I can’t move the appliances by myself.

Under and Behind Furniture
Just like with appliances, this area is often overlooked because it’s out of sight, but dust, pet hair, and allergens accumulate there over time.
Move furniture when possible, then use the vacuum cleaner or sweep thoroughly. Use a mop or cloth for wood floors and other hard floors.
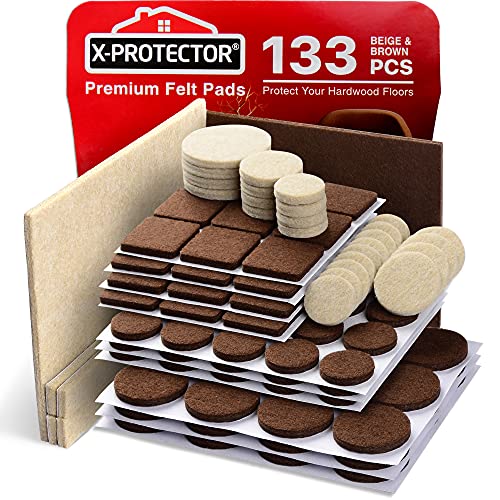
I’ve added furniture pads to the legs of any items that sit on hard floors. You can also consider furniture sliders for easier access.
133 PCS Premium Furniture Pads
Protect Your Hardwood & Laminate Flooring! Brown and Beige
Six Panel Doors
Just like baseboards, the bottom of the panels of doors are often overlooked in cleaning. I swear that this little edge (and the top and bottom of each panel means there are 12 of them) seem to attract dust and dirt like a magnet. This cleaning task is easy to do and also a great candidate for children to help with.
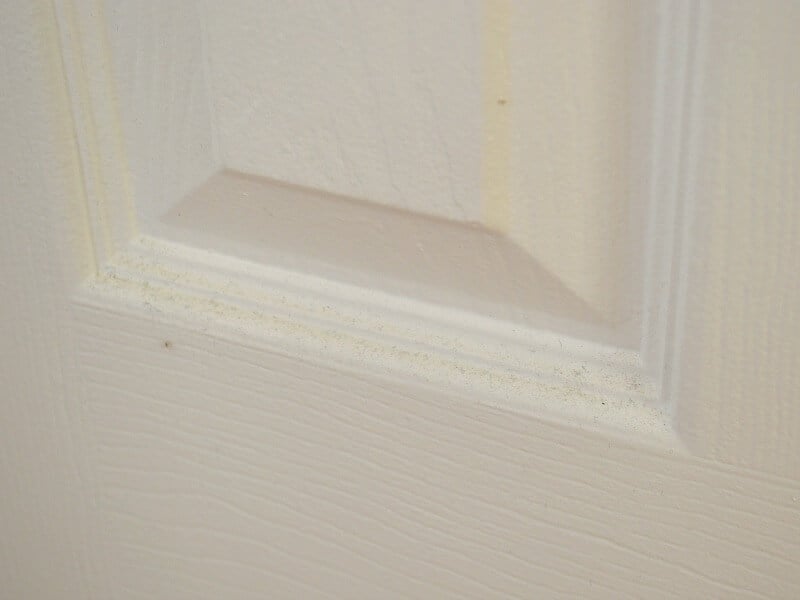
You can use a cleaning cloth or paper towels and cleaner. I like to use a long-handled duster like this.

Under Couch and Chair Cushions
Most of us are falling onto our couch or chair in exhaustion and not peeking under the cushions, so these common places that are often forgotten. The mess is hidden, but crumbs, dust, and small items accumulate over time. Yuck!
Remove the cushions, vacuum the crevices, and wipe down hard surfaces. For fabric, use a lint roller or upholstery cleaner as needed. Be sure to vacuum all six sides of the cushions before you put them back in place.
Door Frame
Unless you’re taller than I am, you’ll need a stool or a duster with a handle, but a quick swipe is all that’s needed to dust the top of the door frame. I usually tackle this chore at the same time that I’m cleaning the door panels.
Window Ledges and Frames
We usually look through windows and not at the windows, or at least that’s me. But when I do look at them closely, I have found dust, dirt, and even mold that built up over time. Gross!
You can wipe away loose debris with a dry cloth or vacuum, then wipe well with warm, soapy water or a vinegar solution. I use a toothbrush, cotton swabs and tooth picks for crevices. Be sure to dry thoroughly to prevent mildew or mold.
Multi Purpose Crevice Cleaning Brush for Kitchen, Bathroom, Car, Grout, Window Tracks, Bathtub, Vehicle, Faucets, and more

Shower Curtains and Liners
I’m usually rushing into or out of the shower and at that speed the curtain and liner may look clean. And I’m sure that with as busy as we all are, I’m not the only one forgetting to take the time to clean shower curtains and liners. They can collect soap scum, mineral deposits, mildew, and mold.
You can often wash them both in the washing machine with warm water, mild detergent, and a little baking soda.
For plastic liners, add vinegar for extra mold-fighting power. I also add white rags or old towels to help scrub both sides of the liners in the wash cycle. Let them air dry or hang back up immediately to prevent wrinkles and creases.
Phones
I usually remember to clean our phones and remotes when someone in the house is sick, but this is another of those cleaning tasks that gets lost in the busyness of life. Like door handles and light switches, phones and remotes harbor all kinds of shiver-worthy stuff. A good disinfecting cleaning on a regular basis will keep them clean and your family much healthier.
Dual Universal Cell Phone Charger Box
Patented & Clinically Proven 360-Degree UV-C Light Sanitizer
Disinfects and Charges All Phones (White)

Trash Cans
Are they forgotten or avoided? Hmmm….. Either way, they can trap odors, bacteria, and grime even when you use a trash bag or liner.
To clean the can, empty it and rinse it with warm, soapy water, both inside and out. Scrub stubborn spots with a brush and disinfect with a vinegar or bleach solution. Let it dry completely before replacing the liner. I like to place it out in the sun for an hour or two before I return it to use.
Under the Sink
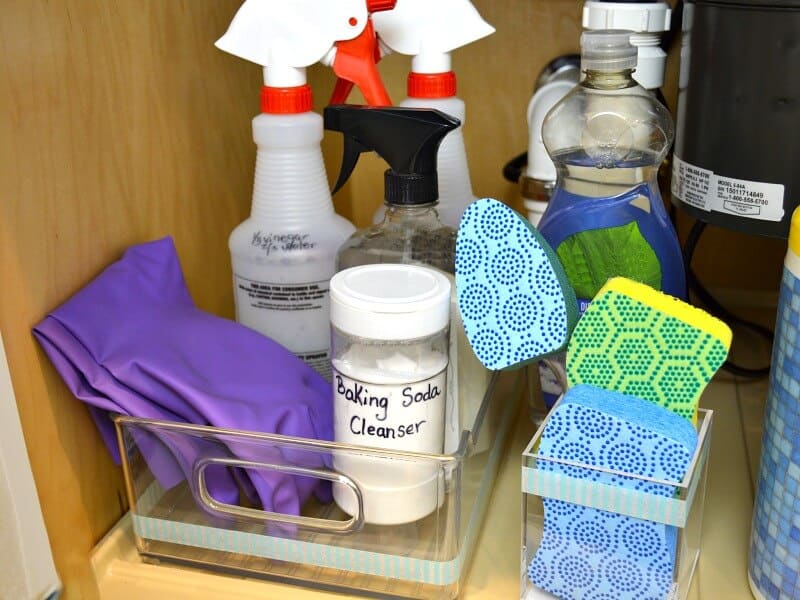
Let’s be honest, it’s awkward to get under the sink and yet it needs to be cleaned. Leaks of water and cleaning supplies, dust, and clutter can appear over time, causing odors and mold or mildew.
Start by emptying the cabinet in the kitchen, bathroom or laundry room. Wipe surfaces with a disinfectant cleanser. Organize items using bins or shelves to keep things tidy. Check out my tips for free under sink organizing ideas.
Ceiling Fan Blades
II make sure to clean the blades of all of our ceiling fans in the spring before we start using them. I don’t want to throw six months of dust all around our rooms. But life and the busyness of summer sets in and I usually don’t think about cleaning the ceiling fan blades again until August or September. Cleaning the fan blades regularly helps keep the rest of your house cleaner and your allergies will thank you, too.
![Use recycled ideas for bathroom organization that are earth-friendly, frugal and creative. #LuminousWhites [ad]](https://organized31.com/wp-content/uploads/2017/04/Recycled-Ideas-for-Bathroom-Organization-h.jpg)
Toothbrush Holders
Even though we use our toothbrush twice a day, I know I don’t clean the holder as often as I should. It can collect toothpaste residue, water buildup, and bacteria. You really do want to clean the holder at least once a month.
To clean it, rinse well inside and out. Next, wash with warm, soapy water or soak in a vinegar solution. Use a small brush or cotton swab to reach tight spots.
Mattresses and Frames
Despite spending a third of your day in bed, we often forget to clean our mattresses and bed frames. We should clean them at least twice a year, but I like to do it once a quarter, because dust, dead skin cells, and allergens accumulate.
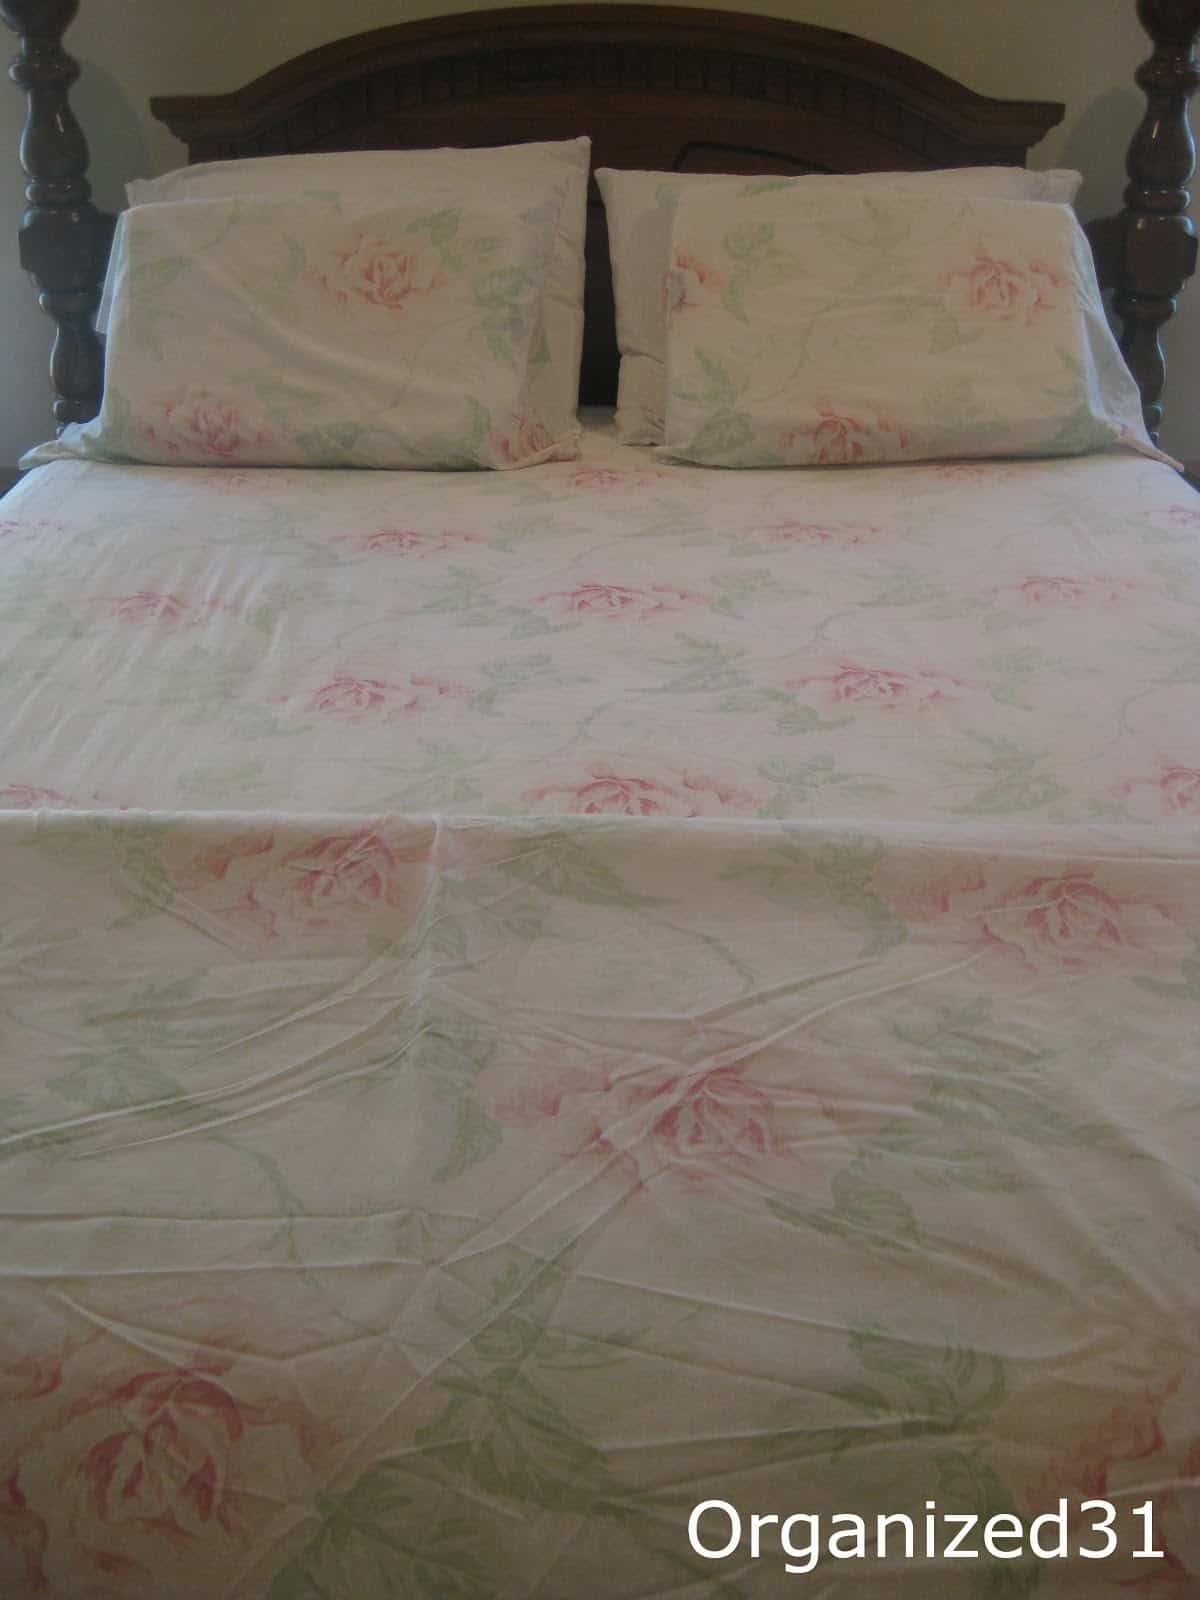
Start by vacuuming the mattress using the upholstery attachment. Sprinkle baking soda over the mattress to absorb odors and vacuum again from head to foot and then side to side. Check the directions for your mattress to pot-clean stains.
I like to vacuum my bedframe and then wipe it down. Focus on crevices where dust collects. I know I sleep better when cleaning my bed doesn’t get neglected.
Closet Floors and Shelves
This is another overlooked place in my home because I’m usually in rush or exhausted when I use it. It’s surprising how closet floors and shelves collect dust, dirt, pet hair and clutter.

First remove items. Break the task down into sections to make it more manageable, if you need. Next, vacuum or sweep the floor, and wipe down shelves with a damp cloth. You can use a mild cleaner to remove scuffs or stains.
Don’t Forget to Clean Checklist

I’ve created a free 2-page checklist with all these areas to clean in your home and the recommended frequency, plus these additional tasks:
- Inside Oven
- Garbage Disposal
- Throw Pillows
- Toilet Brush
- Top of Cabinets
You can flip through the checklist below.

As a special opportunity, if you want printable and organizing resources, you definitely want to check out this limited time low price offer on the Organizied 31 Printables Vault filled with organizing resources, planners, games, gifting resources and so much more, including ones only available in the Vault and new ones added frequently.

Taking the time for these areas that people often forget to clean can make a big difference in the freshness and hygiene of your home. Add them to your regular cleaning routine and you’ll reduce dust, allergens, dirt and germs while keeping your space looking and feeling its best.
Find all my best cleaning tips and hacks in the table below. You can scroll though the table and look for ideas or search for specific ideas with the magnifying glass in the upper right-hand corner (on desktop). Click on the topic and then click through the specific article.

I’m a mom of 3, a veteran, military spouse. I’ve moved into 20+ homes all around the world. My passion is helping busy people make the space and time for what’s really important to them. Learn more about Organized 31 and me.





![Sending your child off to college is just as difficult as leaving your baby when you deploy. You can celebrate the milestone and prepare for the separation by making memories together. #ShareYourMiracles [ad]](https://organized31.com/wp-content/uploads/2016/07/Sending-Your-Child-Off-to-College-sq.jpg)
I’m pretty good at doing all of those things on the checklist. The one I always forget though, is the ceiling fan blades! I have vertigo, so I can’t look up to see the blades or clean them. I always forget to ask my husband to do this when he has time!
Oh, my, Brenda, vertigo would most definitely knock the ceiling fan blades off of my to do list. I only had it for 4 days and it was not fun!
Nice content and cleaning tips that every home owner can follow through it.