Guest Post – Dianna’s DIY Curtain Ties
This post may contain affiliate links provided for your convenience. We earn commissions if you shop through the links on this page. I am also an Amazon Associate and earn from qualifying purchases Read my full disclosure policy.

Hi everyone! My name is Dianna and I blog over at Craft A Spell. I’m so excited to be here at Organized 31 today! At my blog you’ll find DIY crafts and recipes as well as my new favorite project – furniture refinishing!
I’m a huge fan of making something on your own because your purse strings are a little too tight this month. One thing I’m always too cheap to buy is curtain ties. I think they make your room look fancy. Designs stores must agree with me because they charge a lot for them! For me, it all started a few years ago when I was redoing my bedroom at home and wanted to buy some curtain ties. They were $20 each. I had 2 windows with 4 curtains to tie back. Pause for math calculation. That’s $80! Since then I’ve made a few different curtain ties including my original and this for my new bedroom. Each time, I’ve managed to do it cheaper than the last. It’s all about the beads you buy. Here is a tutorial for the ties I just made for my living room.
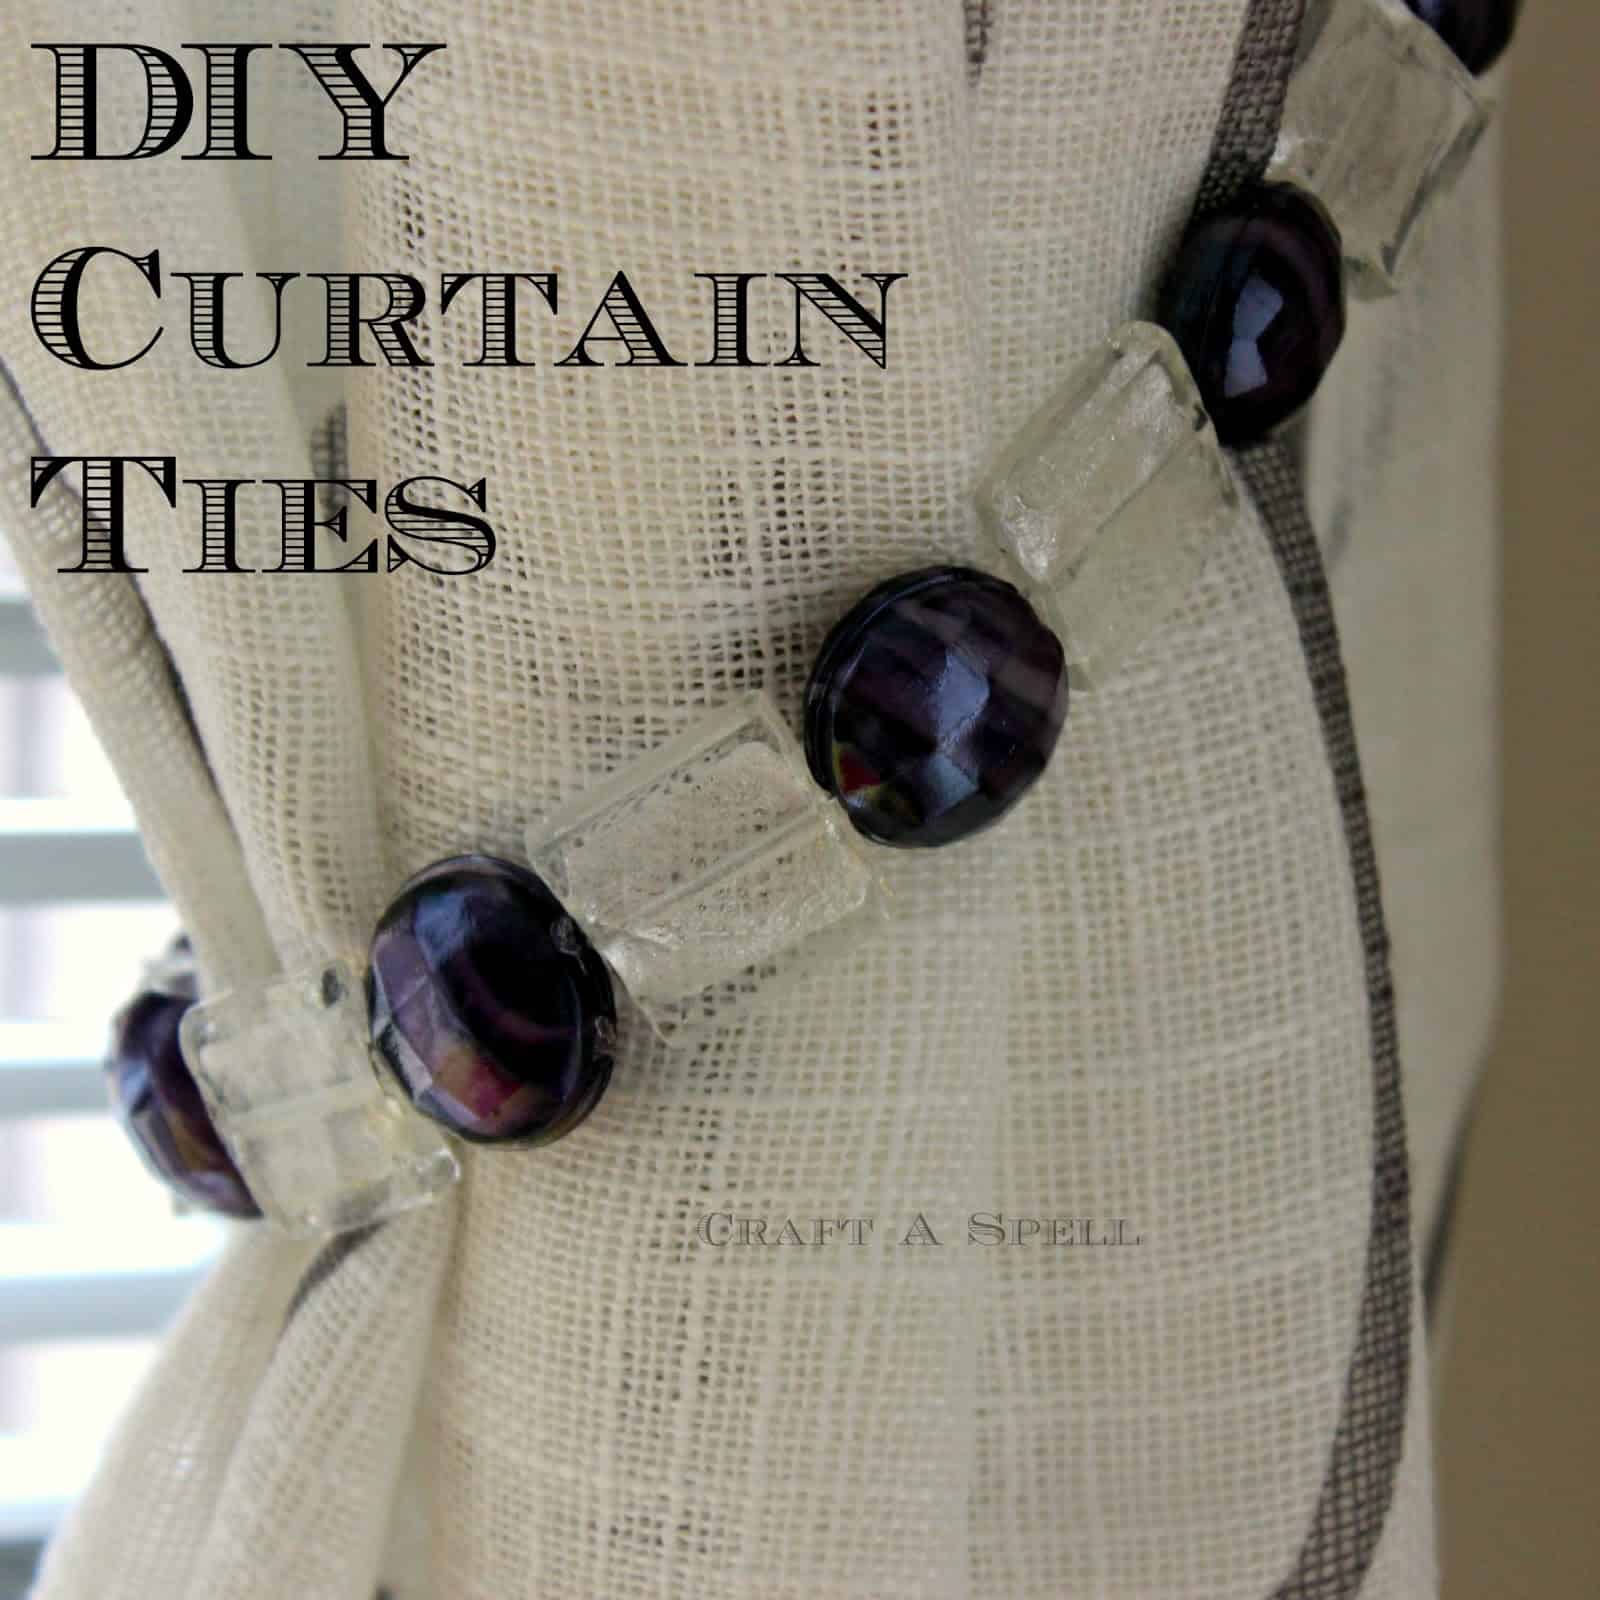
I found these cute curtains at Bed, Bath, and Beyond. I love them but I wanted to be able to pull them back and get some beautiful light with my floor to ceiling windows.

To make similar ties, you will need:
-beads of your choice I used:
-2 strands of 20x20mm crystal square beads from Bead Gallery purchased for $4.49 each from Michaels (originally $5.99 with 25% off coupon)
-2 strands of 20mm round glass beads in marbled purple and white (Darice brand purchased for $1.97 each)
-22 gauge bright floral wire (panacea brand) or something similar
-wire cutters
-needle nosed pliers
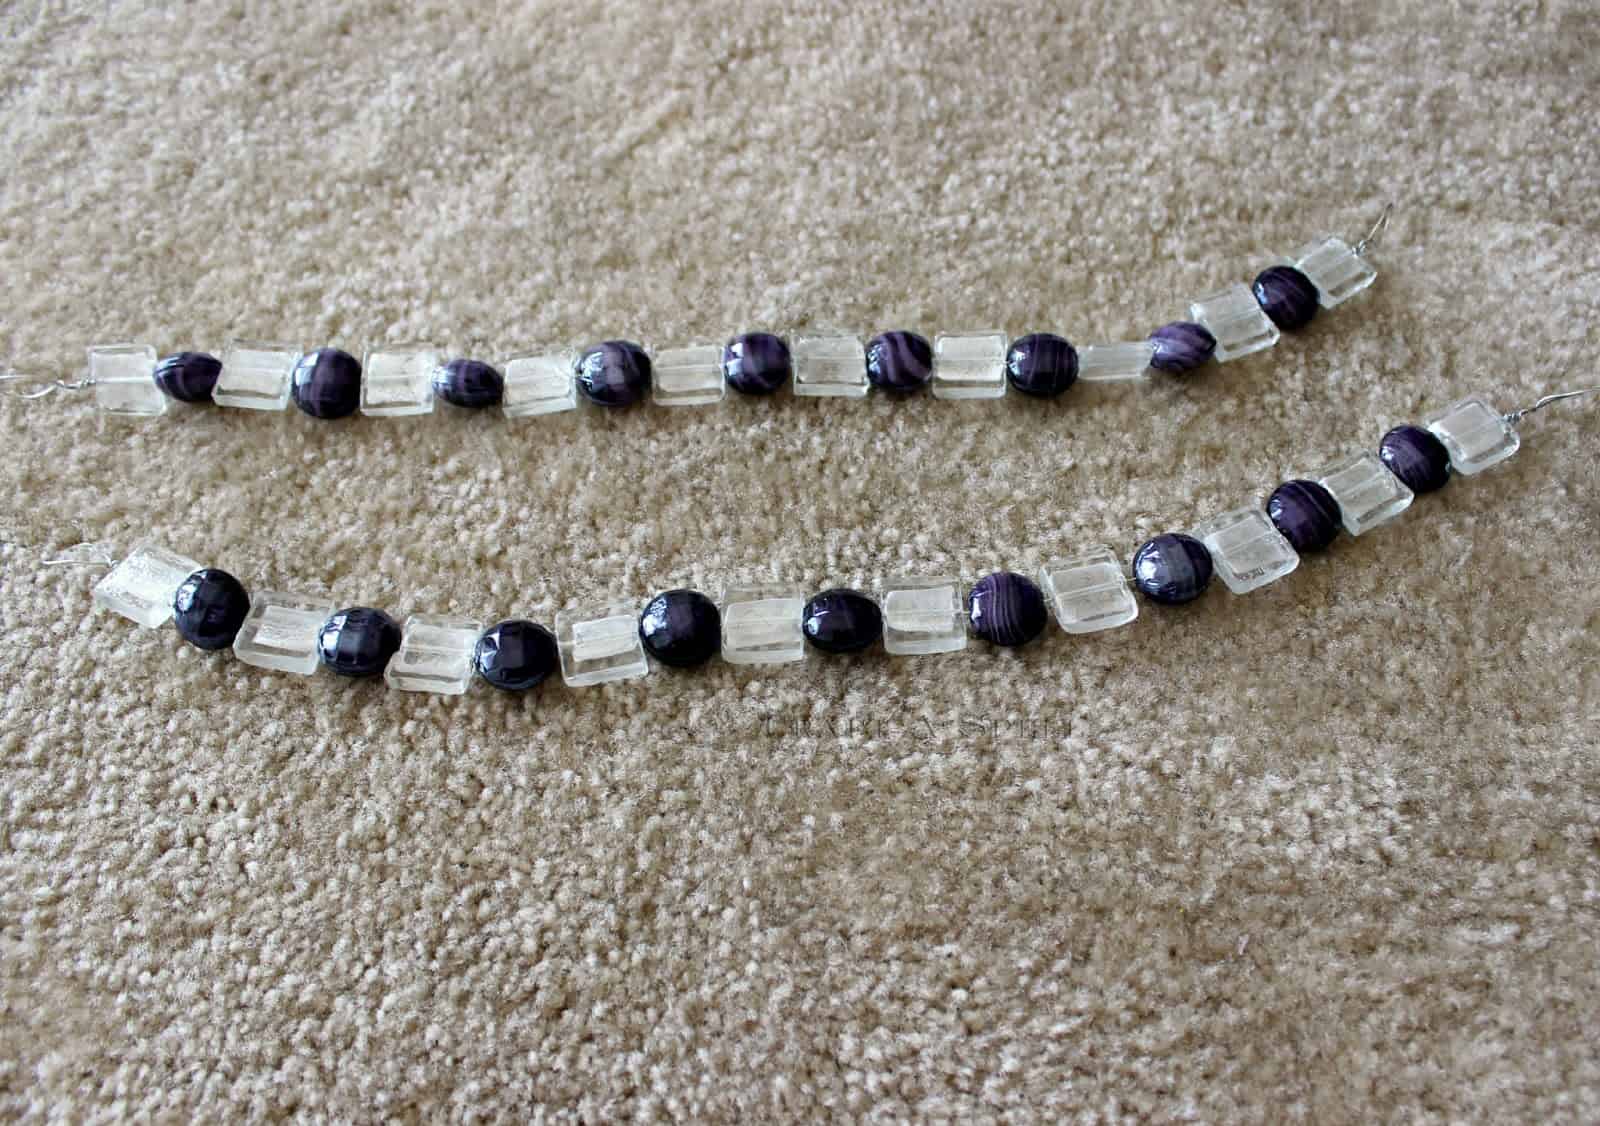
This is really simple. All you do is lay out your beads in the order you’d like to string them. I chose to just alternate. Then you string them onto your wire.
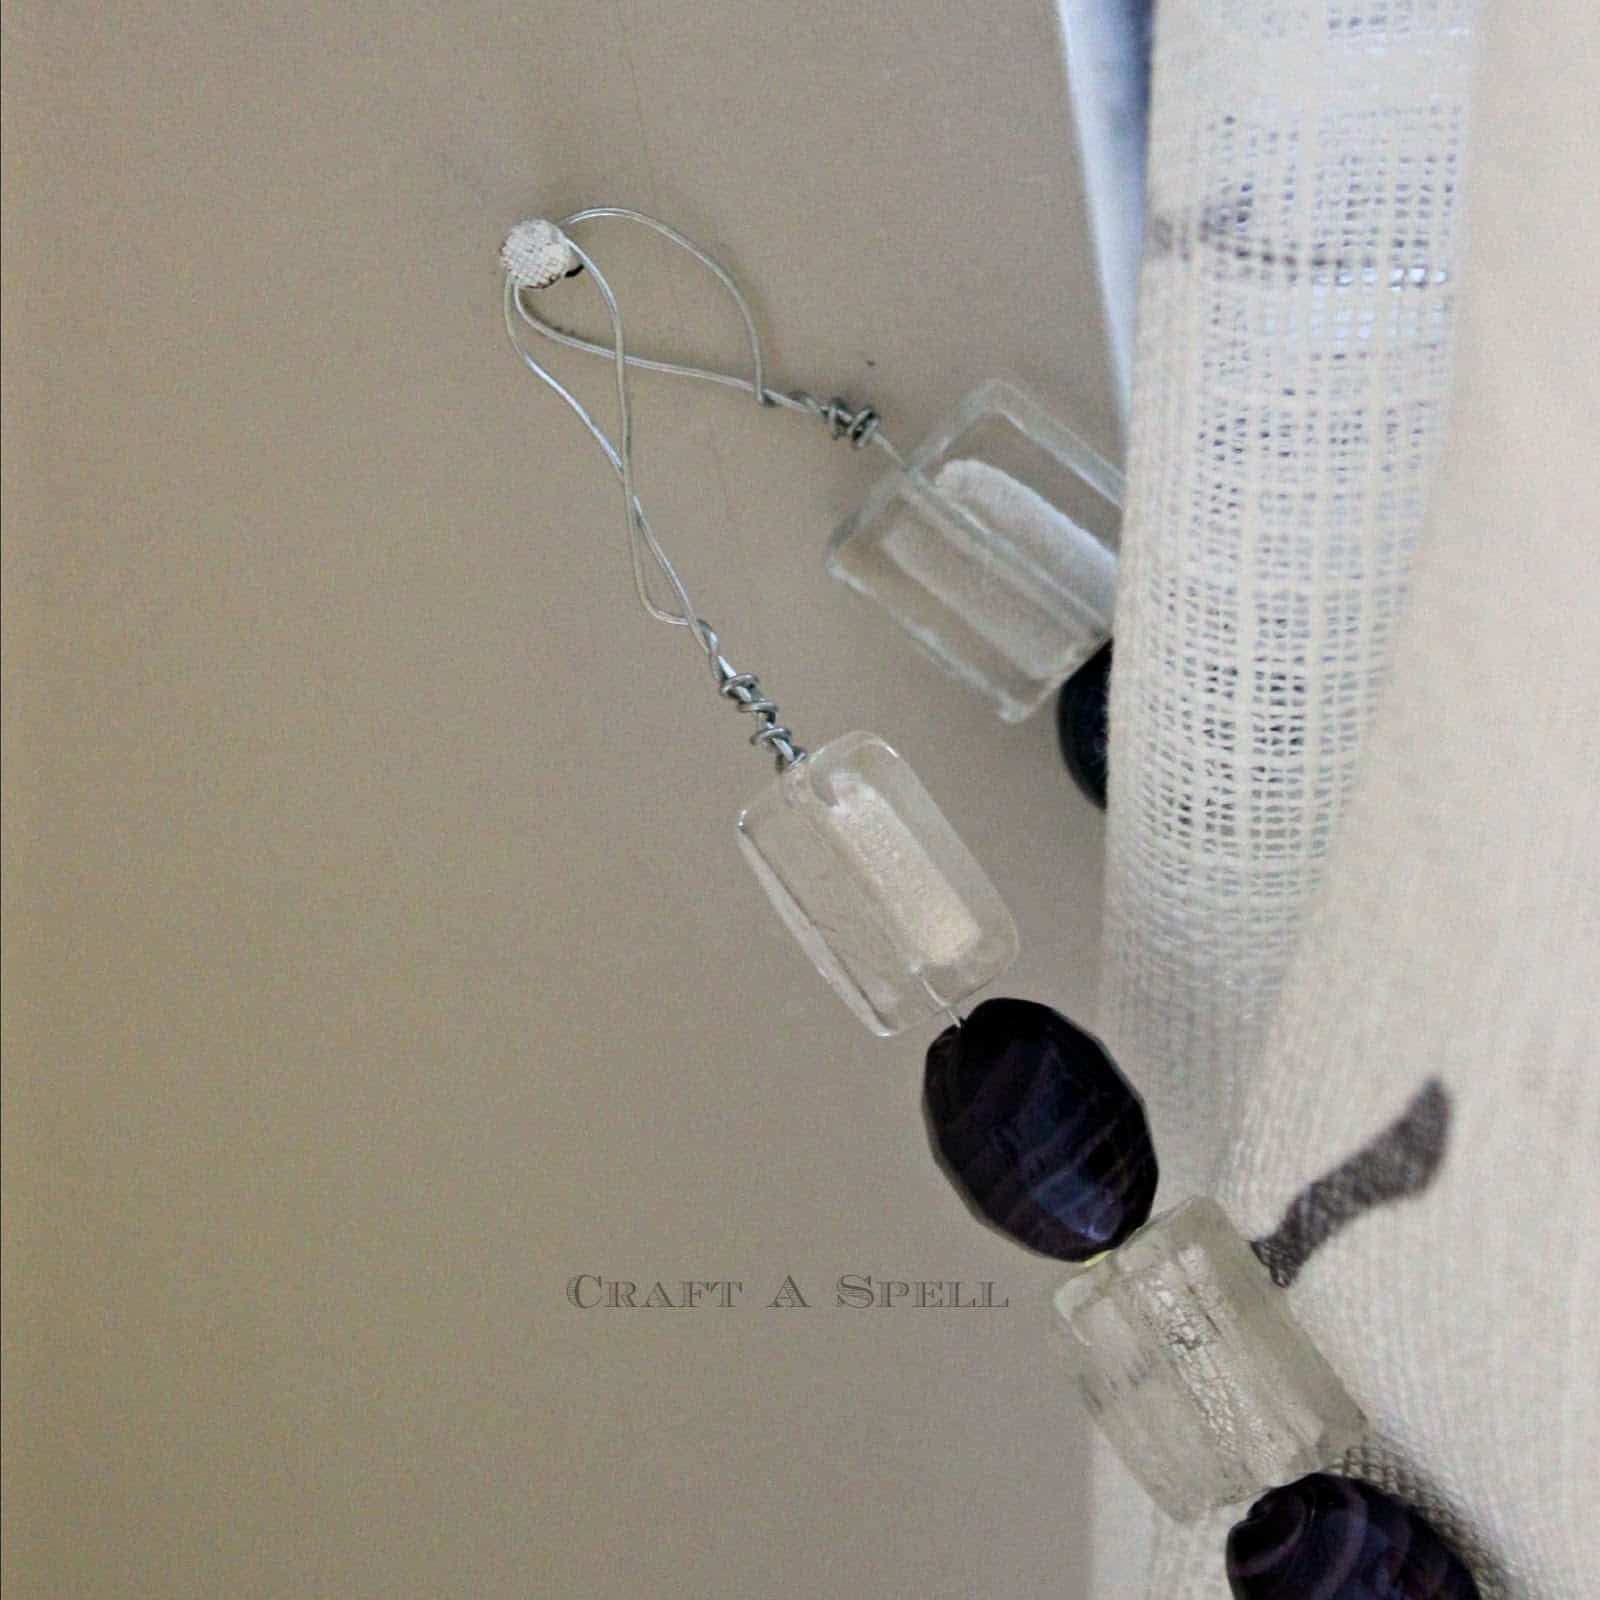
On the free end of your wire, make a loop and wrap the wire around itself.

Keep wrapping until you can nearly wrap no more!

Using your needle nosed pliers, press the wire into a position so that you won’t scratch/poke yourself. Or, more importantly, your pretty new curtains. Priorities.

On the opposite end, leave yourself enough wire to repeat these steps and cut with your wire cutters. Repeat the looping steps.
Find something to secure the wire hoops. I used a nail in my wall that would be hidden where the curtain hangs. If you have crown molding, you could hammer right into the side of it.
Then sit back and enjoy the prettiness that you created and that gorgeous sunny day.
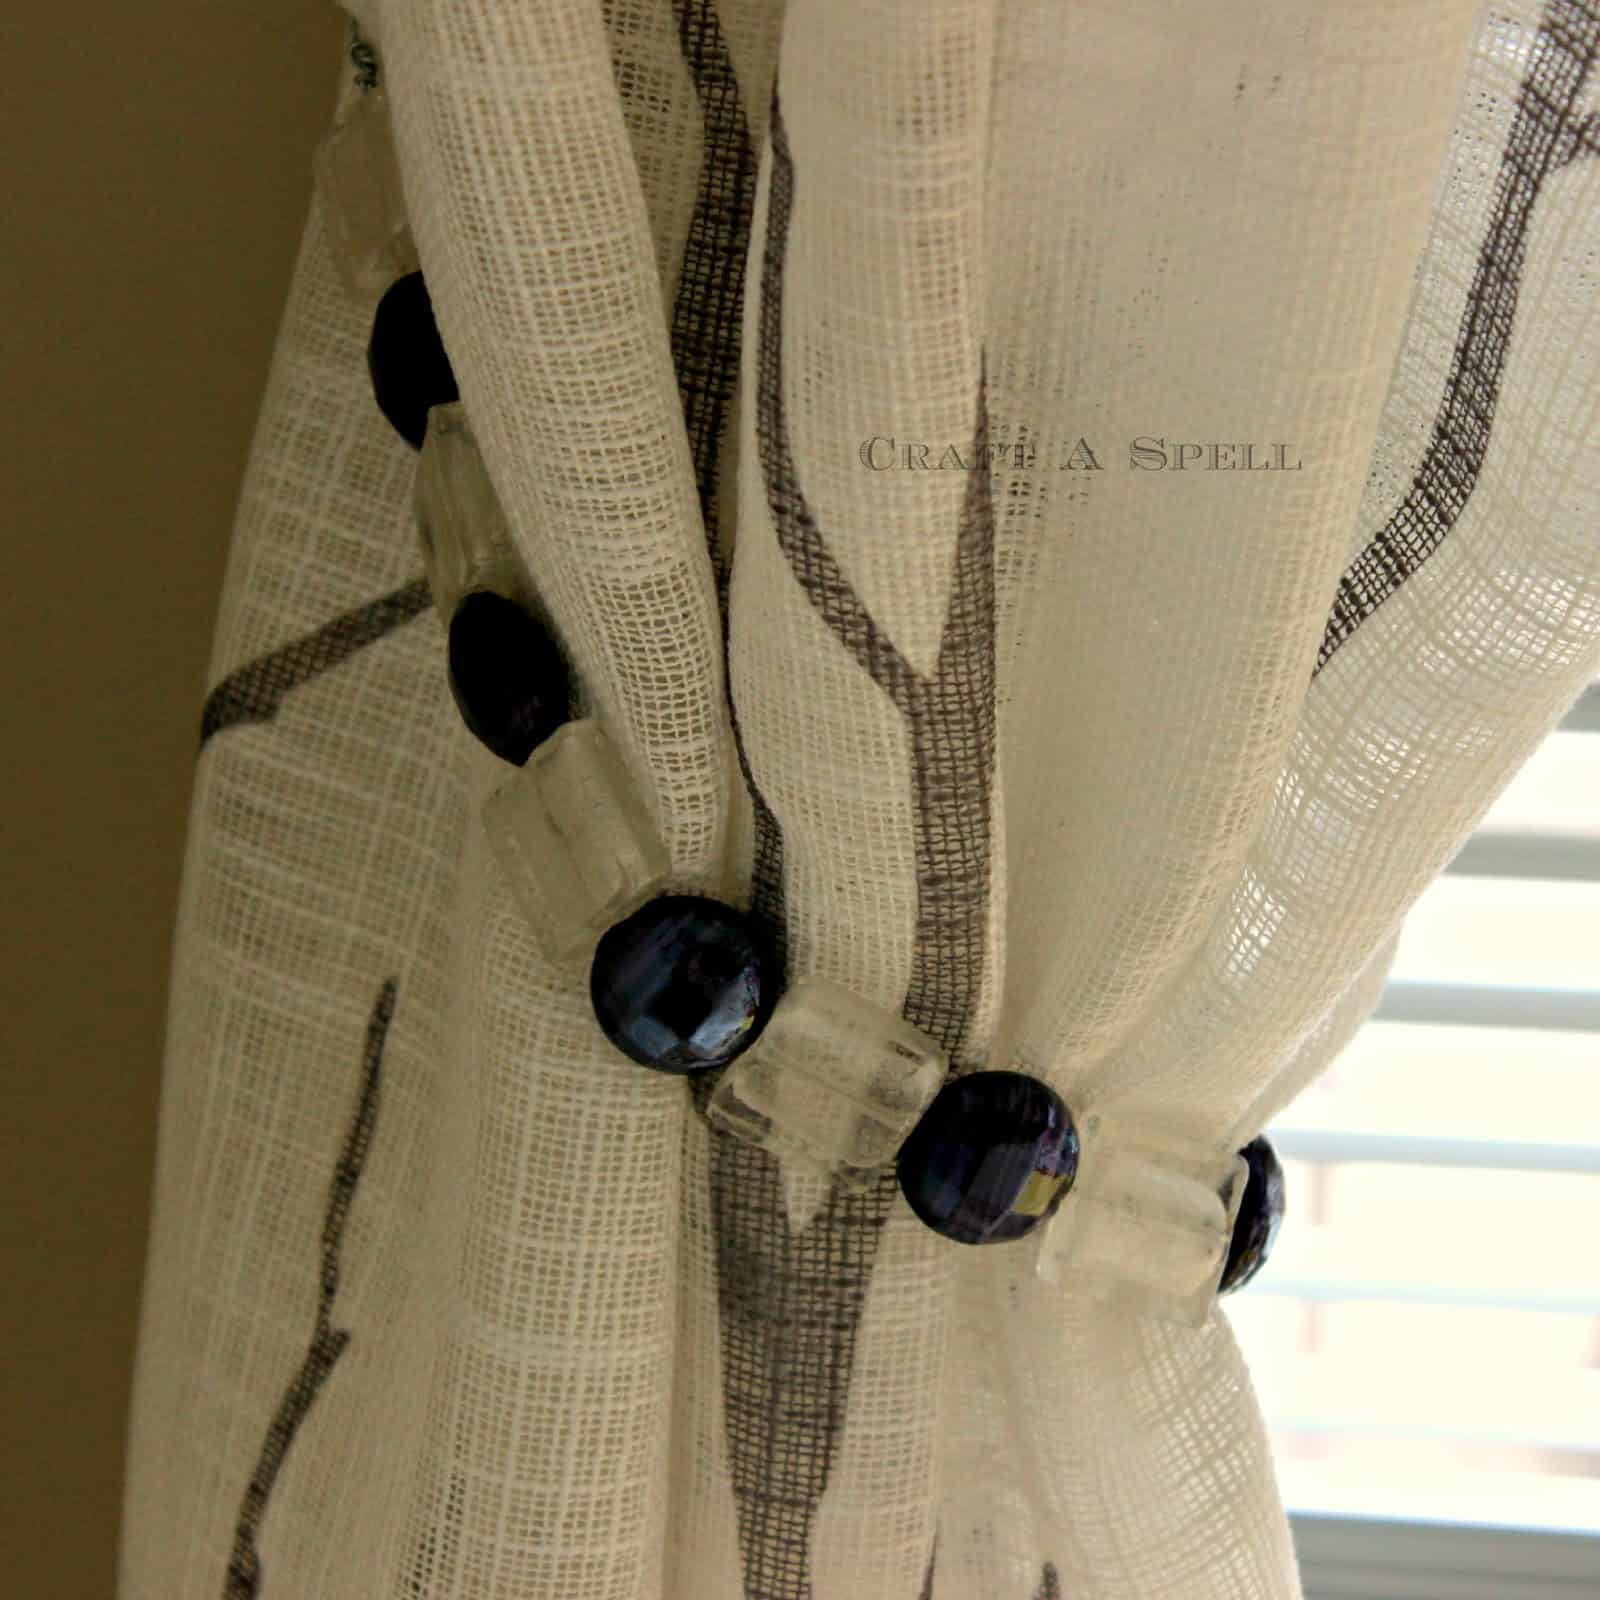
And air conditioning. It’s too hot to go outside.
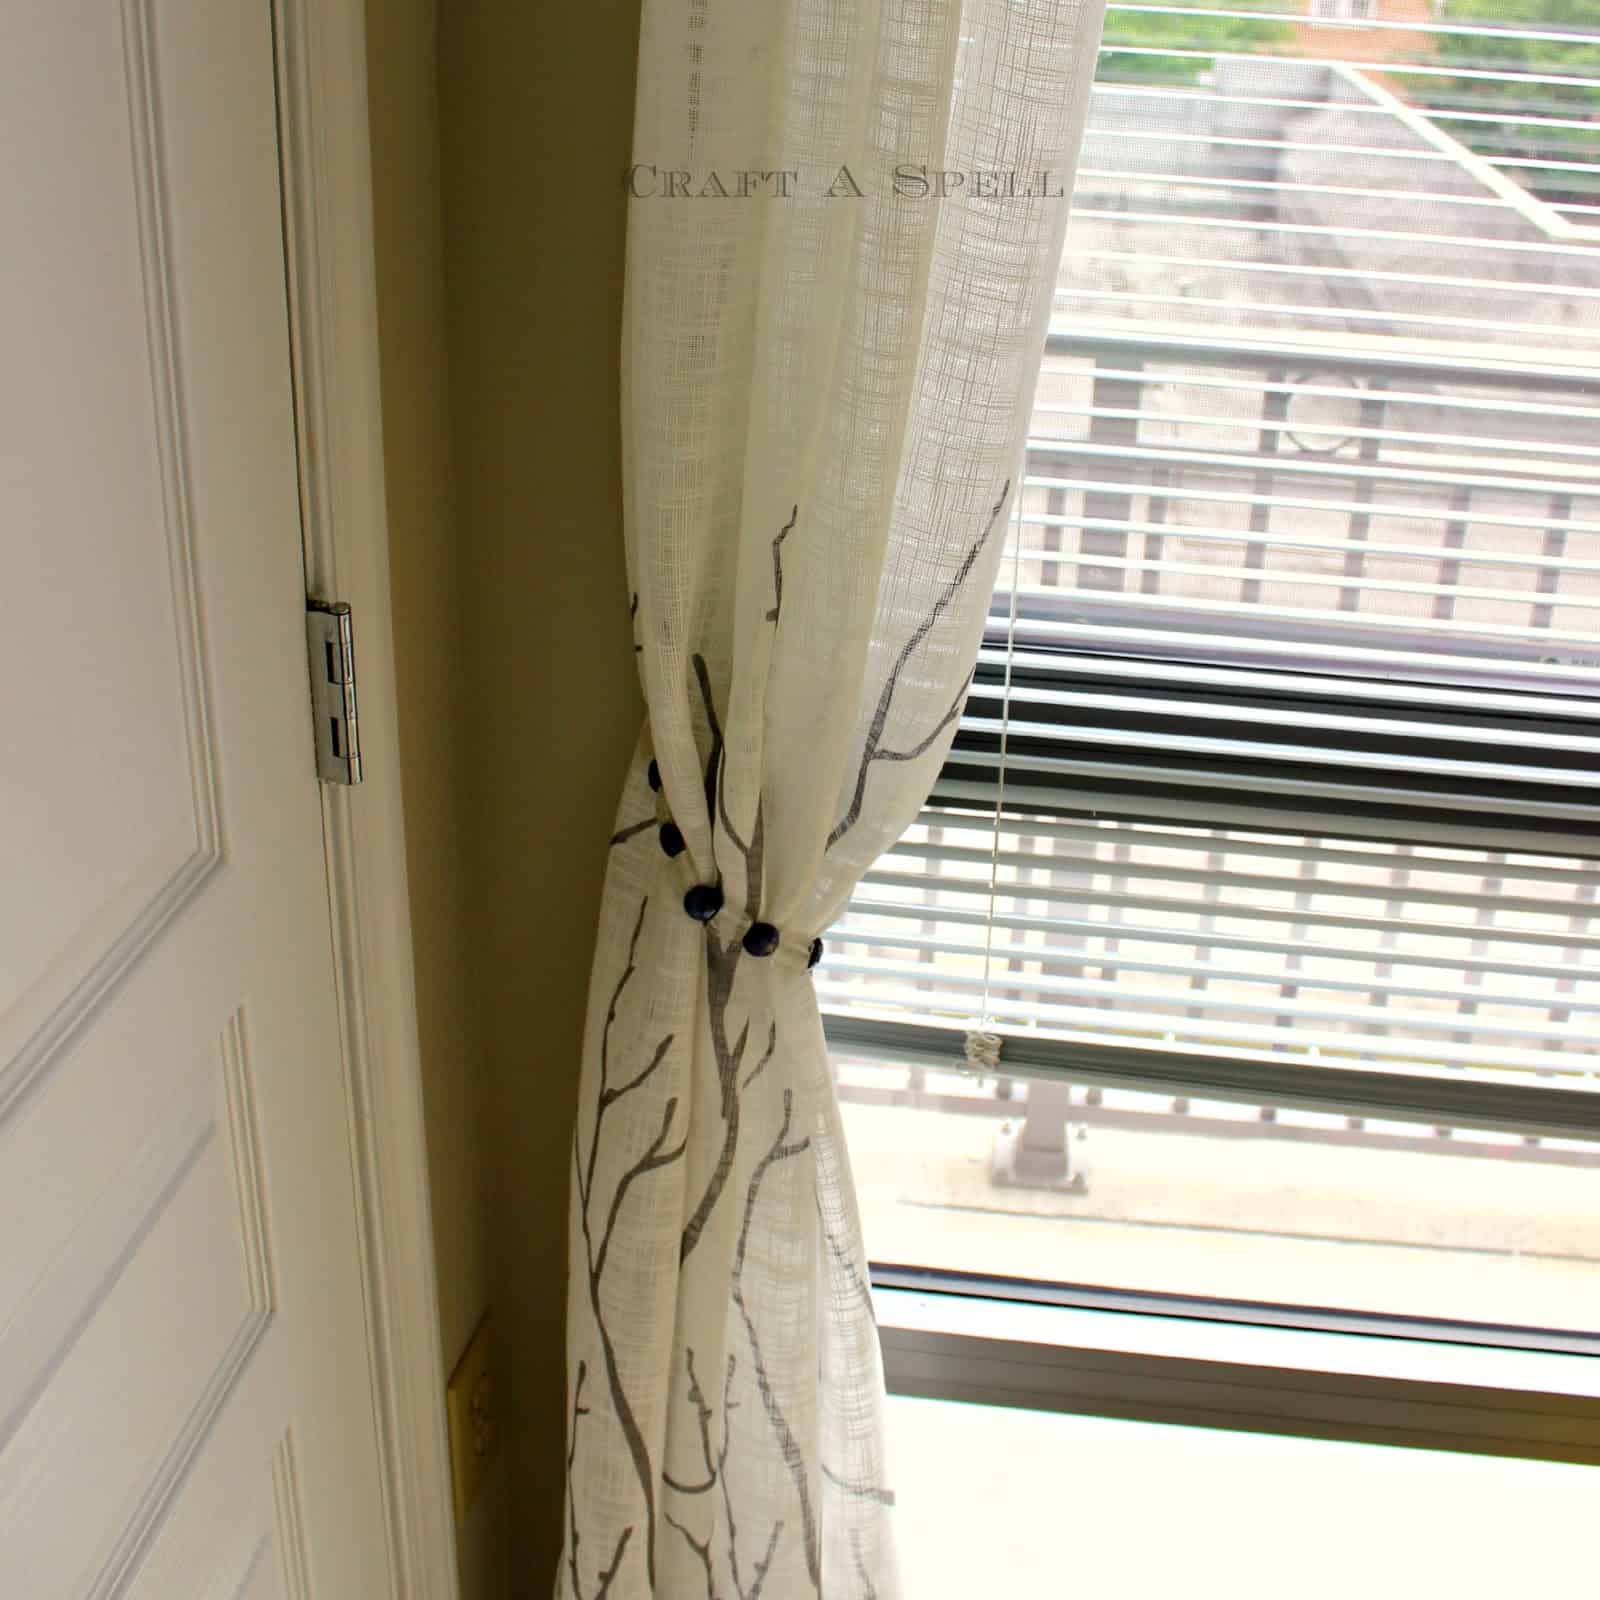
These curtain ties cost me $12.92 for two. So there $20 each curtain ties!!

I’m a mom of 3, a veteran, military spouse. I’ve moved into 20+ homes all around the world. My passion is helping busy people make the space and time for what’s really important to them. Learn more about Organized 31 and me.


Susan – thanks for the guest host. Dianna – WOW that is super creative. The mind is churning what I can do with it in our home. Hugs, Holly
Dianna, great idea! I love how they turned out.