
Easy Pumpkin Craft with Plastic Bottles
This post may contain affiliate links provided for your convenience. We earn commissions if you shop through the links on this page. I am also an Amazon Associate and earn from qualifying purchases Read my full disclosure policy.

Click to have Organized 31's content added as a trusted source of organizing information for your future searches.
Make this easy pumpkin craft for fall, Halloween or Thanksgiving. It’s adorable, fun to make for adults and kids and can be made in a variety of sizes.
At a glance: An upcycled fall craft that turns a plastic soda bottle into a yarn pumpkin. You’ll need a plastic bottle, orange yarn, green felt and a green pipe cleaner. I made 3 pumpkins for under $5 in supplies. It’s fun for adults and kids, and works for fall, Halloween or Thanksgiving décor.

I got the idea for this easy DIY pumpkin craft from the Creative Jewish mom. She used plastic bottles to make apple gift boxes. I still can’t get over how brilliant, adorable and earth-friendly the project is. I saw it in the fall, so of course my mind immediately turned it into a fall craft idea.
Easy Pumpkin Craft
Supplies
- Plastic bottles – I used 2-liter soda bottles, but any flexible plastic bottle will work
- Orange Yarn – the amount you need is dependent on the size bottle you choose. Any type of yarn will work, so look for discount yarn unless you want to choose a more textured yarn.
- Green felt – only a small piece is needed for the leaves
- Green Pipe cleaner – You need one pipe cleaner per pumpkin
- Small Stick or Dowel (optional) – if you want to add a stem to the pumpkin

Pumpkin Craft Tutorial Steps
I was able to make these 3 pumpkins with a half a skein of yarn, pipe cleaners and 1 piece of green felt with enough supplies left over to make more. You could get 6 or more pumpkins from the skein of yarn and felt, depending on the size bottles you use.
I created these 3 bottle pumpkins for under $5 in supplies and could have made several more.
Step 1: Remove the Top of the Bottle
Carefully cut the top off of the plastic bottle.
Tip for a cleaner cut: Squeeze the bottle slightly with one hand and start the cut with a sharp craft knife, then finish cutting around the bottle with sharp scissors. If you’re crafting with kids, a grown-up can make the first knife cut and the kids can take over with scissors.
I cut the top 1/3 of the top off the 2-liter bottle. You can cut it any height to create the size pumpkin you’d like.
The 2nd bottle I tackled was a 2-liter one that I cut shorter to make a smaller pumpkin.
The 3rd bottle was a smaller 1-liter size so it made an even smaller bottle.
You can pick the size and the height of the pumpkin you want to make by the bottle you choose and how short you cut it.

Step 2: Cut Vertical Strips
Next I cut vertical strips about 3/4 to 1 1/2 inch wide down the bottle. Create thinner strips for a narrow bottle and wider strips for a wider bottle.
Make sure you have an odd number of strips or you won’t be able to weave the yarn around. Having the strips different widths makes it look more authentic so don’t worry about creating perfectly even strips, just make sure you end up with an odd number.
Step 3: Weave the Yarn to Make the Pumpkin Body
Once you have the strips cut into the bottle, it’s time to weave the yarn.
Weave in and out of the strips going around the bottle continuously (as you see around the bottom part of the bottle in the picture) until you reach just short of the final height you want your pumpkin. It’s important that you’ve continued around and around the bottle weaving in one direction.
This portion will make up the body of the pumpkin.
When you think you’re near the height you want for your pumpkin, try folding down the strips to the center of the bottle. Check if you’re happy with the height and shape of the pumpkin.
At this time, you need to start weaving the yarn around 2 or 3 of the vertical strips. Choose to wrap around 2 strips if they’re wider and choose 3 if they’re narrow.
Step 4: Punch Holes in the Strips
I used a hole punch to punch holes in the top of all the vertical strips. This allowed me to tie off the yarn after each vertical section so that it wouldn’t unravel.

Step 5: Tie Off the Yarn
After wrapping each set of vertical strips, I tied the yarn off on the inside of the bottle. Be sure to trim the yarn tails so they won’t show at the bottom clear portion of the bottle.

Step 6: Fold the Strips into a Pumpkin Shape
Once all the vertical strips were wrapped with yarn, I folded them down to the height and shape I wanted for the pumpkin. This part will require a little fiddling to get it just right. I laced the pipe cleaner through the holes on the top of the strips to twist them together and hold them in place.
On the 1-liter bottle, I just folded the strips down inside the bottle and they stayed in place so I didn’t have to lace them together.

Step 7: Add Felt Leaves and a Stem
After I tied the strips down and the pumpkin formed into the shape I wanted, I drew some pumpkin leaves freehand on a piece of green felt.
If you’d like to add a stem, add it to the center of the bottle and then add the leaves around the stem.
I chose to hand stitch the leaves to the top of the pumpkins. You could easily use fabric glue or hot glue to attach the leaves.
Step 8: Curl the Pipe Cleaner
I finished by curling the pipe cleaner around a pencil to give it a little character.

Frequently Asked Questions
Any flexible plastic bottle will work. I used two 2-liter soda bottles and one 1-liter bottle, and the bottle size (plus how short you cut it) decides the size of your pumpkin.
With an odd number, the yarn alternates in and out on every trip around the bottle. With an even number, it would end up going over and under the same strips each time.
I made 3 pumpkins with half a skein of yarn and one piece of felt. You could get 6 or more from one skein, depending on the size of your bottles.
Yes, it’s fun for adults and kids. Have a grown-up handle the first knife cut on the bottle; kids can do the scissor cutting, weaving and leaf making.
More Pumpkin Crafts
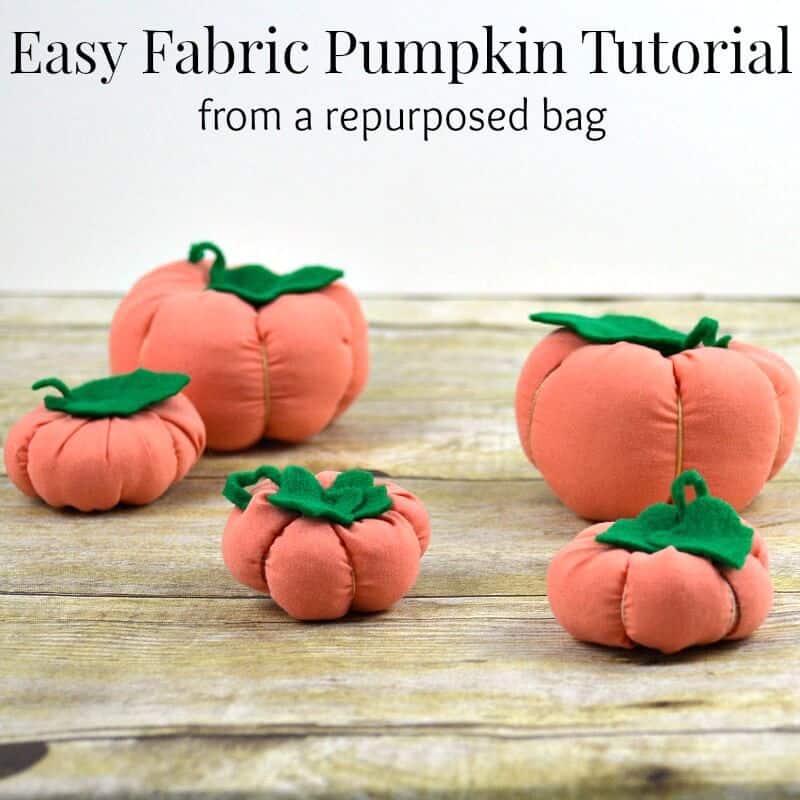
- Easy DIY Fabric Pumpkin Tutorial – A simple tutorial for a charming pumpkin craft for beginning level sewing skills.
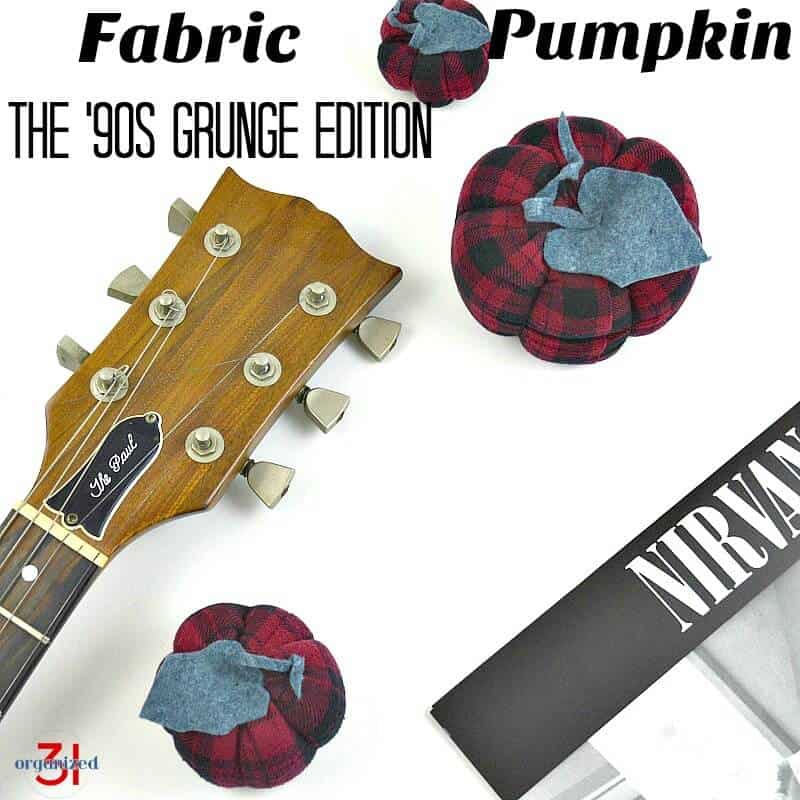
- Fabric Pumpkin Tutorial – the 90’s grunge version – Easy to make fabric pumpkin made from an upcycled flannel shirt.

Adorable Clay Craft – An easy clay craft for kids or adults with step-by-step photos to make a cute clay pumpkin craft.
You can see all our repurposed crafts in the table below. Scroll through the table and click on the fall craft ideas that interest you. Simply click on the link in the card that opened up.

I’m a mom of 3, a veteran, military spouse. I’ve moved into 20+ homes all around the world. My passion is helping busy people make the space and time for what’s really important to them. Learn more about Organized 31 and me.


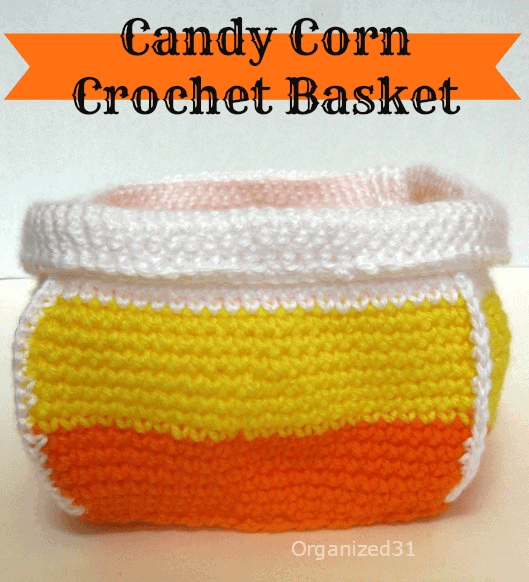


So cute! I hope you will link up to my Wickedly Creative Halloween Ideas Party if you haven’t already.
Now that is what I call upcycling! Cute! Thank you for joining the Countdown to Fall party.
~ KIM @ Sand & Sisal
Hi, I love this pumpkin!! How original is this? Would love to have you link up to my PUMPKIN PARTY going on for the whole month.
Thanks, Linda. I did link up to your Pumpkin Party and loved all the great ideas. Thanks for sharing.
Brillliant and so glad you were inspired by my apples! Thanks so much for sharing on craft schooling Sunday!
Cute! You should enter your photos from this project into Craftbaby’s DIY a Pumpkin Challenge! 🙂
Hi found your post via Here Comes the Sun blog – I love to UP cycle, and your pumpkin and apples are too cute!! great idea.