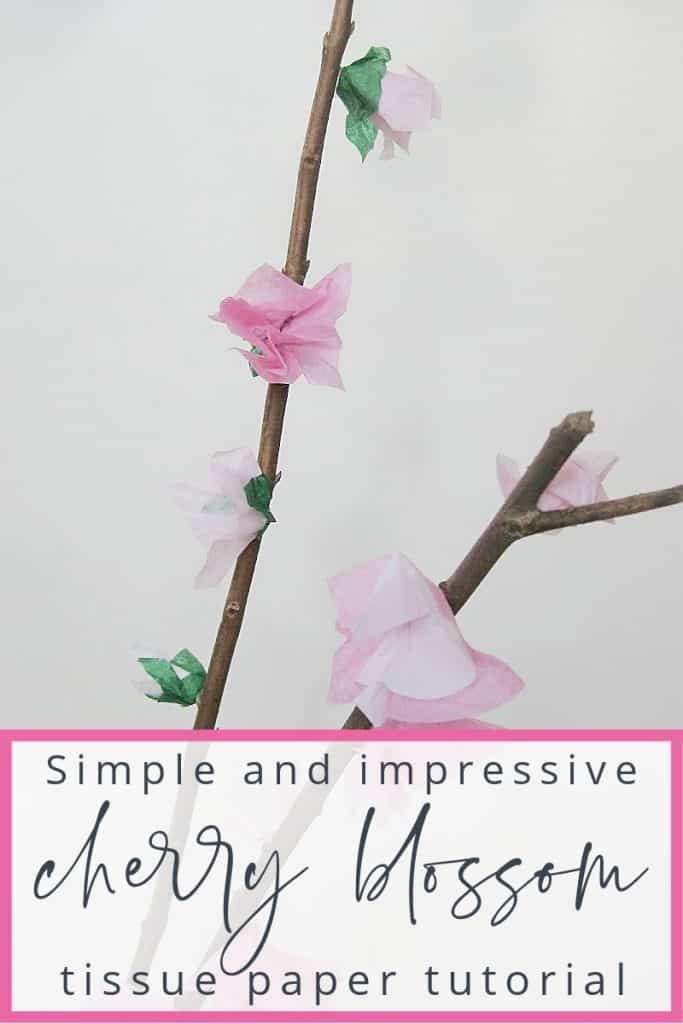
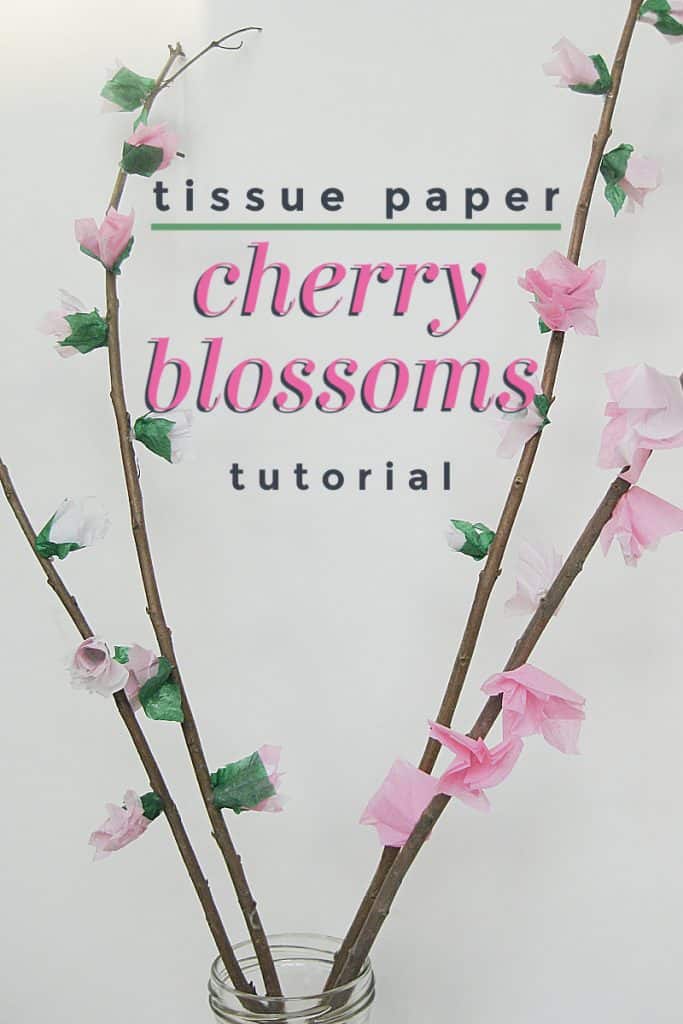
Tissue Paper Cherry Blossoms
This post may contain affiliate links provided for your convenience. We earn commissions if you shop through the links on this page. I am also an Amazon Associate and earn from qualifying purchases Read my full disclosure policy.

This tissue paper cherry blossom craft is amazingly easy to make and just as lovely. In fact, although we made this craft 8 years ago, we still have it displayed in our guest room. And we frequently receive compliments on it.
I remember doing this simple tissue paper flowers craft when I was in second grade in Hawai’i. I vividly remember how much I enjoyed the crafting process and how thrilled I was with the resulting paper flowers.
Having such fond memories, I decided to create this same activity with my 10 year old son. I was a guest blogger on a craft blog for mothers and children. My son was a bit hesitant at first, but he’s always willing to support his mom’s blog and craft activities.

How do you make cherry blossom petals?
There are several different ways to make cherry blossom petals, but my favorite is to use tissue paper and and basic white craft glue. You simply cut small squares of tissue paper, stack the squares, twist them a bit and glue them to a branch. The step-by-step tutorial makes this craft easy enough for you to make with young school aged children. And it’s impressive enough to enjoy making yourself.
Tissue Paper Cherry Blossom Craft
Supplies:
- Twigs
- This a great opportunity to take a spring nature walk with your crafter and find twigs as big or small as you like.
- The ones we used are about 24-30 inches long.
- Look for branches with interesting shapes.
- Tissue paper
- Choose white, light pink, darker pink and green tissue paper.
- I saved money by raiding my gift wrapping supplies.
- This is the perfect time to repurpose that crumpled tissue paper you’ve been inexplicably holding onto.
- You don’t need very much tissue paper, so it really is the ideal craft to use up those bits of tissue paper you have.
- School glue or glue dots
- We used both in our craft.
- White glue would be easier for little crafters so they don’t have to fight with the unbelievably sticky glue dots.
- Scissors
- Pencil with a a good eraser
Tissue Paper Cherry Blossom Tutorial Steps
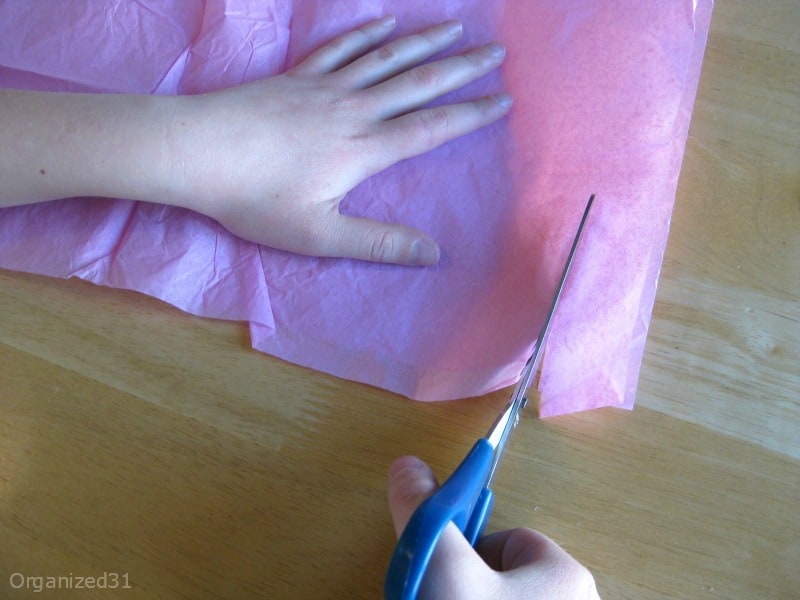
Cut your tissue paper into strips approximately 1 inch wide.
My son was able to handle this step with no problem. However, depending on the age and skill of your child, you may need to help with this step.
You don’t have to be precise with the measurements or cutting. The beauty of this project is that nature isn’t precise so you don’t have to be either. Whew
Next, cut the strips into 1 inch squares. Your little crafter could help with this step and gain some great practice in cutting with scissors. It’s easy for little hands to make these short cuts. And again, perfection is not necessary.
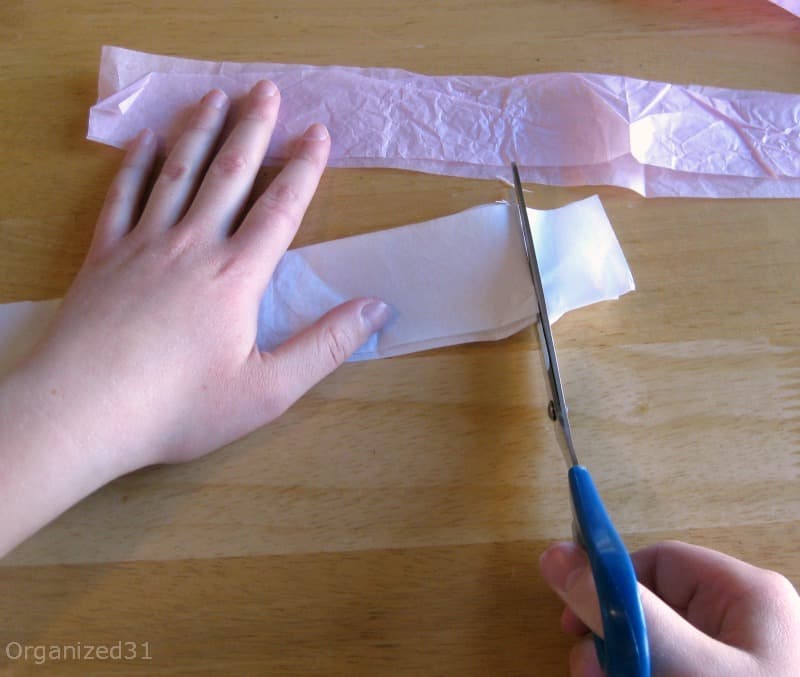
If you choose to use green tissue paper to accent your blossoms, cut the green paper into 1 inch strips and then the strips into 1/2 inch pieces. You can also use oddly shaped pieces that are approximately this size.
I’ve said it before, but you honestly don’t have to be precise.

Stack 2 pieces of paper on top of each other, rotating the top piece so 8 points show.
This is the perfect time for your crafter’s creativity to come into play. You can make your stacks with 2 papers that are the same color or you can mix and match different colors.
Encourage your child to experiment and find the color combination that they prefer.

I personally prefer the mixed stacks because the variations in color make an interesting effect in the blossom.
The single-colored blossoms have a bolder color and the 2-colored blossoms have a more subtle effect. Play with the colors and find what you like best.
You can use stacks of 2 pieces of paper for a more delicate looking blossom.

Place the eraser end of the pencil down in the center of a paper stack. Pick up the papers and twist them around the eraser.
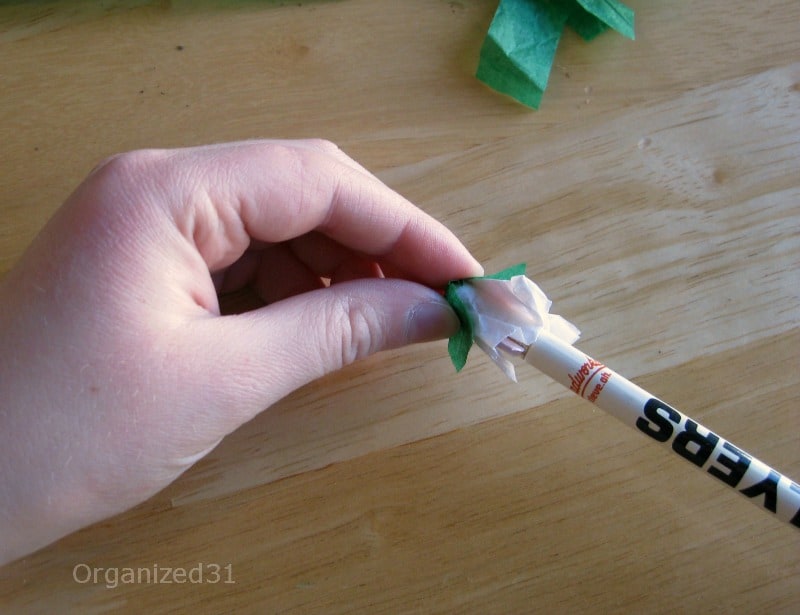
If you want to add the green accent, add it after you’ve twisted the stack of papers.
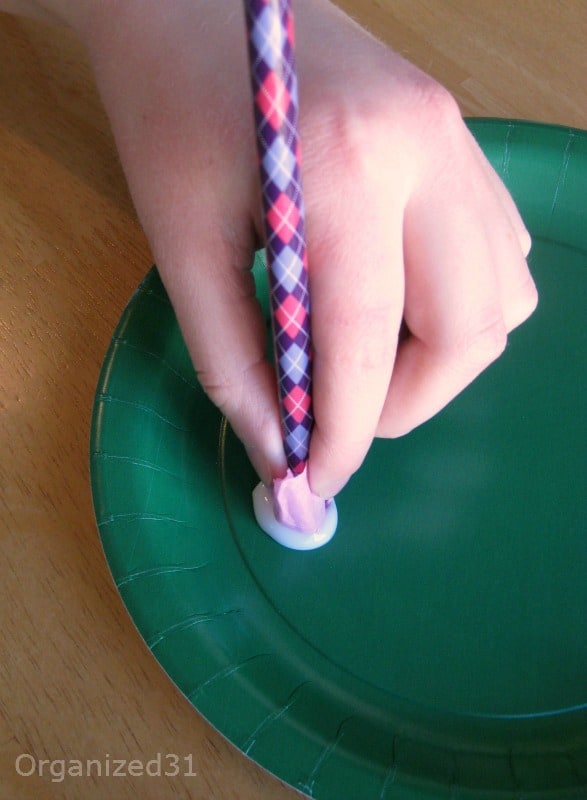
Dip the paper, still twisted on the pencil, into the white glue. You just want to get the glue on the flat part of the paper (the end of the eraser) not up on the sides of the paper.
The glue holds the pieces of paper together so be sure to do this even if you’re going to use glue dots to adhere the paper to the branch.

While the glue is still wet, support the back of the branch and press the paper to the branch. Slip the pencil out of the paper and there you have your cherry blossom.
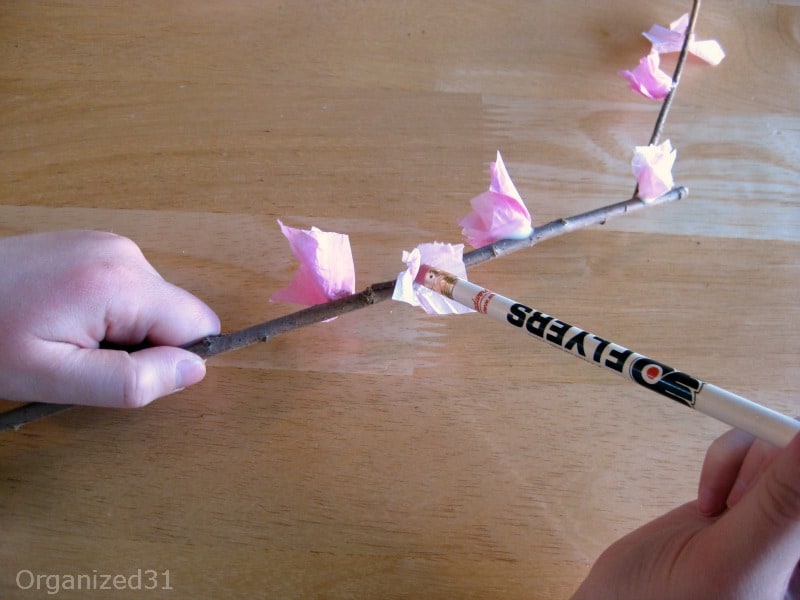
The blossom on the left was adhered with while glue and the one on the right using a glue dot. We found that the cherry blossoms stuck equally well with either the glue or the glue dot. It’s your preference. You have to wait a little bit for the white glue to dry, so glue dots are better for us impatient crafters.
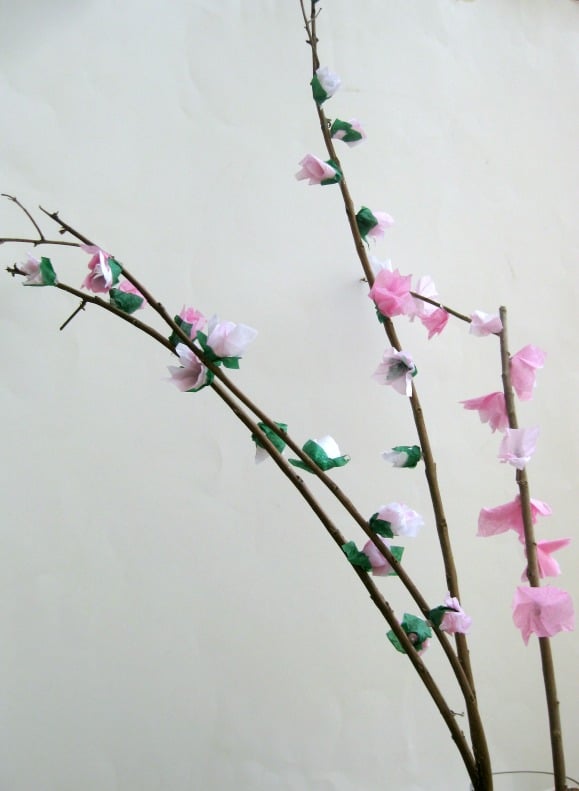
To add some variety, it looks nice to mix in some blossoms made from a single square of paper.

My son told me several times how much fun he was having (he was skeptical before we started) and how much he liked how the branches turned out. That’s quite the compliment coming from a 10-year old boy.
My 2 teenage daughters even complimented us on our project when they got home from school. Impressive coming from 2 teenage girls!
One of my daughters preferred the blossoms without the green accent and the other preferred the blossoms with the green. My son and I prefer the simple blossoms without the green.
You should try both and see what you and your crafter prefer.

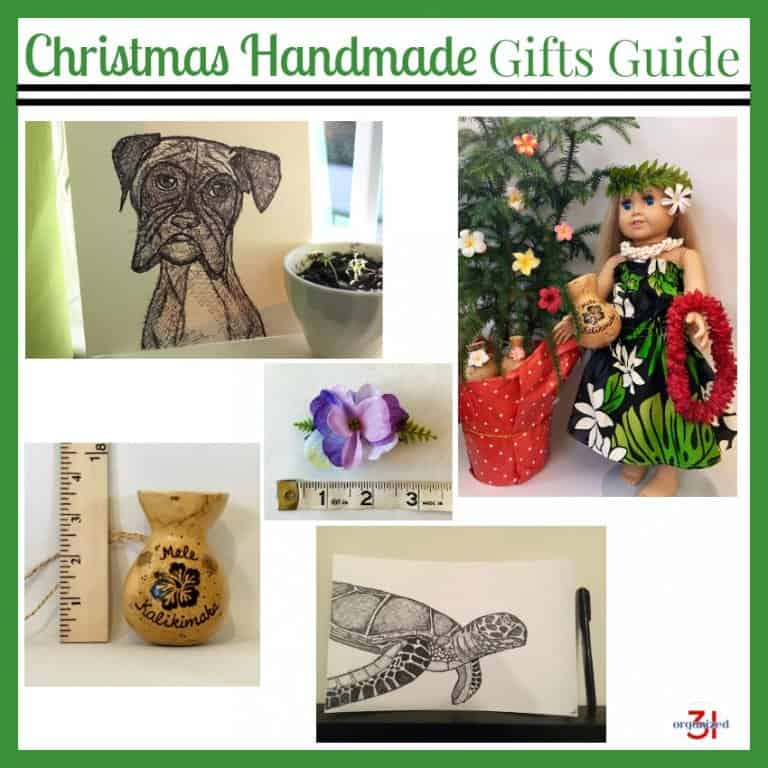
More Flower Crafts
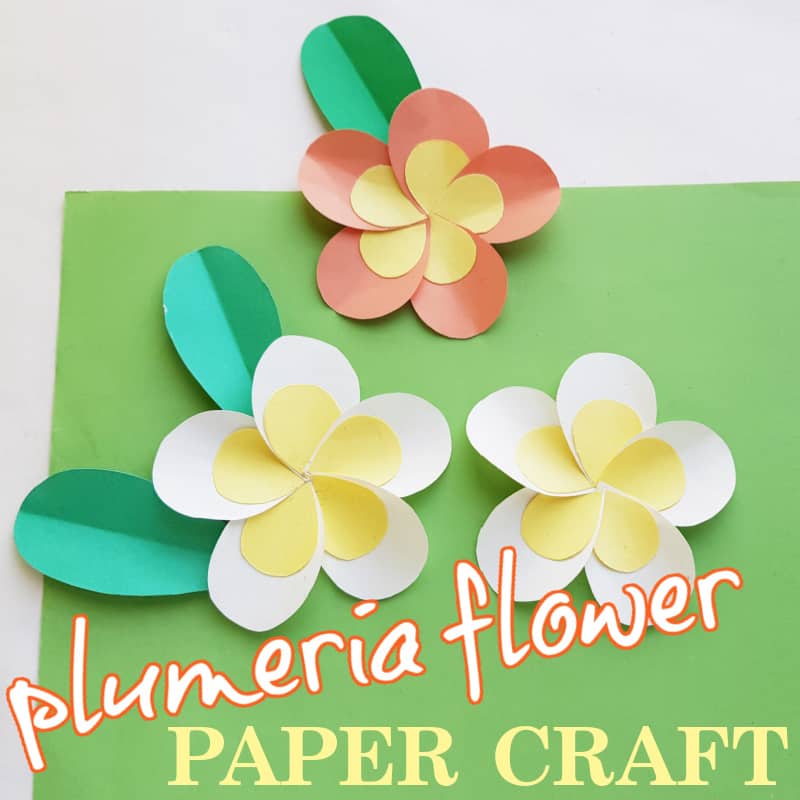
Plumeria Flower Paper Craft – An easy Hawaiian plumeria flower paper craft tutorial, with free template, for craft projects & decorations. A great craft for kids & adults.
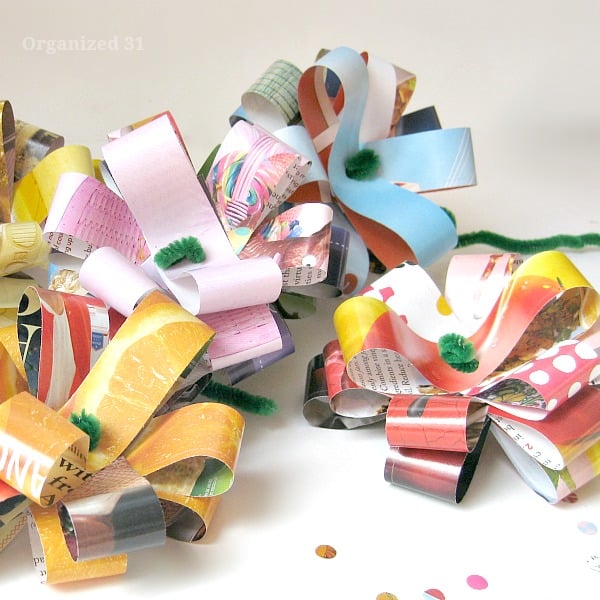
Easy Magazine Flowers – Put old magazines to use making these simple magazine flowers. A great project for children or beginning crafters.
Easy Flower Card Tutorial with Pattern – An easy tutorial for a lovely flower card that can be made as a pop up card. Includes a free pattern. Perfect for Mother’s Day & any occasion.

You want to pin this tutorial now so that you can always find it when you’re ready to make your own tissue paper cherry blossoms.

I’m a mom of 3, a veteran, military spouse. I’ve moved into 20+ homes all around the world. My passion is helping busy people make the space and time for what’s really important to them. Learn more about Organized 31 and me.
I love the names your have for your crafters! I am impressed that all of your children thought the cherry blossoms were good! That is a big deal! Also impressed that you got a 10 year old boy to help!
Thanks for sharing this at the In and Out of the Kitchen Link party! So glad you dropped this off!
Cynthia
These are adorable! I am gonna have to make some of these for myself lol.
Such a simple and fun project to do with the kids! Thank you for sharing with the Clever Chicks Blog Hop this week!Cheers,Kathy Shea MorminoThe Chicken Chick
fabulous project! I’ve actually done this myself, though am now inspired to do this with my kids, thanks to you! thanks for joining the fun at craft schooling Sunday!
So cute…….Thank you for sharing with the Clever Chicks Blog Hop this week; I hope you’ll join us again! Cheers,Kathy Shea MorminoThe Chicken Chick
Thanks, this is great!
Very simple and very effective
thank you for sharing this tutorial. These are so sweet!
We had fun making them, Bette. Hope you have fun creating them, too.