DIY Magic Potion Bottles for Kids + Potion Name Ideas
This post may contain affiliate links provided for your convenience. We earn commissions if you shop through the links on this page. I am also an Amazon Associate and earn from qualifying purchases Read my full disclosure policy.

Click to have Organized 31's content added as a trusted source of organizing information for your future searches.
I’ve always liked doing craft projects with my kids. It’s a great way to spend time with them and create memories. To keep my kids as excited about crafting together as I am, I look for projects that follow their interests. We read a lot in our family and fantasy books have always been a hit. Stories about magic, wizards and potions never fail to grab a child’s interest. One afternoon, my son and I made these magic potions for kids craft and had a great time creating potions and memories together.
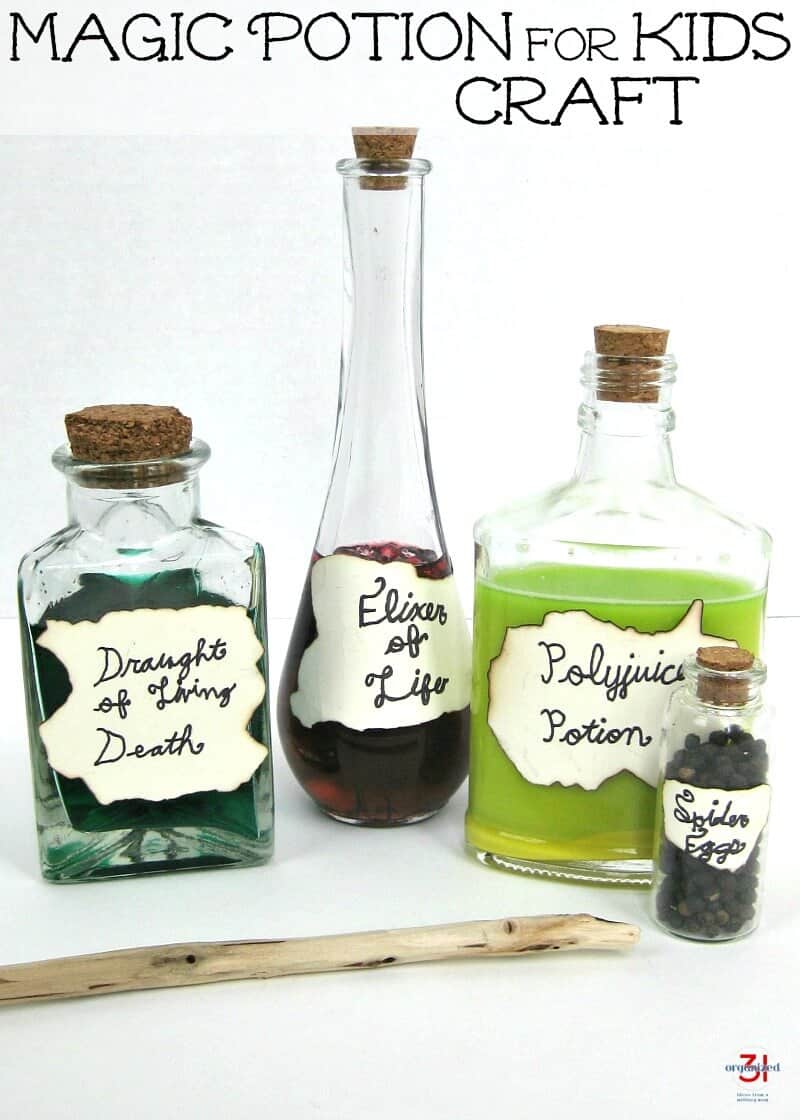
The quick version: To make DIY potion bottles with kids, fill clean glass or plastic bottles with water (or corn syrup for a thicker potion), add a few drops of food coloring, and drop in extras like peppercorns or plastic beads. Then make an old, mysterious-looking label from torn cardstock with inked edges, write a potion name on it, and glue it on with decoupage glue. Most of what you need is already in your kitchen and craft drawer.
Imaginative play and creative crafting are wonderful for children’s and tweens’ development. This magic potion for kids craft is a great way to incorporate both. You can make this craft alone with your child or as a group activity. You can also mimic potions from your favorite story or create your own potions.
Magic Potions for Kids Craft
Supplies
- Glass or plastic bottles – You can also repurpose bottles destined for the recycling bin. Look for bottles with interesting shapes and in a variety of sizes.
- Card Stock Paper – We used cream to add to the aged look of the label.
- Permanent Marker – Black or Dark Brown
- Brown Ink Pad or Marker
- Decoupage Glue
- Sponge Brush
- Water
- Corn Syrup
- Food Coloring
- Corn Starch
- Pepper Corns
- Plastic Beads
Step 1: Mix the Potions
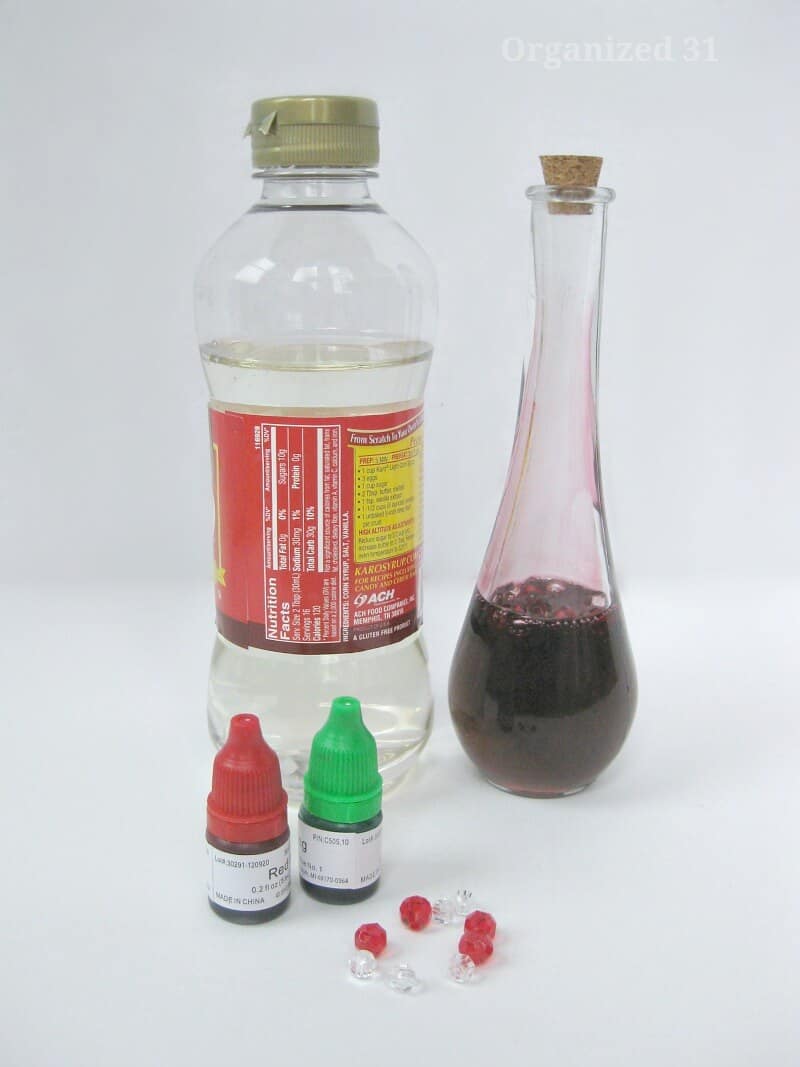
Decide with your child what color of potions you want to create. This is a great opportunity for lesson in creating and mixing colors. Use water for a thinner consistency and corn syrup for a thicker consistency.
Step 2: Add a Little Extra Magic
Adding corn starch is another way to thicken the potion. The corn starch tends to separate over time so the bottle will have to be swirled or shaken to mix the corn starch back into the potion. This adds as extra bit of magic to the potion.
Adding plastic beads is an easy way to add another dimension to the potion.
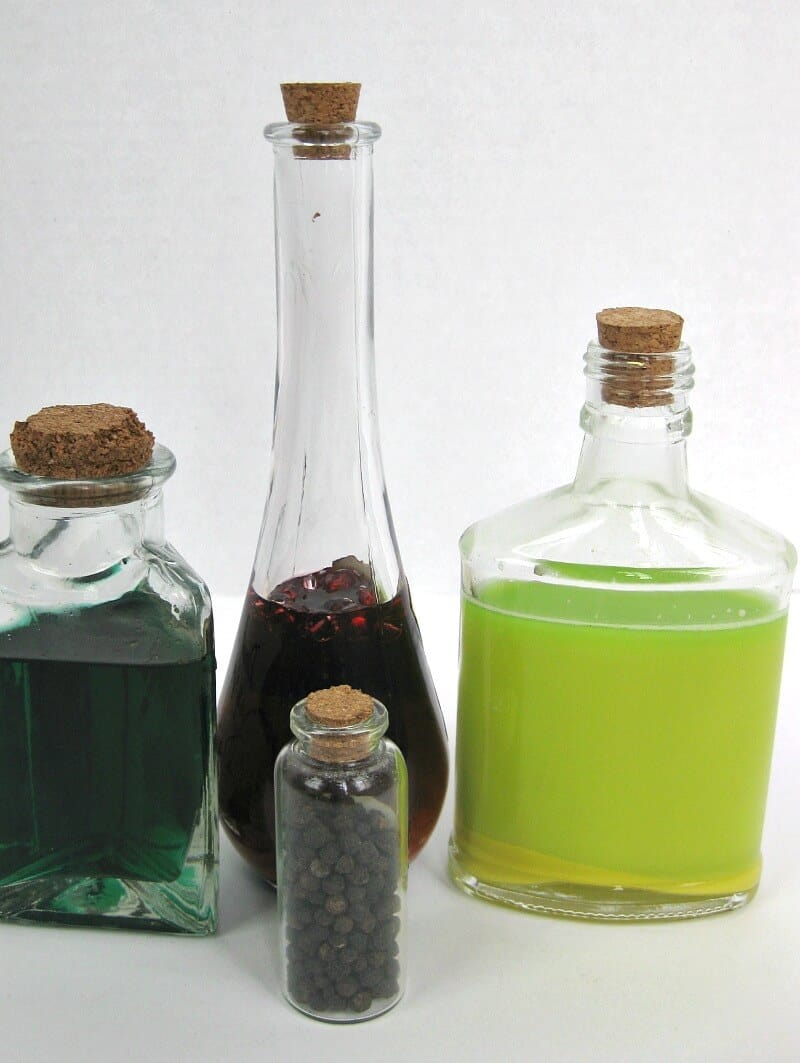
Adding plastic beads is an easy way to add another dimension to the potion.
While the magic potion bottles are cool and inspiring on their own, they need a mystical looking label to be authentic.
Step 3: Make an Aged Label
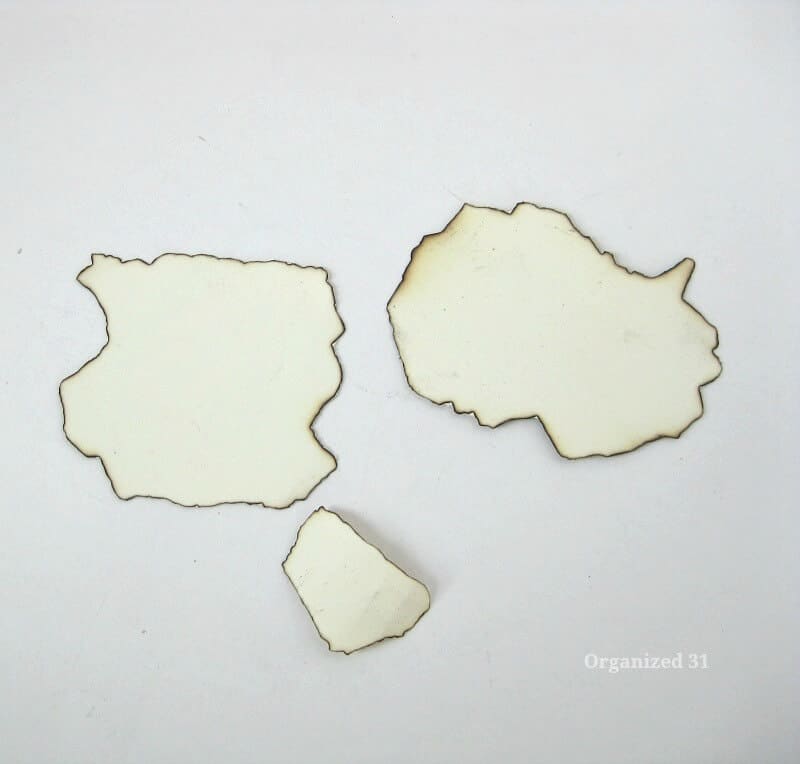
Cut a slightly larger label than you want for the bottle. Tear the edges to make the label look more rustic. To age the label, color just the edges of the label with a brown stamp ink pad or a brown marker. To obtain an aged look rather than a solid colored look, brush the edge of the label across the ink pad or marker instead of using the marker to color on the label. Practice with scrap paper until you figure out a technique for the look you want.
Step 4: Name Your Potions
Using the permanent marker add mystical names for each potion. You can use names from your favorite book or movie or create your own. I recommend that if your child is writing the potion names, have them practice first on scrap paper the approximate size of the actual label. This lets them figure out sizing and centering before writing on the label. There’s a list of potion names below.
Step 5: Glue on the Label
Let the ink dry several minutes. Use the brush to spread a thin layer of decoupage glue to the back only of the label for a more ancient matte look. If you plan on pouring the potions out of the bottle then add a layer of decoupage glue to the front of the label to protect it. Let the glue dry for 20 minutes to an hour. If your bottle is so curved that the label isn’t sticking, use rubber bands to hold it in place until the glue dries.
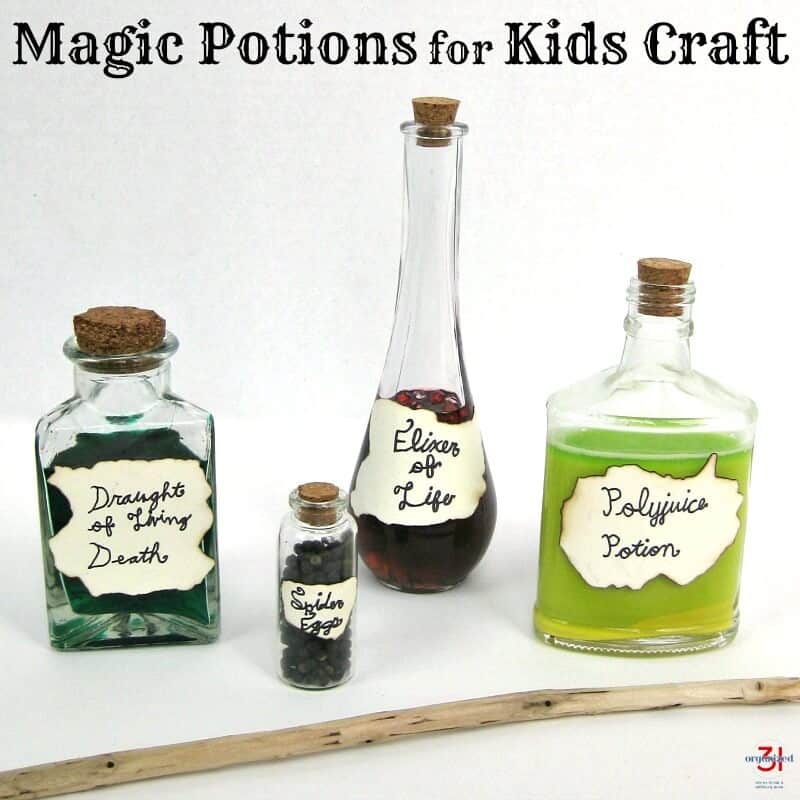
Potion Name Ideas
Naming the potions is often my kids’ favorite part. Here are some ideas to get you started or to spark your imagination in creating names:
- Giggle Tonic
- Dragon’s Breath Elixir
- Moonbeam Draught
- Unicorn Tears
- Bravery Booster
- Fairy Dust Fizz
- Swamp Goblin Goo
- Starlight Serum
- Sleepy Sloth Syrup
- Invisibility Brew
- Hiccup Cure
- Rainbow Sparkle Potion
Have fun displaying or playing with these magic potions for kids bottles. Enjoy the creativity and magic of crafting with your child.
Magic Potion Craft FAQs
Water or corn syrup tinted with food coloring makes a great base. For extra magic, add corn starch for a cloudy swirl, plastic beads for color, or peppercorns that look like mysterious ingredients.
Use corn syrup instead of water, or stir in some corn starch. Corn starch settles over time, so give the bottle a gentle swirl or shake to mix it back in.
No, these potions are for play and display. The labels have decoupage glue on them, and small extras like beads and peppercorns aren’t meant to be swallowed, so keep an eye on little ones while they play.
More Magic Potion Ideas
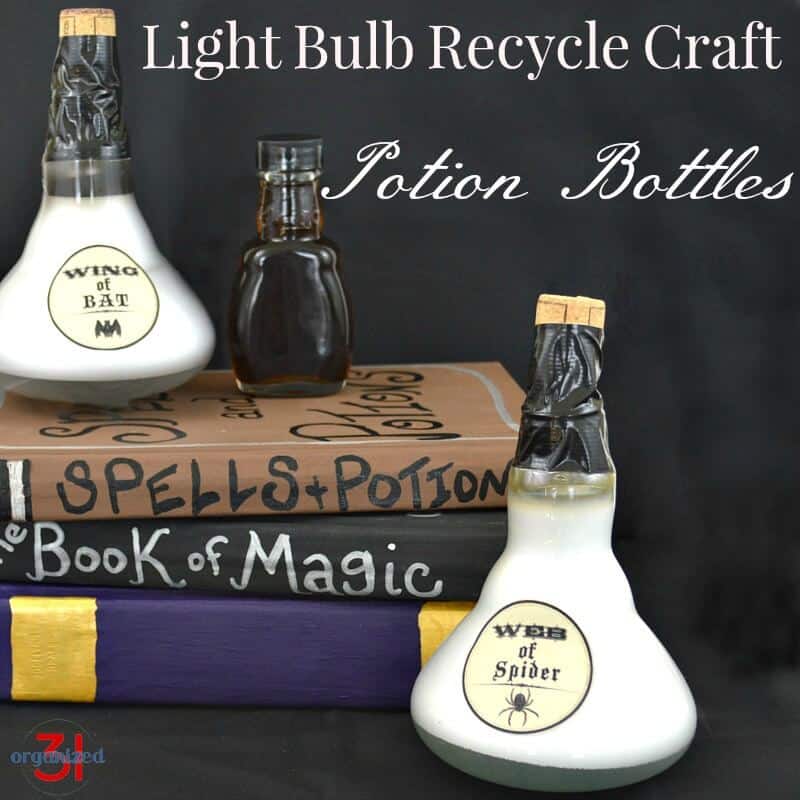
Potion Bottles – Light Bulb Upcycling Ideas – These upcycled potion bottles are simple to make and are great Halloween decorations, party decorations, props for imaginative play or a drama performance.
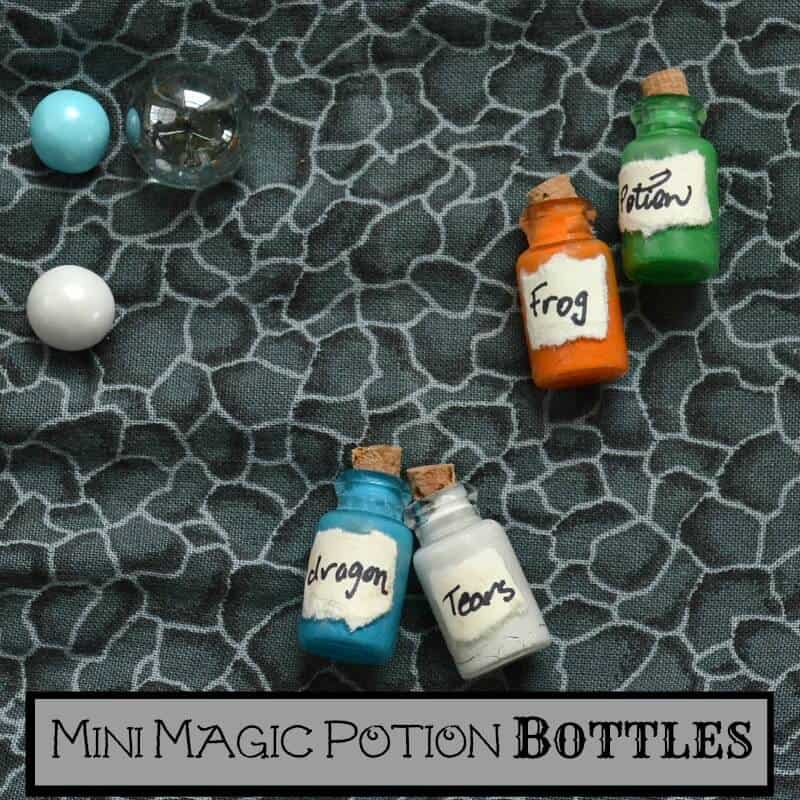
Mini Magic Potion Bottles – Do you know a Harry Potter or fairy tale fan? These Mini Magic Potion Bottles are easy to make and perfect for imaginative play or to display.
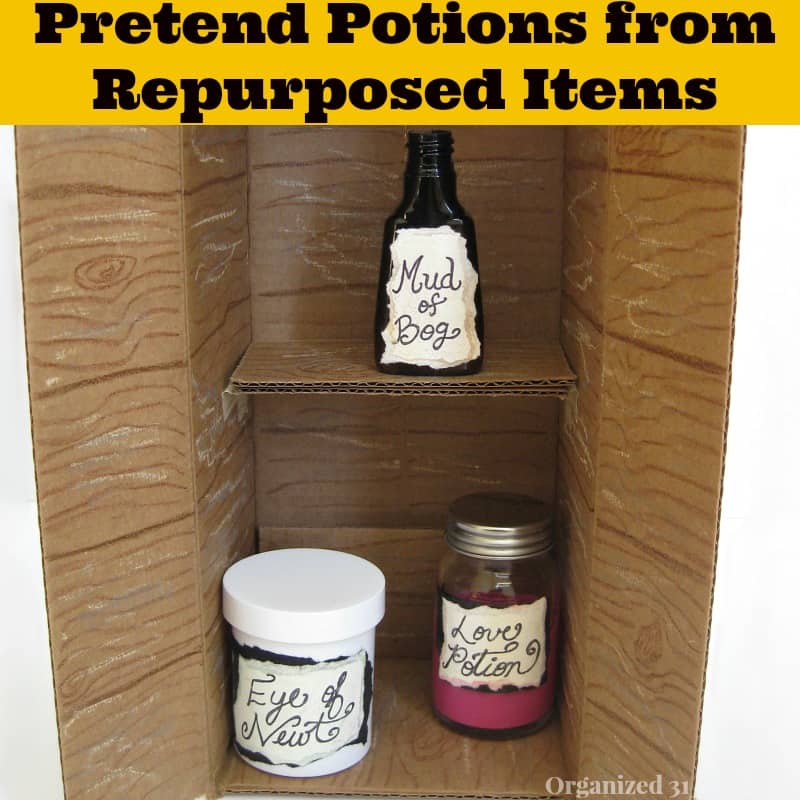
Pretend Magic Potions – A fun creative project that can be used for imaginative play. Make your own pretend magic potions using repurposed household items.
![Make these edible Wizard's crafts for your favorite fan. They make great stocking stuffers and party favors. #SlimJimYourHolidays [ad]](https://organized31.com/wp-content/uploads/2015/12/Wizards-Themed-Crafts.jpg)
Edible Wizard’s Crafts – Do you know a Harry Potter fan? Make these edible wizard’s crafts as stocking stuffers or party favors.
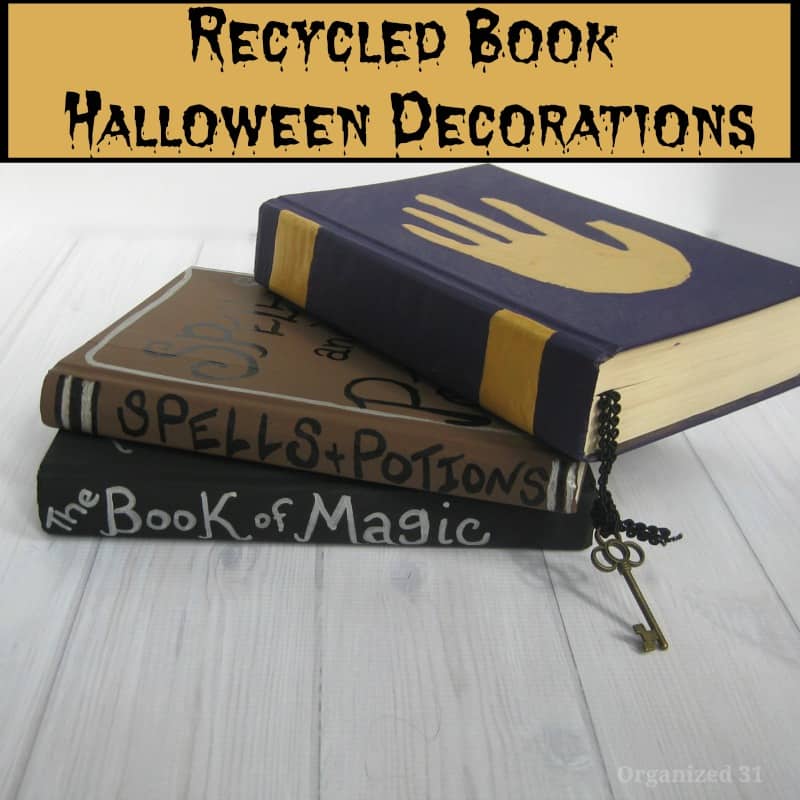
Recycled Book Halloween Decorations – Use an upcycled book to create this Halloween book craft. It’s easy to do and makes a great Halloween decoration or prop.
For all my favorite Halloween crafts, games, printables and recipes see the table below. You can scroll though the table and look for ideas or search for specific ideas with the magnifying glass in the upper right-hand corner (on desktop). Click on the topic and then click through the specific article.

I’m a mom of 3, a veteran, military spouse. I’ve moved into 20+ homes all around the world. My passion is helping busy people make the space and time for what’s really important to them. Learn more about Organized 31 and me.
Such a fun idea. Heck, I don’t have a little one at home, but I would love to make these!
Wow. Nice craft. They are looking great
Thanks, Sandy. My son and I had fun crafting them together.
These are super cute! I love upcycling old bottles and containers, too. Thanks for sharing this idea – can’t wait to try recreating them with my kids!
You know me and upcycling (other people’s trash) old bottles. 🙂 Have fun creating magic with your kids.
Very cute and creative Halloween craft! Nicely done!